Windows Live Writer is a free to use local blogging application by Microsoft.It supports most of the blogging platforms like blogger,wordpress,typepad and others.
The biggest advantage of using an application like Writer is that one can locally create content and publish it directly to the blog.
Let’s take a look at how to integrate Live Writer with blogs (we are using a wordpress blog with a custom domain here).
Download Live Writer from here.
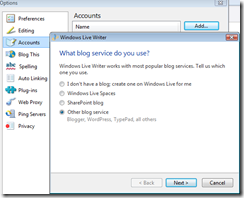
Once installed,open it up and go to Tools > Accounts.
Select Add and hit the last option (Other blog service).Click Next.
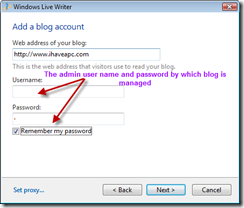
Enter the web address of the blog alongwith the user name and password (For wordpress blogs,this is the same user id/password that is used to login to wordpress dashboard and manage the blog).
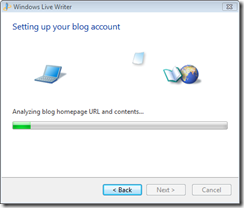
Windows Writer will now connect to the site address specified,use the credential given to get info about blog theme,content as well as other details.
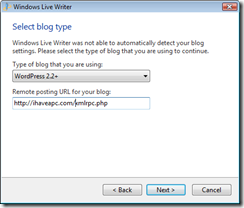
Since our blog is hosted on a custom domain and platform (not the default .wordpress/.blogspot domains),the extra step is needed to specify the remote posting url of the blog.
The below step of selecting blog type won’t show up if the blog/site is not hosted on a custom platform.
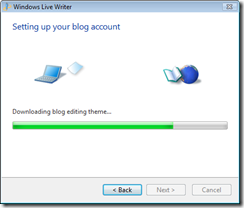
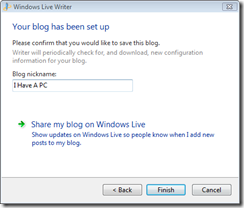
Once done,the themes are downloaded locally by Writer and you are now ready to post !
By the way this post that you have just read has been created by Microsoft Live Writer 🙂
Happy blogging.

