To update your WordPress installation smoothly, follow the following steps:
1. On your dashboard, go to ‘Add New’ section under ‘Plugins’. Search and install ‘WordPress Database Backup’ plugin. Activate the plugin.
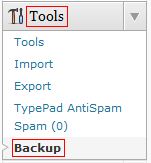
2. Go to ”Tools>Backup’.
3. Make sure that the following options are checked-
Select ‘Download to your computer’ and click ‘Backup Now’
4. The backup process will start.
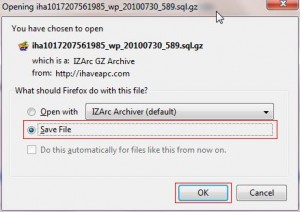
5. After the backup is complete, you will be prompted to save the file locally on your system. Click ‘Ok’ and save it to a location on the hard drive from which you can easily locate it later.
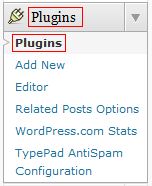
6. Go to ‘Plugins>Plugins’.
7. Select all plugins by checking ‘Plugin’ at the top of the list. Select ‘Deactivate’ from the drop-down menu and click ‘Apply’. (Before proceeding, make a note of all the deactive plugins which you may not be using)
8. Go to ‘Dashboard>Updates’ and click ‘Update Automatically’ under ‘WordPress Updates’ section.
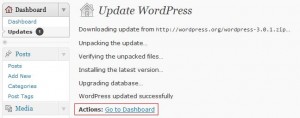
9. After the update is complete, click on ‘Go To Dashboard’.
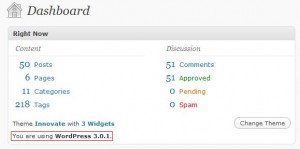
10. On your dashboard, verify that the version of WordPress has been updated.
11. Go to ‘Plugins>Plugins’.
12. Select all plugins by checking ‘Plugin’ at the top of the list. Select ‘Activate’ from the drop-down menu and click ‘Apply’.
At this point you can deactivate the plugins that you were not in use and were already deactivated by you beforehand (List of deactive plugins from Step 7 will be useful here). Please note that you may need to re-enter the API keys for some of your plugins.






hey admin thanks for sharing nice info!
[…] This post was mentioned on Twitter by AVP, ihaveapc. ihaveapc said: How To Update Your WordPress Installation http://goo.gl/fb/O6kUb […]