1. Go to http://www.connectify.me and download ‘ConnectifyInstaller.exe’ file for this free application.
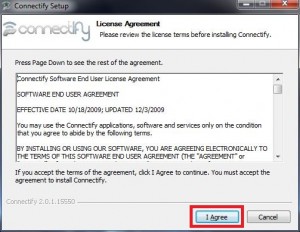
2. Execute the downloaded file. Click ‘I Agree’ to continue.
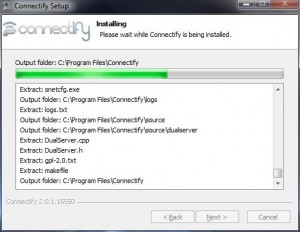
Wait for the setup to complete.
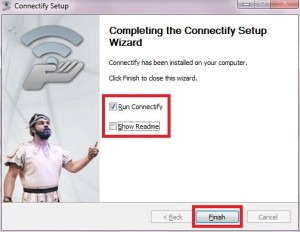
After the setup is complete, ensure that option ‘Run Connectify’ is checked and ‘Show Readme’ is unchecked. Click ‘Finish’ to exit the setup.
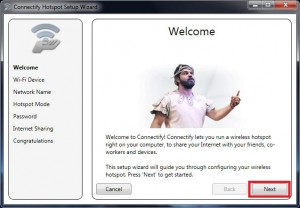
3. Now, Connectify icon will appear in the system tray and ‘Connectify Hotspot Setup Wizard’ will start.
Click ‘Next’ to continue.
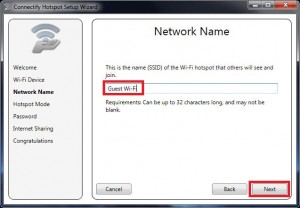
4. Provide a suitable name for your hotspot and click ‘Next’ to continue.
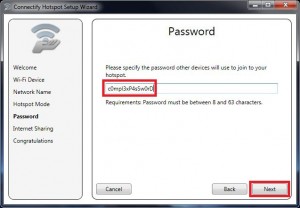
5. Now set a complex password for your hotspot and click ‘Next’ to continue.
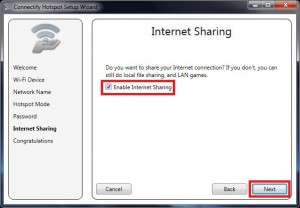
6. Ensure that option ‘Enable Internet Sharing’ is checked and click ‘Next’ to continue.
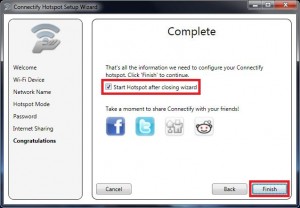
7. Ensure that the option ‘Start Hotspot after closing wizard’ is checked and click ‘Finish’.
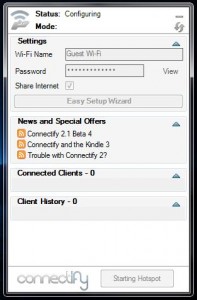
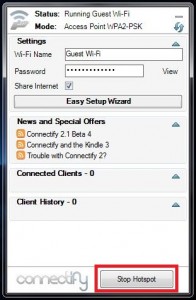
8. Wait for the Wi-Fi hotspot to start. (Click on connectify icon in the system tray to view status)
Congrats! Your Windows 7 laptop is now a Wi-Fi hotspot. You can click ‘Stop Hotspot’ any time to disable the hotspot.
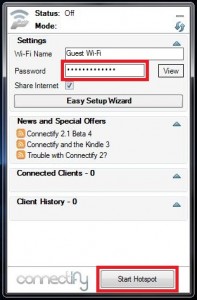
9. Click on ‘Start Hotspot’ to start the hotspot at any time. (For better security, change the hotspot password often before you start the hotspot)
Note:
A) The above software will work with Windows 7 only.
B) Before running the setup, ensure that Wi-Fi is enabled on the laptop.
C) For successful internet sharing, before starting the hotspot ensure that the laptop is connected to internet via LAN / Wi-Fi /3G Modem.

Well as I can see that it doesn’t work with USB Dongle datacard that everyone are using. “NO AP MODE SUPPORTED”. Its not working unless we use specific Modem as listed down by them.
Hope they will fix it soon. Otherwise there is no fun in having it installed.