If you have used Putty in Windows for logging in remotely using SSH to different computers or devices, chances are you will miss it when using Linux. The default ssh client in Mint is more than adequate for all things related to ssh login but good old Putty is available for Linux too. (For installing and configuring a SSH Linux/Ubuntu server, check out this post. )
Here is how to install it in Mint :
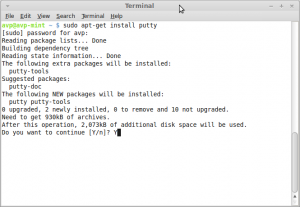
1. Open Terminal and type in : sudo apt-get install putty
2. Click Y on subsequent messages that appear and let the installation complete.
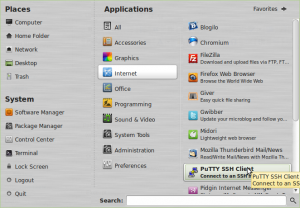
To use Putty, go to Menu > Internet > Putty SSH client
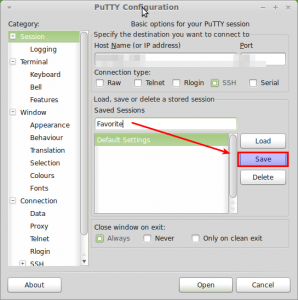
This brings up the classic window from where you can load previously saved connection profiles or connect to a new device [nostalgia anyone 🙂 ]
To connect to a remote server that supports ssh login as in this example, enter the host name or the IP address of the remote host, in case you need to frequently need to login to this server , save the session by naming it something nice.
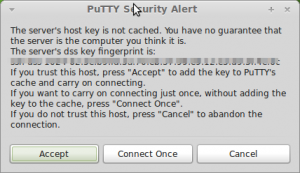
If the connection is initiated for the first time or if the server hardware configuration has changed, you may see the below message. This is to ensure that you are logging in only to the trusted server that you know and not something else.
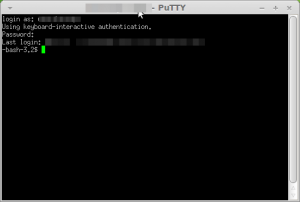
Finally, enter user name and password to login to the server remotely, if all goes well you will see the terminal on the remote end.
Happy SSH-ing!

Thanks a ton! Now I can do 99% of my work easily from Linux. Been bumming me out having to go back to windows to use Putty or Procomm Plus.
tbull97580 – Linux command line provides ssh client : https://ihaveapc.com/2010/07/how-to-use-ssh-in-linux-mint/
(For custom ports, use ssh -p portnumber user@hostname)
But Putty is so much more familiar and much nicer. 🙂
Glad you found the post useful.
Cheers,
THANK MAN GOOD WORK ITS HELPED ME….