Windows 7 makes it easier to share files and folders over network using the homegroup feature.
Here is how to make a folder on one computer running Windows 7 be available on the other using homegroup :
1. Make sure both the computers are running Windows 7.
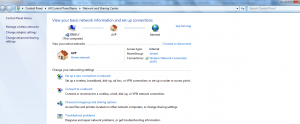
2. The network should be set to home. (Check it by going to Control Panel > Network and Sharing Center).
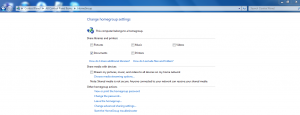
3. Select Choose homegroup and sharing options from the Network and Sharing Center.
4. Follow the on-screen instructions to complete the homegroup wizard. Make sure to note the password that is provided which will be used to join other computers to homegroup.
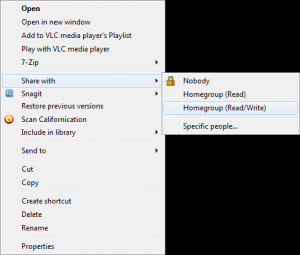
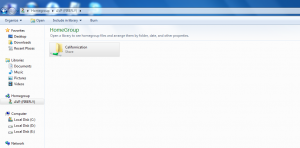
5. Now right click the folder which is to be made available for the homegroup and select Share with > Homegroup (read) or (read/write) depending on how the shared folder will be used. (This example uses a folder named Californication that is available on a computer named Firefly which is to made available to a homegroup).
6. This will now show up on the other computer which is a part of the homegroup.
All done.
The one drawback to using homegroup which even though makes file sharing easy is that it doesn’t work on versions of Windows prior to Windows 7 and also when using Windows 7 Basic or Starter versions, you can’t make homegroups but only join them which seems highly restrictive.
Happy sharing.


