Gmail has the option of automatically forwarding emails to a specified address. What this means is suppose if someone with a gmail account named abc@gmail.com sets up email forwarding to another address xyz@someemail.com, all the emails that arrive henceforth for intended recipient abc@gmail.com will automatically get forwarded to the forwarding address xyz@someemail.com.
Here is how to set up automatic email forwarding in Gmail :
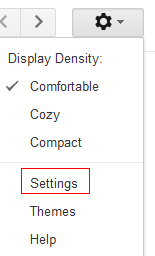
1. Login to Gmail account and from the gear icon, select “Settings”.
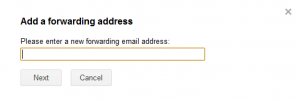
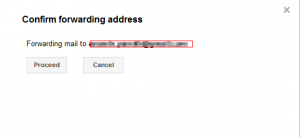
2. Go to “Forwarding and POP/IMAP”, then select “Add a forwarding address”. Enter the email address where you want the emails to be forwarded.
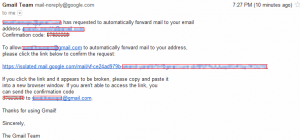
3. Once entered and confirmed, the forwarding email address needs to be verified. This is done through a confirmation code sent to that email. There will be a link that can be clicked to verify or a confirmation code that can be entered.
4. Once the new email address is verified, choose how the forwarding will be done. Best is to leave the default option as shown (which forwards all new incoming emails to new address while keeping a copy of them in Gmail inbox).
5. Also, there is a useful notification that stays on top of Gmail inbox indicating that email forwarding is active for the current email address.
Overall, pretty simple to setup and use Gmail forwarding.
Happy emailing.


