It can be a good idea to first test Android apps somewhere in a sandbox instead of installing them directly on the mobile devices like cellphones or tablets.
Bluestacks is an Android emulator which is currently in beta and free to use which can run any of the available Android apps right from the PC. (Similar to what virtual machines do). There are also Bluestacks app players like bluestacks-app-player.com/pc/7-bluestacks-for-windows-7.html which have the test environment pre-configured.
To use or test Android apps directly on PC :
1. First install the Bluestacks App Player for Windows from here.
2. Next, run the setup which will take a few minutes after being downloaded since it emulates an Android device and hence installs the necessary config files and so on.
3. After installation is done, click the “Start BlueStacks” icon that is now available on Windows desktop.
![]()
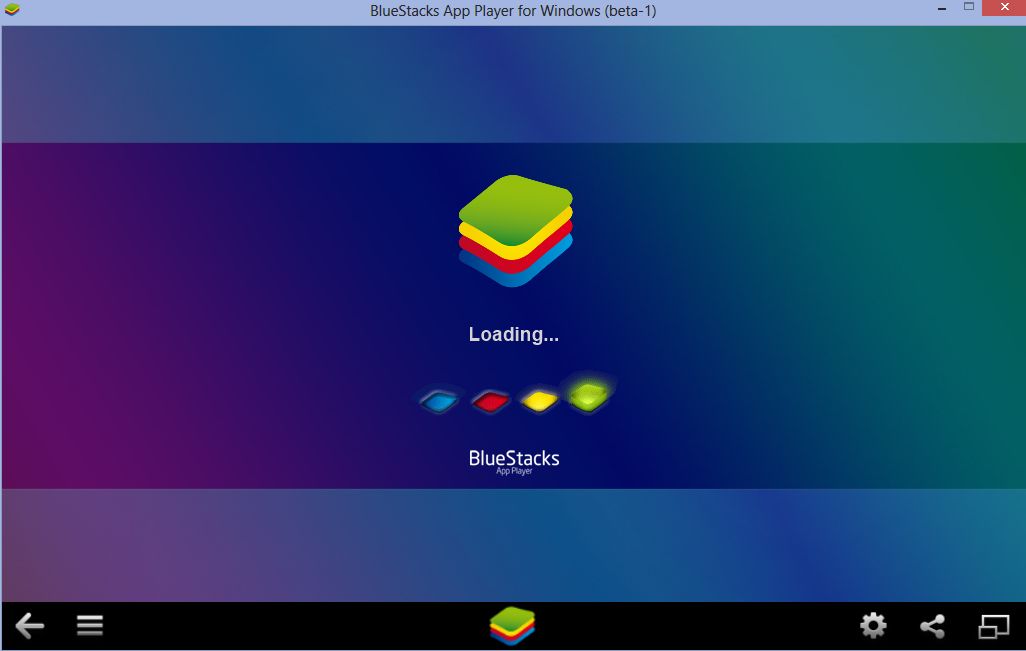
4. The BlueStacks App Player will now boot up and the entire process will be similar to what it is when starting and activating a new Android device (asking for Gmail account/sign up etc).
5. To install the desired Android apps, either click the search glass icon or select “Top Charts” which shows the most popular apps. Then click “Install” and either select the source of installation (1 Mobile or Google Play) and let the installation finish.
7. To change settings of the player, click the gear icon at bottom of screen and change the necessary options as needed. The whole environment is very similar to that of an Android device so it is pretty easy to navigate and tweak settings.
To restart or exit, right click the tile icon for the player from Windows system tray and select “Restart” or “Quit”.

All done.
Enjoy the Android experience right from within Windows. 🙂


