How To Prevent Scan Of Specific Files And Folders In Windows Defender
Windows Defender can skip scanning specific files, folders or processes if an exclusion is added for these. This can be done if a large set of files or folders which are unchanged or inactive take significant time to be scanned and so need to be skipped. This also makes the overall PC scans quicker.
Here’s how to set file, folder and process level exclusions for Windows Defender in Windows 10 :
Access All settings from the Action Center.
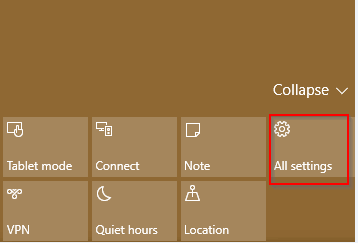
Choose Update & Security.

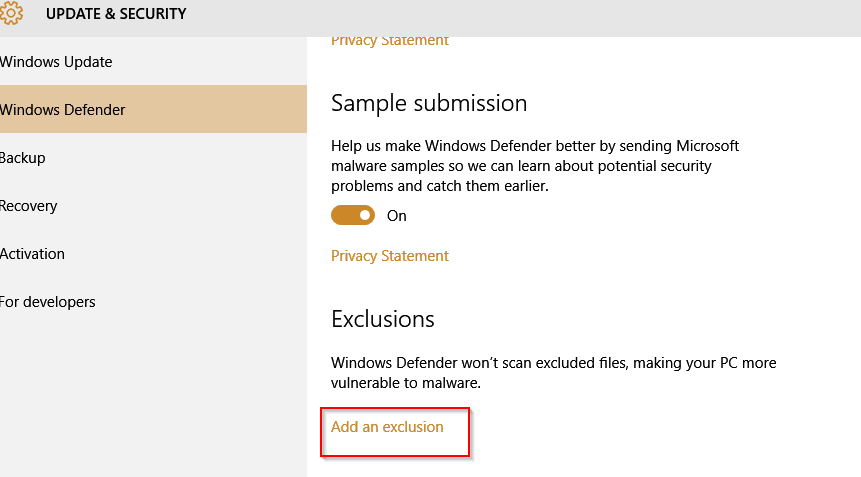
Next, select Windows Defender and click on Add an exclusion.
Click on the + icon next to files, folders or processes.
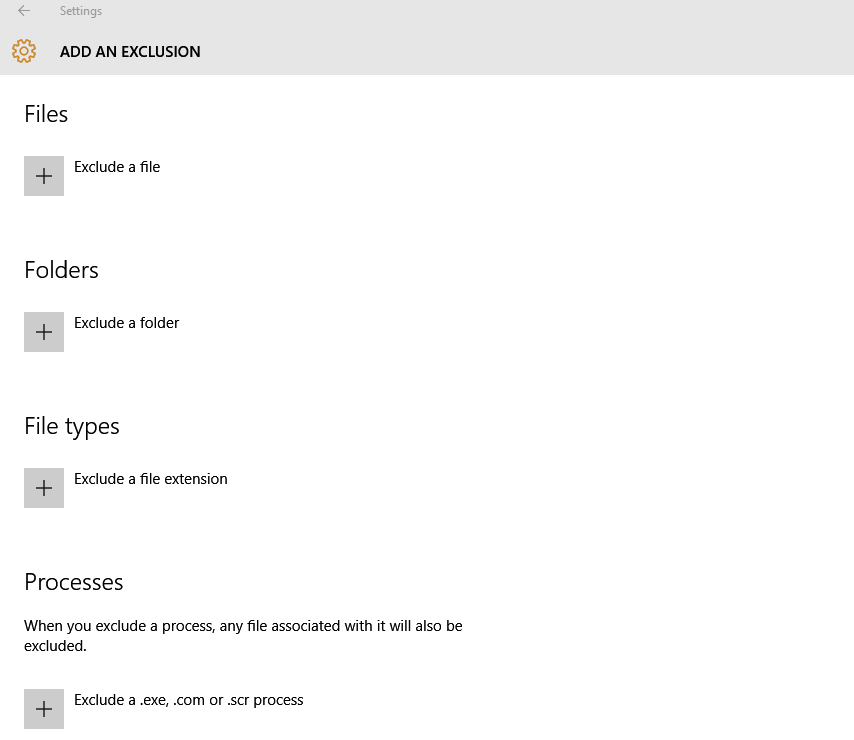
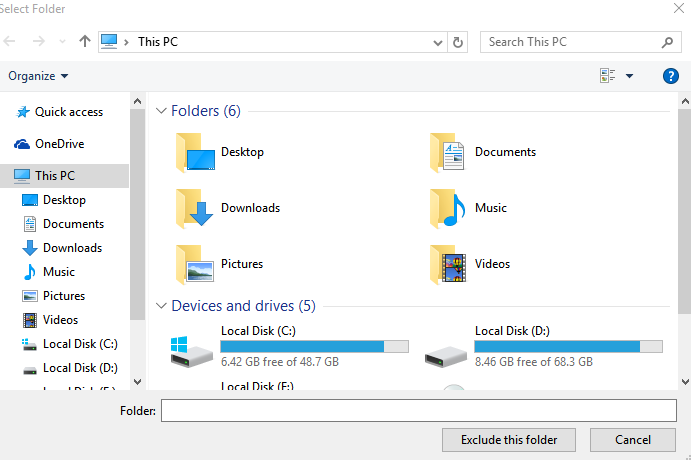
Choose the specific files, folders or processes from the selection box for exclusion.
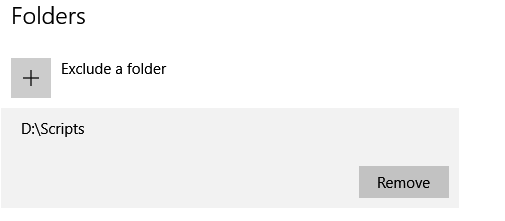
The list will automatically be updated and display the full path of excluded objects. To remove exclusions, simply click on what needs to be removed from the list and hit Remove.
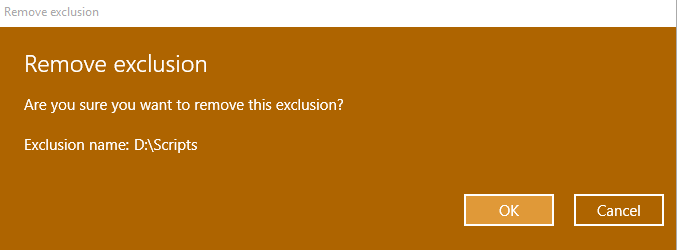
Select OK to confirm the removal.
All done.
Happy scanning.