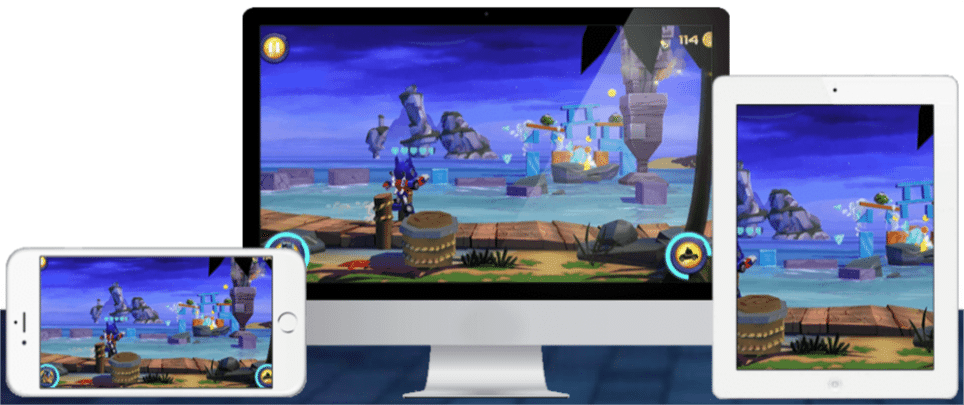
iPhone Screen Recorder from AceThinker can pair iOS devices with Windows PCs and mirror the screen of these devices as well as record them and take screenshots.
This program is available for Windows and can interface with iOS devices. First, download and install it from here. The main interface is self-explanatory just like any media player.

The overall process consists of 4 main steps :
Connecting iOS devices :  On Windows PC, allow the installed app through Windows Firewall if prompted. Once the iPhone Screen Recorder is installed on Windows PC, the iOS devices need to “see” it i.e be on the same network. This is done by choosing Control Center > AirPlay in iOS devices.

This will bring a pop-up list with a label “Apowersoft” and the iOS device name. Turn on mirroring from the TV icon that shows up, this will interface the iOS device with the software.
Mirroring : Once mirroring is established, the iOS device screen will be projected to the PC. Also, using the recording icon from the top menu of iPhone Screen Recorder, the screen can be recorded if needed.

Also, from Settings icon, video quality, target path where the recorded video will be saved and the video format can be configured.

Recording : Use the record button to start recording the screen. There is no need to keep the iOS device in front of the PC, only ensure that it is connected to same Wi-Fi network and within range.

Taking screenshots : Screenshots of the recording can also be made if needed. This is done through the camera icon at the top of menu.

To disconnect the device from PC, click the power icon. This will remove the pairing.
This can be useful to stream iOS games in real time, share pictures and videos from iOS devices or to simply view the mobile screen on a larger display.
