Thanksgiving is here and it’s time for another giveaway. 😊
Free copies of TuneMobie Apple Music Converter worth $19.95 yearly are up for grabs.
How to participate: No registration is required to get the giveaway copies.
Get the setup from here.
Then use this license key to activate:
ac581229ac74b0eb6db738bc4b5f3466f3632be0
Note: This is an unlimited license key valid for 1 year from the date of activation. It can be installed and used on unlimited PCs.
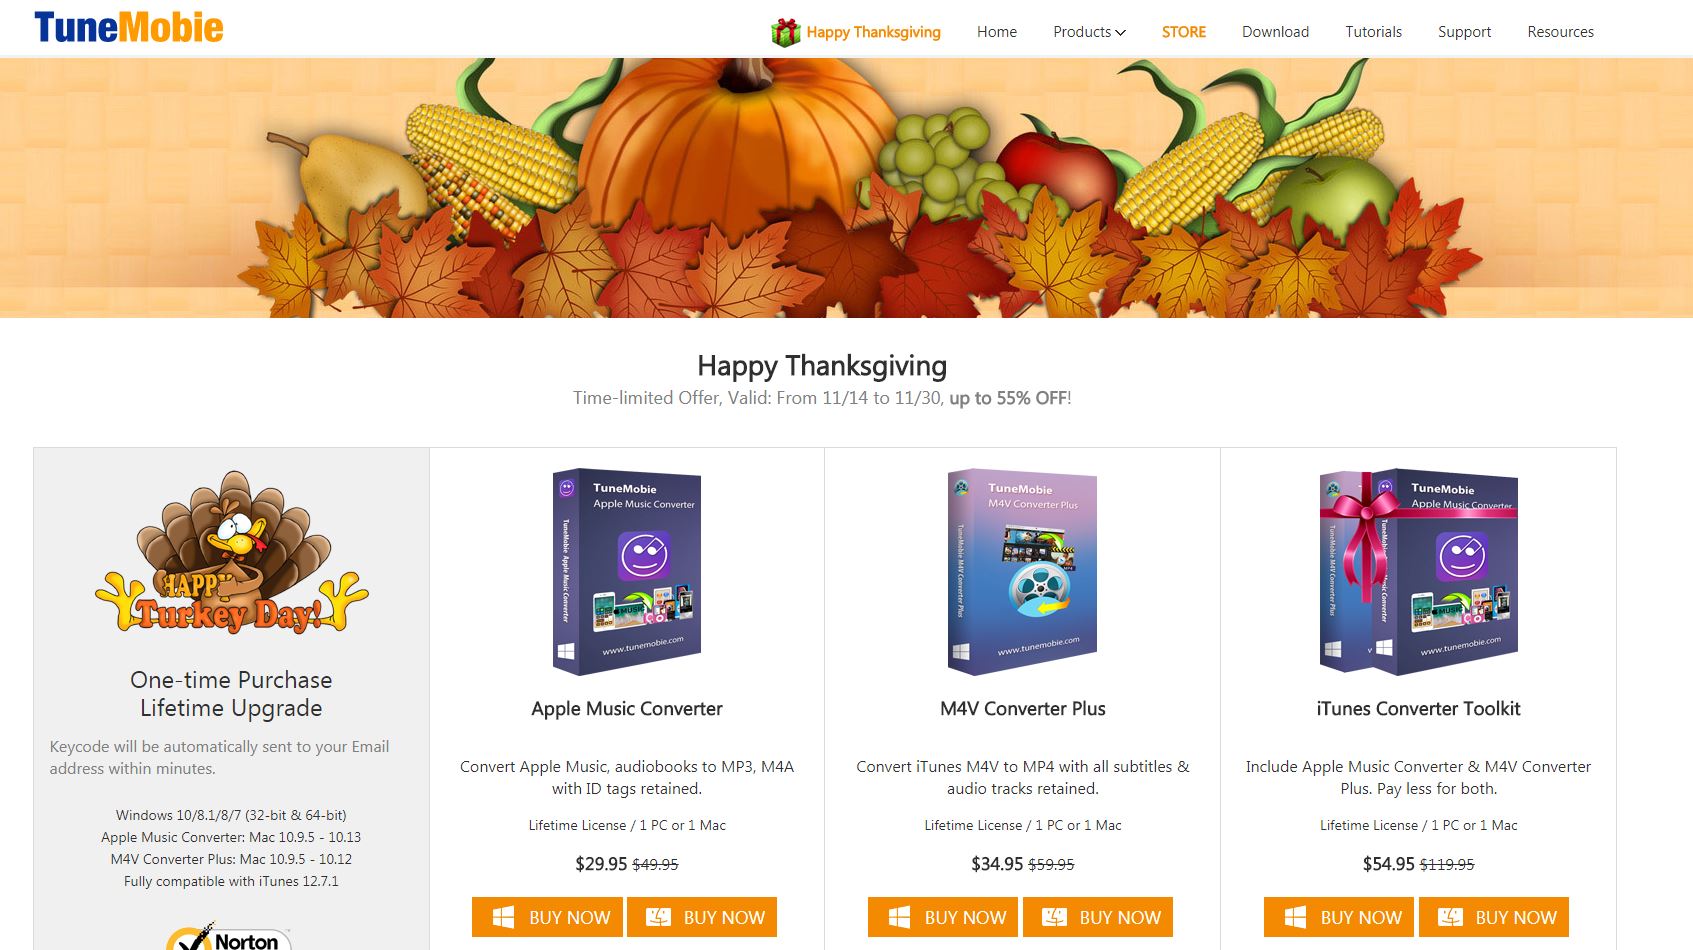
Also, a 55% discount is being offered for Thanksgiving on TuneMobie products and this is valid from 14 November to 30 November.

About TuneMobie Apple Music Converter:
It is a versatile tool for converting all types of Apple music files to common formats like MP3, M4A, M4R, FLAC, AC3, AIFF, AU and MKA.
Key Features:
- Convert all iTunes music to common audio formats, also supports audiobook conversion
- Extract audio from various iTunes video files like movies and TV shows
- Lossless conversion by preserving metadata, ID tags and original quality
- Rename Apple Music songs, also allows hyphen, space and underline for better naming
- Fast and seamless conversion at 16x speed
- Convert Apple Music tracks online directly without downloading
How to use: First, download and install the setup from here.
Once installed, launch it.

Note: iTunes must be installed for TuneMobie Apple Music Converter to work. Otherwise, an error will pop-up and it won’t initialize.

The conversion process consists of 3 main steps:
1.Select music tracks for conversion
2.Choose conversion settings
3.Convert
Let’s look at each of these:
1.Select music tracks for conversion:
The user interface of TuneMobie Music Converter is like a file manager. The left pane shows the playlist group (Library, Music, TV shows and more).

Choosing any of the saved playlist will display the list of tracks in the right pane.
If there are a lot of audio tracks, the search function can filter and return the specific track to be selected for conversion.

The attributes for the audio tracks can be changed from bottom pane which includes customizing Output Settings and Metadata.
2.Choose Conversion settings:
This has basically two sub options: Output Settings and Metadata.
Output Settings:
Settings for converted tracks like it’s output format, the output folder where it will be stored, output name, codec, bitrate settings, sample settings and audio profile can be configured from here.

To make it easy to convert to popular output formats, there are preset audio profiles which can be chosen from Profile list. Also, for choosing Apple Music as an iPhone ringtone, format can be set to M4R.
Metadata:
Various track related information like title, artist name, song cover art, album name and genre can be changed using this menu. Usually, most of the metadata information is accurate and complete so there won’t be any need to edit it.

However, this will be useful when there is something needed to be added.
Before converting, other settings too can be changed from Options menu in toolbar.

This includes changing the conversion speed (1x to 16x range, higher range makes batch conversion faster), setting custom file names for output files using attributes like Title, Album, Artist, TrackID and DiskID.

Using characters like underline, hyphen and slash can also be used. These settings can help in remembering and identifying converted tracks.
3.Convert:
![]()
Once all the output and conversion settings are finalized, simply click Convert to begin the process.

Depending on the conversion speed selected before, the converted tracks will be generated in the output folder. They can be directly played by clicking Open Output File.
Also, these tracks can now be played on any non-Apple devices too.
All done.
