Steps Recorder in Windows is a useful utility that simplifies troubleshooting by recording the exact steps taken to reproduce a problem.
It can also be used to create tutorials or for documenting.
To use it:
Select Steps Recorder from Windows Accessories menu.

The steps can be recorded with screenshots or without them by changing Settings.

To record steps, hit Start Record. Steps Recorder will capture the user actions in the active window and log them. During recording, comments too can be added by using Add Comment and selecting a region.

To pause or end it, choose Pause Record/ Stop Record.
Once complete, Steps Recorder will display the entire sequence of user actions with timestamp. This can also be viewed as an individual sequence or a slideshow.

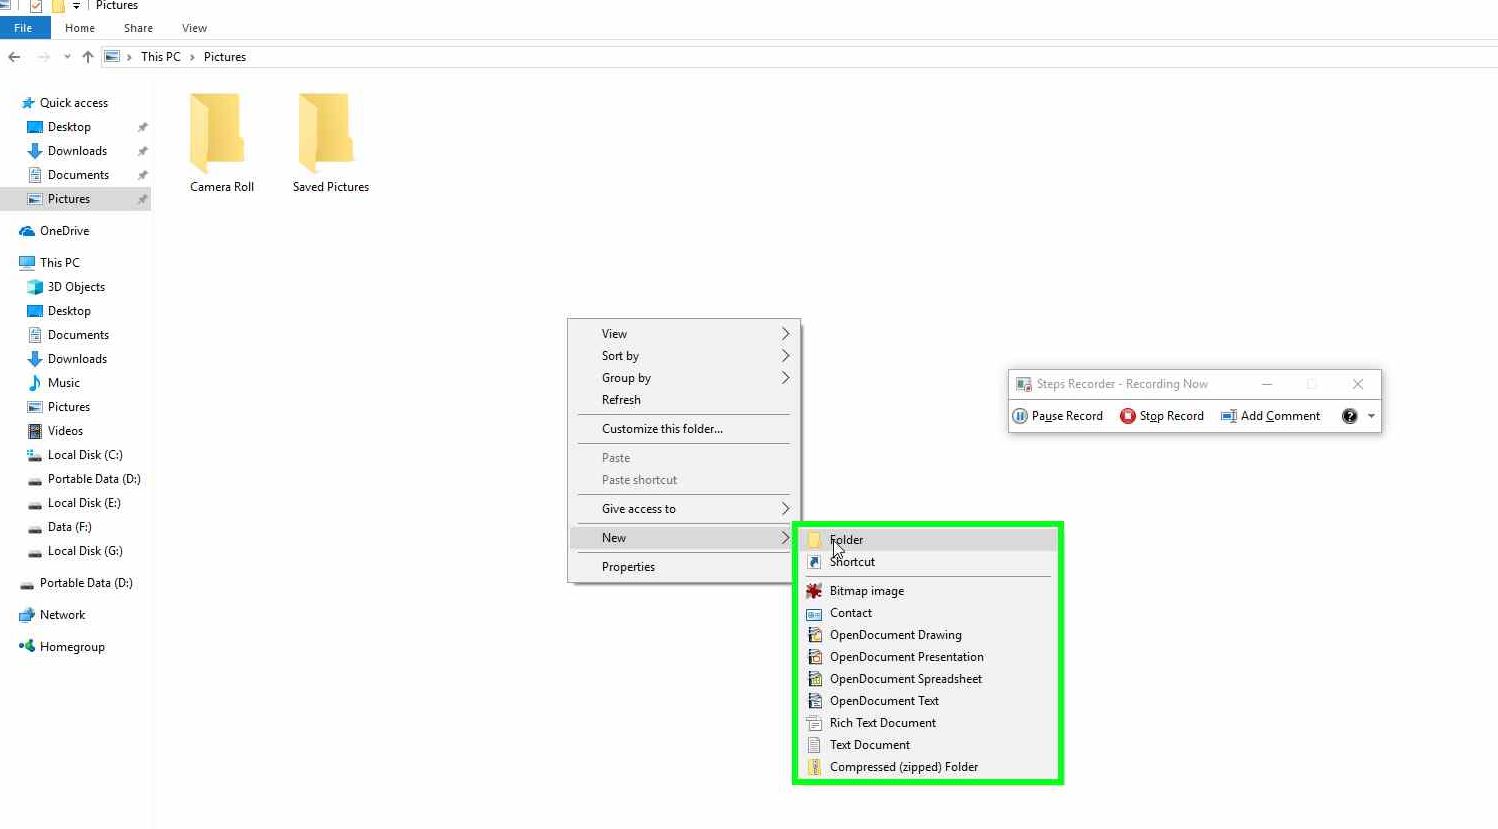
With screenshots enabled, the recording will look something like this:

Without screenshot:

The captured recording can be saved as a zip file. It will be in the MHTML format and can be viewed in browser.

This can then be used for troubleshooting or for informational/documentation purposes.
Overall, Steps Recorder is a handy and often under used system tool that can help in documenting steps without needing to buy any third party program for this.
Do give it a try.

Very nice post! That’s a great website I have visited, thank you for your essentials words.