MX Linux is a sleek Debian(stable branch) based distro geared for desktop Linux users. It is a co-op venture between antiX and MEPIS Linux communities.
If you are looking to switch or install a distro that works out of the box, MX Linux can be an excellent choice. It is a mid-weight distro with minimum system requirements of 512MB RAM/i486 processor/5GB disk space and recommended requirements of 2GB RAM/i686 processor/10 GB disk space. So, other than really old hardware, MX Linux will be suitable for most of the PCs.
The downloadable ISOs for both 32/64 bit versions can be obtained from here.
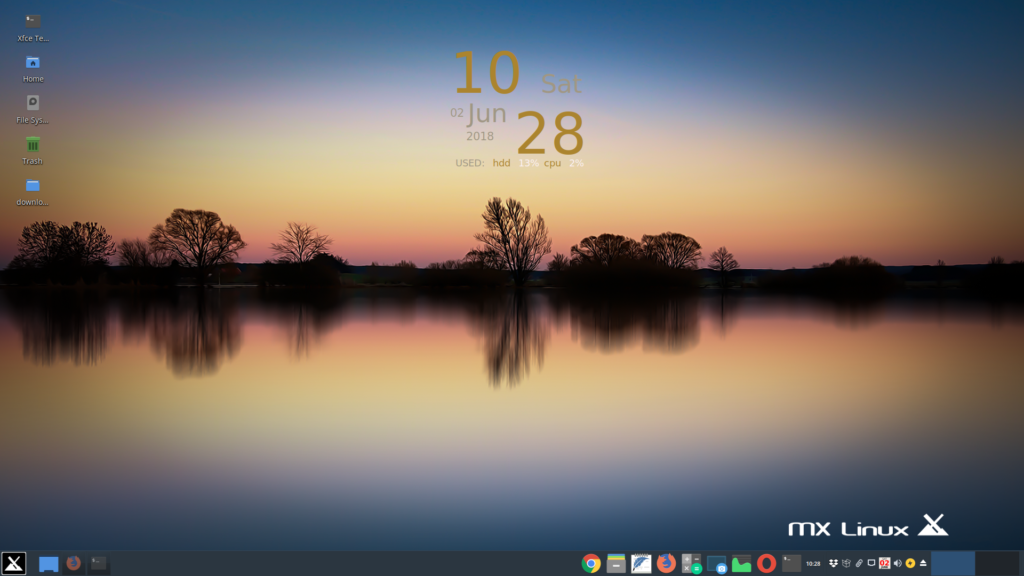
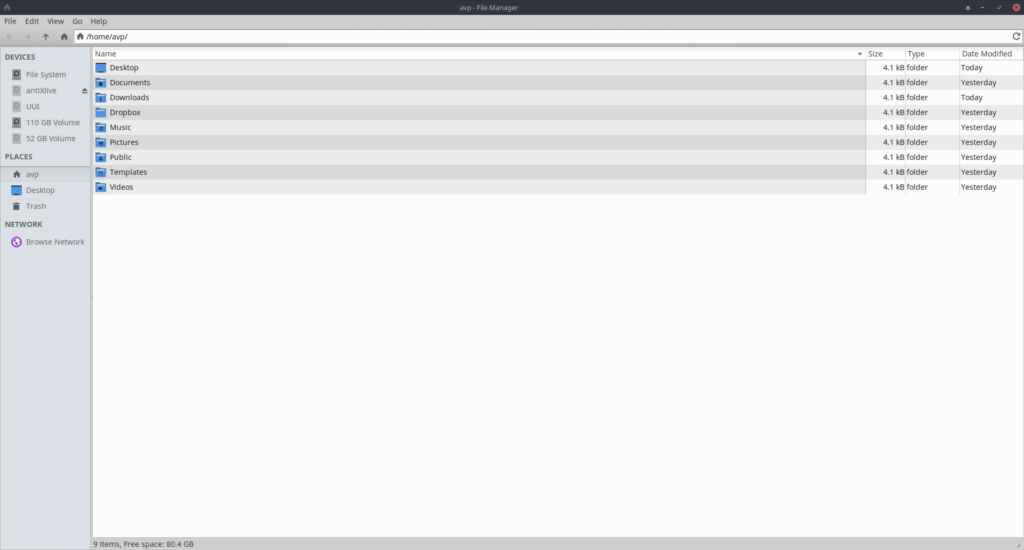
It comes with lightweight Xfce desktop environment and Thunar as the default file manager.
Installing it is easy. Create a live USB and begin installation. Apart from a normal install, it also has a VirtualBox support mode which can be used when installing it as a virtual machine. Next, run the partitioning tool or choose a custom partitioning scheme for installation to start. Only at the end of this process, computer name and user details are asked.
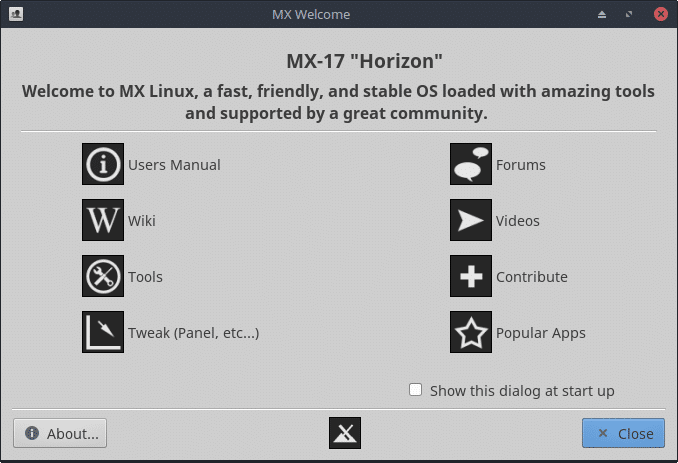
The initial welcome screen – MX Welcome both in live mode and after installation provides a quick orientation about MX Linux, along with support resources and configuration tools.
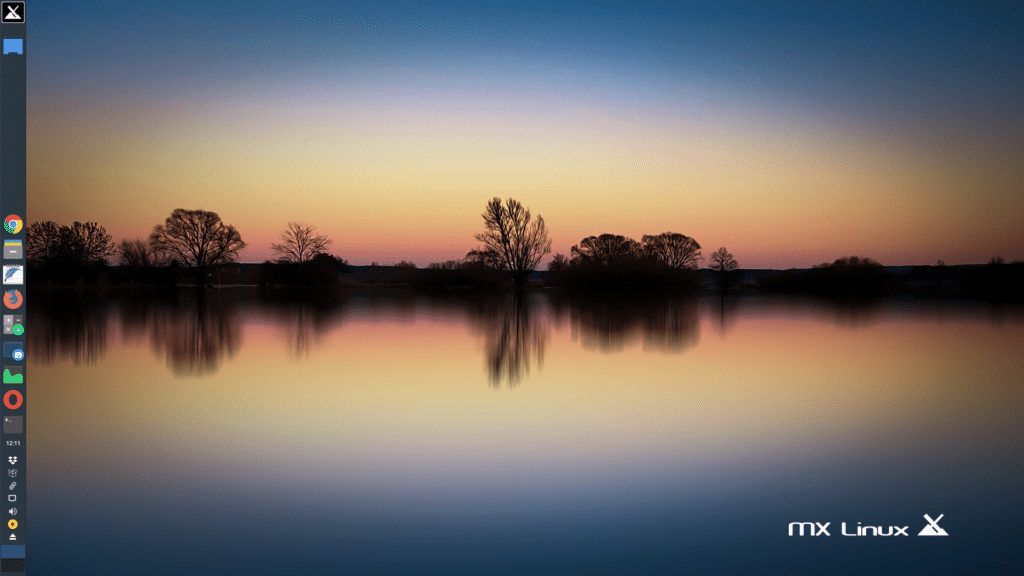
The default desktop layout is a vertical pane on left but it can be changed as needed with the tweaking tool (more on that later). The black-white X button is the menu launcher button.
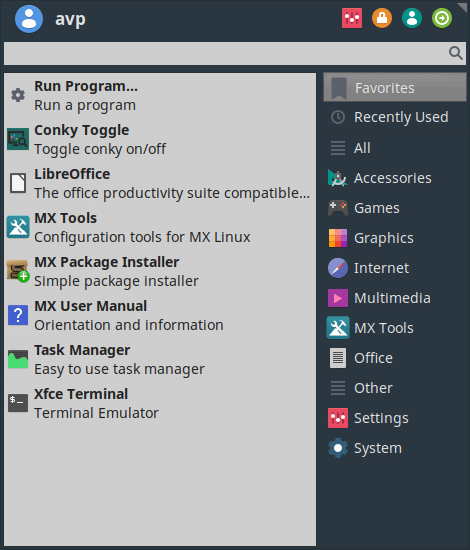
The program menu (Whisker menu) is a familiar Xfce environment and very snappy to respond and use.
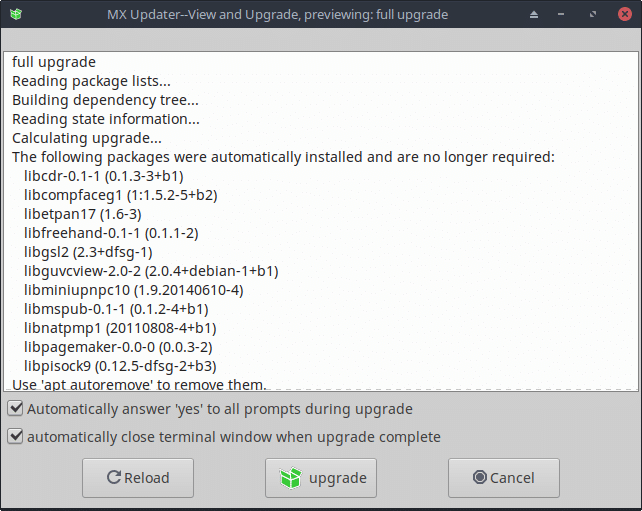
MX Linux has it’s own update manager and notifications about available updates/upgrades are visible with the green box icon in desktop panel.
![]()
The process of updating or upgrading packages is automated. These are all apt commands that run silently after the initial password prompt and update/upgrade the system.
Where MX Linux really shines is when using it’s own set of tools – MX Tools.
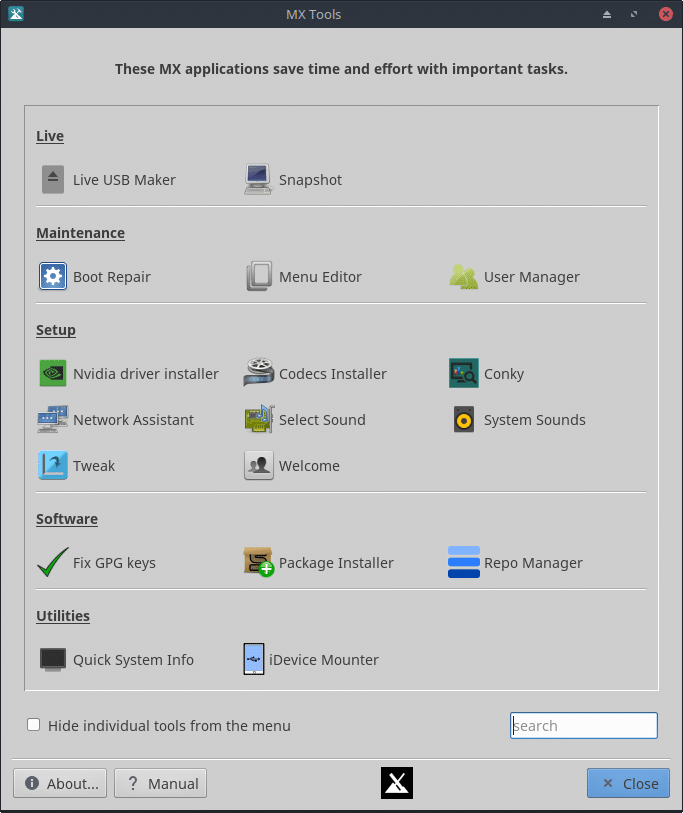
These tools make configuring the system a lot easier. Apps can be installed as needed, backups and cloning of live system can be performed, installing restricted multimedia codecs and graphics driver can be done directly through these tools.
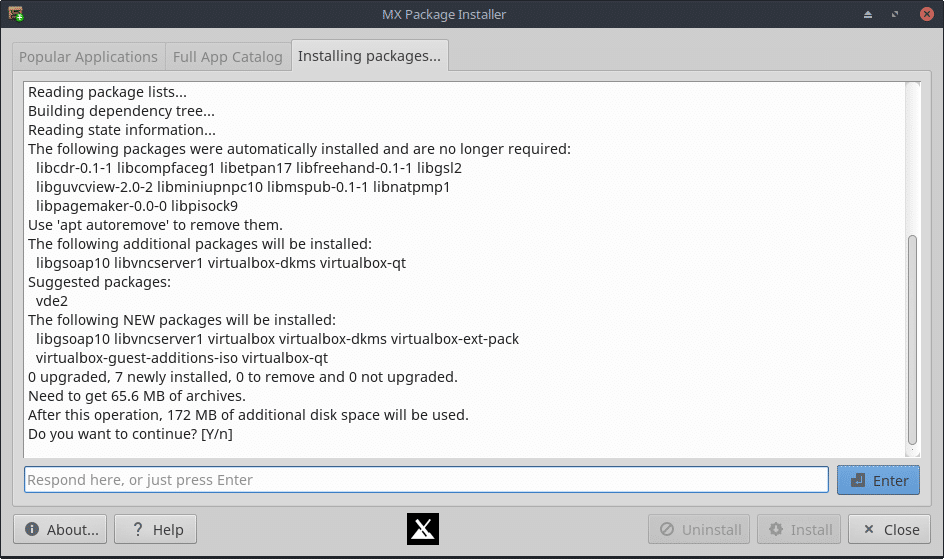
Apps are listed categorically and can be selected for install/uninstall accordingly through MX Package Installer.
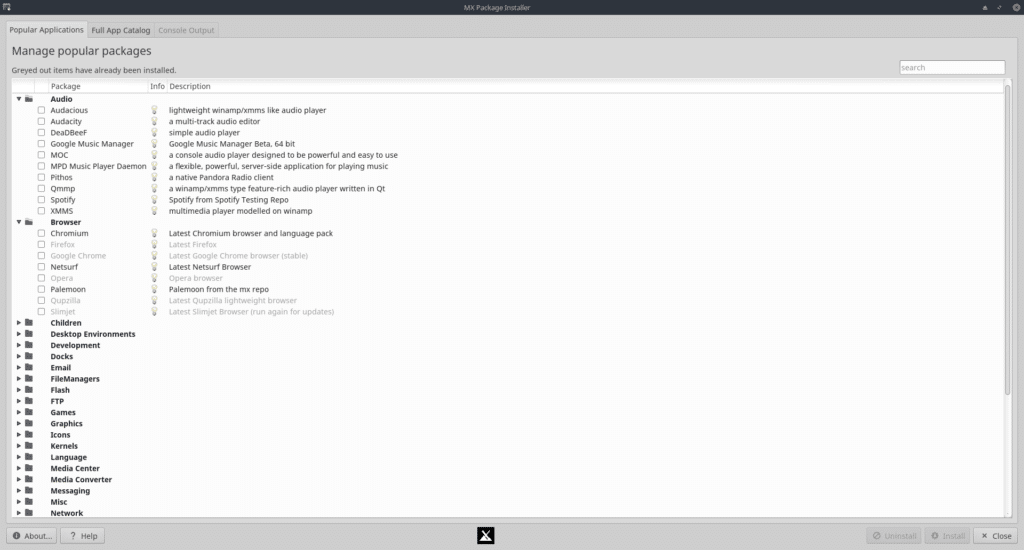
MX Linux has Synaptic Package manager too but it is a lot less user friendly compared to it’s MX Package Installer.
MX Repo Manager can be used to modify/add repositories. The existing MX and Debian repositories are sufficient but others can be added too through this.
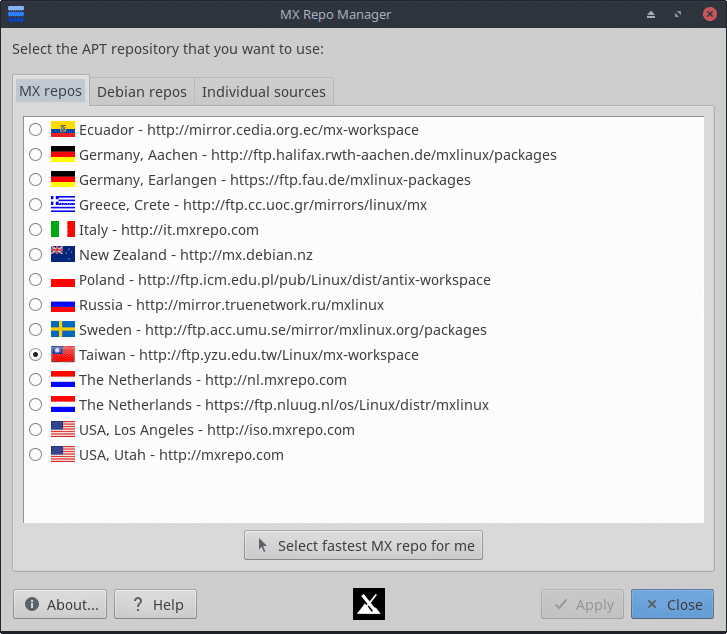
Also, it can auto select the fastest repository based on your location for quick downloads and updates.
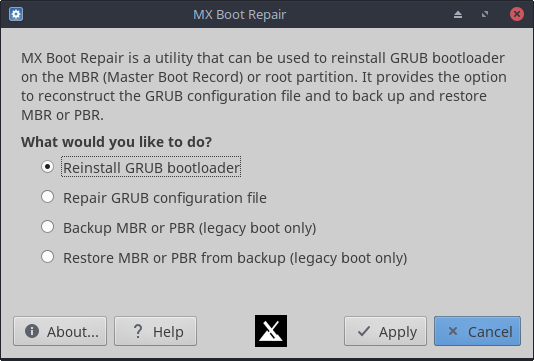
MX Boot Repair tool is for repairing or reinstalling GRUB/MBR. These can also be backed up and restored using it.
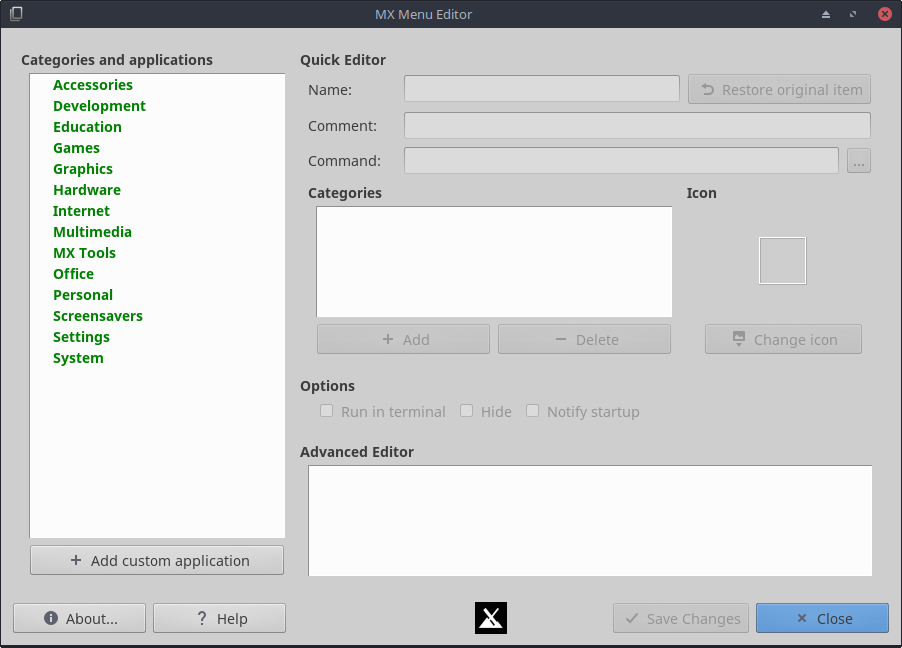
Custom application categories and lists can be added through MX Menu Editor. Change user settings, add/remove users and privileges through User Manager.
Other system utilities like Quick System Info (basically inxi command line tool) can copy the system information to clipboard. This can then be used for troubleshooting or for reference. iDevice Mounter is for adding Apple devices if any and pairing it with the system.
Even for beginner Linux desktop users, such system tasks become easy to complete. Tweaking using MX Tweak can allow users to configure how and where the desktop panel be displayed, backup or restore these panel settings, select a new theme and much more.
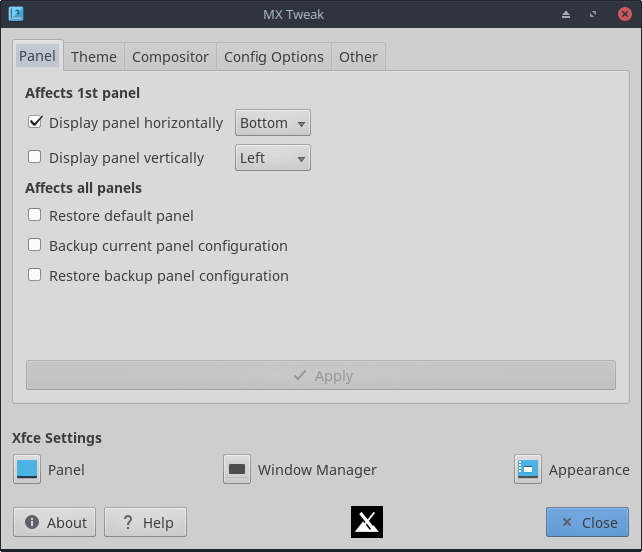
By default, items are activated using a single-click in MX Linux when using desktop and file manager. This can be changed to double-click using the tweak tool.
To configure backups, luckyBackup tool is handy. Set a backup path and a schedule for backing up important data.
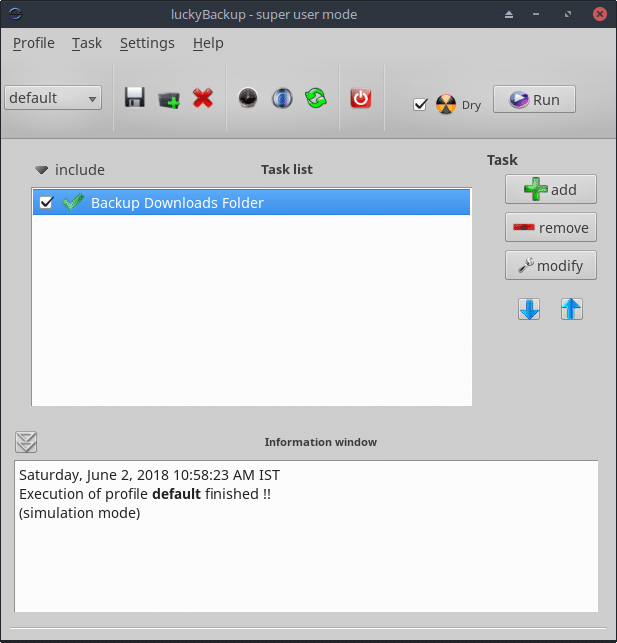
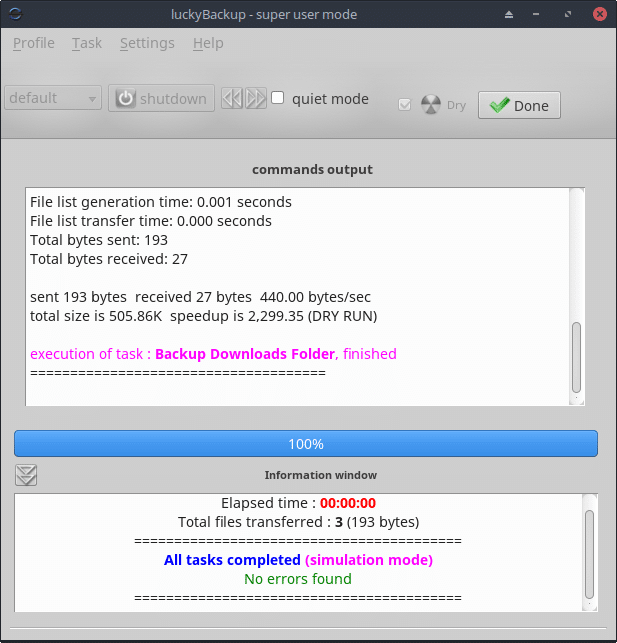
Also, a dry run can be conducted just to test backups and ensure if the backup settings are valid.
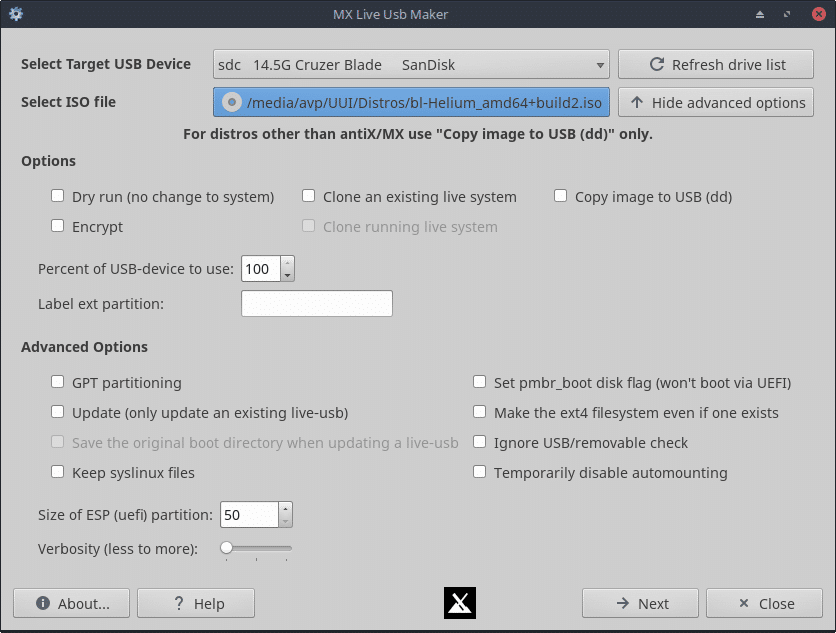
Using MX Snapshot, the entire live system can be saved as an ISO with all the apps and user settings.
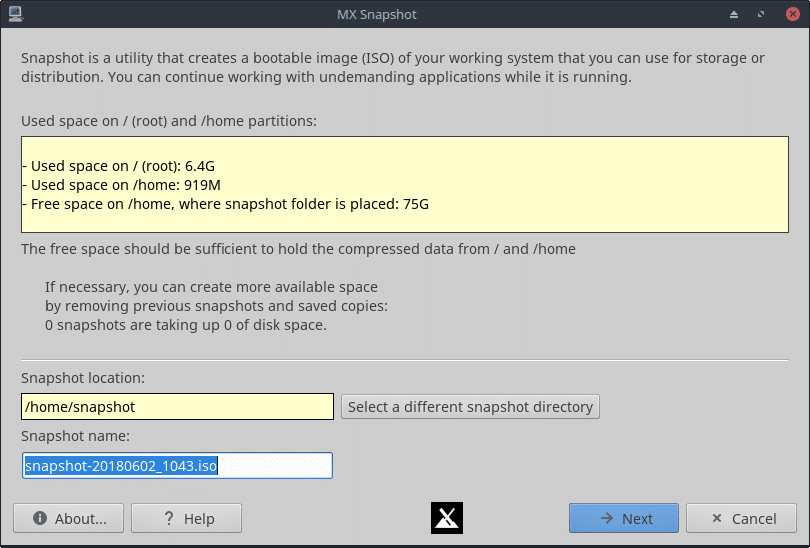
Then it becomes very easy to restore it or even use it as a live USB. All you will need is to make it a bootable ISO and on booting, enter the same credentials as those of the original system. If a complete snapshot is done, everything will be available to use right after logging in on the target system. These tasks can be done through MX Live USB Maker and MX Snapshot.
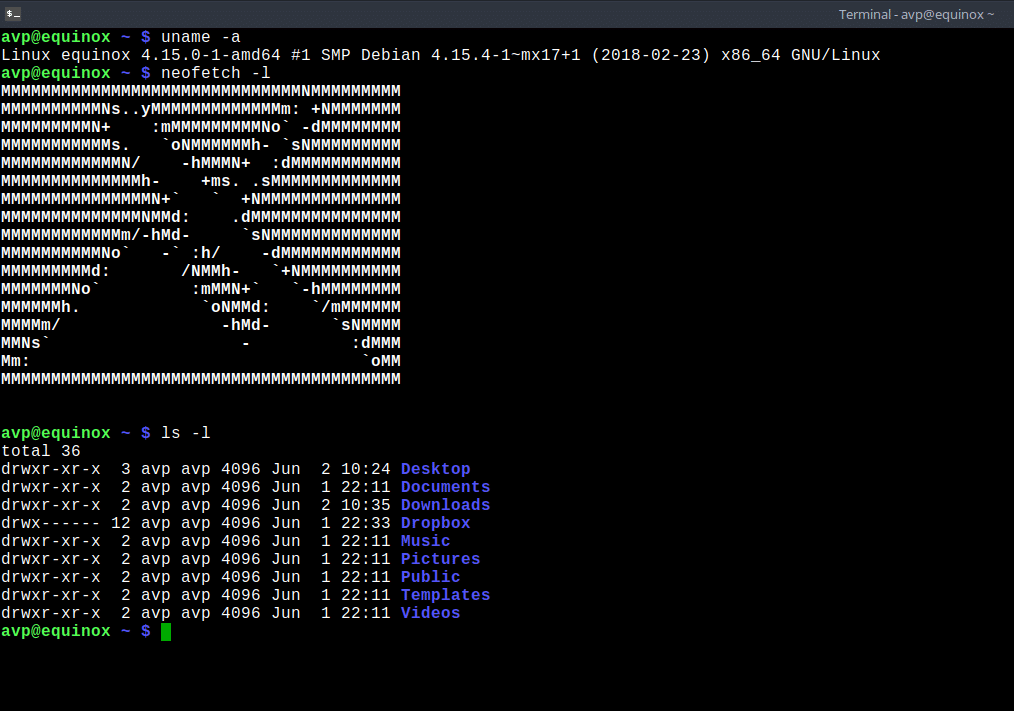
Of course, if you prefer the Linux command line to do most of these tasks, that too is available through Xfce Terminal. Familiarity with Linux commands would make the move to MX Linux a lot easier but not really a prerequisite.
Overall, it is a very simplified and snappy desktop focused Linux distribution with excellent hardware detection. It can be used by new as well as experienced desktop Linux
users without a steep learning curve.
Do try it out.

Very good article. You really make it seem so easy with your presentation but I find this topic to be actually something which I think I would never understand. It seems too complicated and very broad for me. I’m looking forward for your next post, I will try to get the hang of it! Thanks because that is the useful information. If you need to get a capital paper all about this post you can use check online materials, and I’ll advise you that unlike those services, they give wonderful class guaranty that your work is free of plagiarism. Students would like to buy a research paper using the assistance of the plagiarism detection. They will give you an accurate plagiarism detection reporting without any delay.