Windows 10 Fall Creators Update comes with OpenSSH client and server. This is useful when managing remote servers via SSH without using a third party software like Putty.
To install OpenSSH client in Windows 10 :
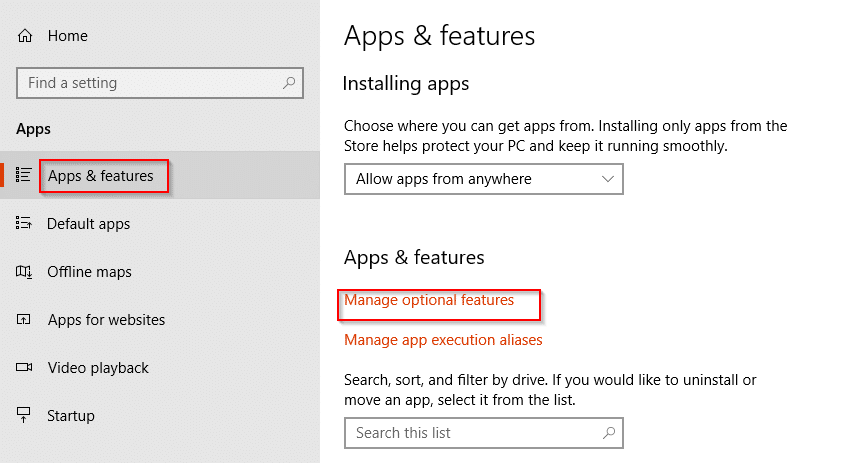
First, access Windows settings (Win key + I) > Apps

The from Apps & Features, click on Manage optional features.

Next, choose Add a Feature and scroll down to OpenSSH Client. Then select Install.

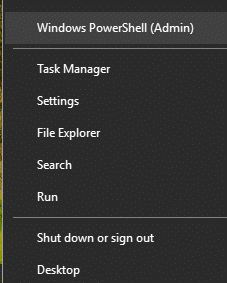
Alternatively, you can search and install this directly from Windows PowerShell too. Launch PowerShell in Admin mode (right click Windows start button)

Then, type the following (in this example, the client is already installed) :

This will query and list packages starting with the term OpenSSH. (Similar to running apt commands in Ubuntu/Mint for searching packages and installing them.).
Then install the client :
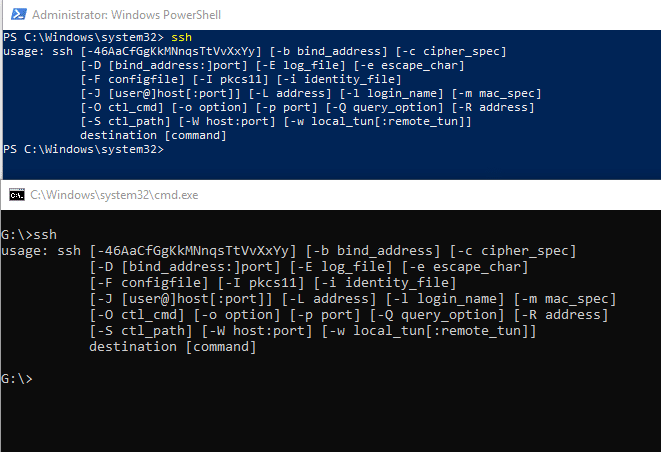
Once installed, launch command prompt or Powershell and try using ssh command.

It will be available and ready to use. You can now use SSH to remote login to other systems directly from Windows 10. It can be also used with rsync to transfer a lot of data quickly. A brief guide on how to do that can be found in an earlier article here.

Happy SSH-ing.