ShareX is an open source screenshot tool for Windows that makes capturing screenshots, GIFs and screen recording easy. Download and install it from here.
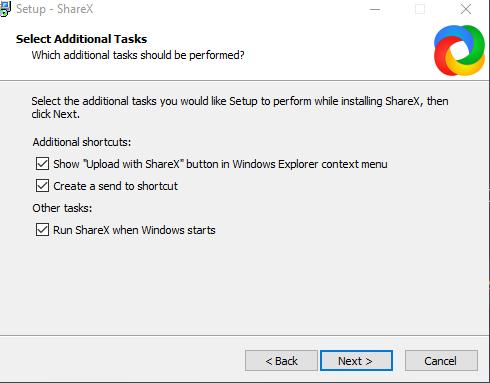
During installation, there will be a prompt for additional tasks. This basically includes whether to set ShareX to run during Windows startup and for integrating it with File Explorer.
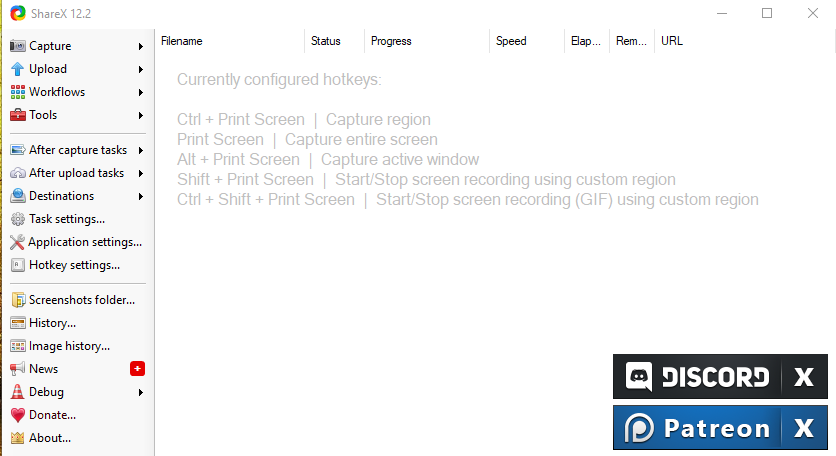
The default keyboard shortcuts to quickly take various types of screenshots are :
- Ctrl+PrtScr – Captures region
- PrtScr – Captures entire screen
- Alt+PrtScr – Captures active window
- Shift+PrtScr – Begin and end screen recording for custom region
- Ctrl+Shift+PrtScr – Begin/end GIF capture for custom region
Using ShareX is mainly divided into three main areas : Capture, Upload and Workflows.
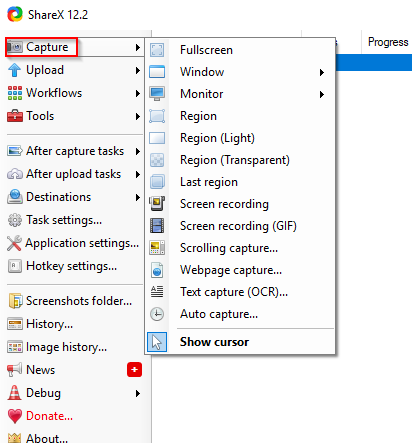
Capture : This is for taking screenshots, recording screencasts or for capturing GIFs.
The default keyboard shortcuts are easy to use for any of these tasks. Captured screenshots will appear in the right pane with timestamp and location.
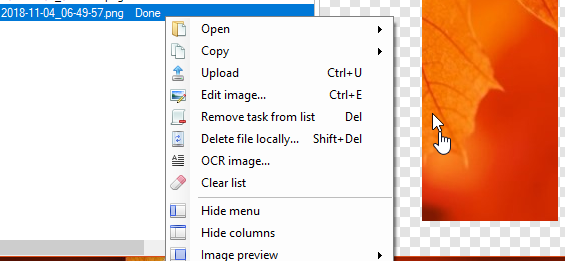
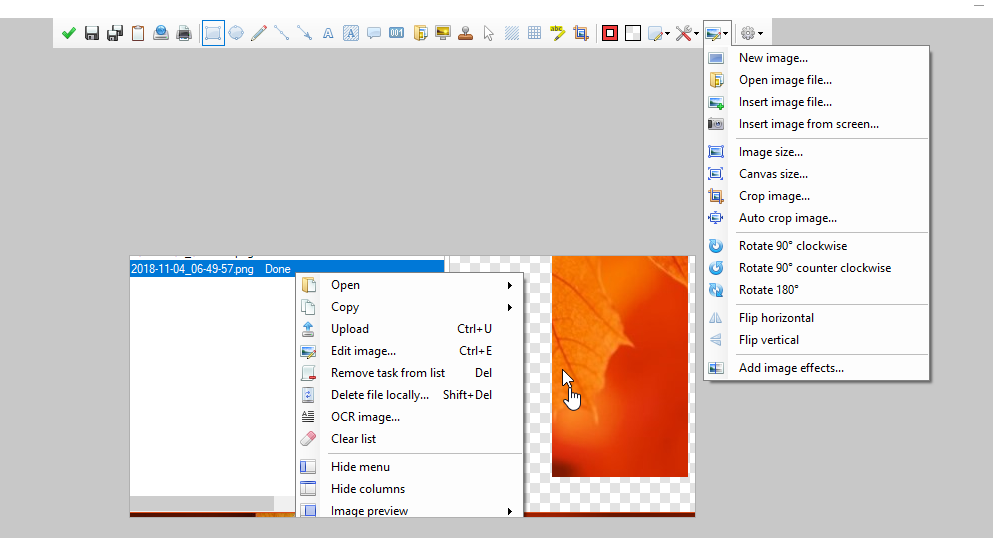
You can edit or add effects by right clicking and selecting Edit image. ShareX comes with an image editor to make changes to these screenshots.
Upload : ShareX has a useful option of directly uploading screenshots to online image sharing and storage services like Imgur, Image Shack, DropBox, OneDrive and so on.
Also, when a screenshot is captured after the first run, there will be a prompt to configure auto uploading settings. These can be accessed from application settings.
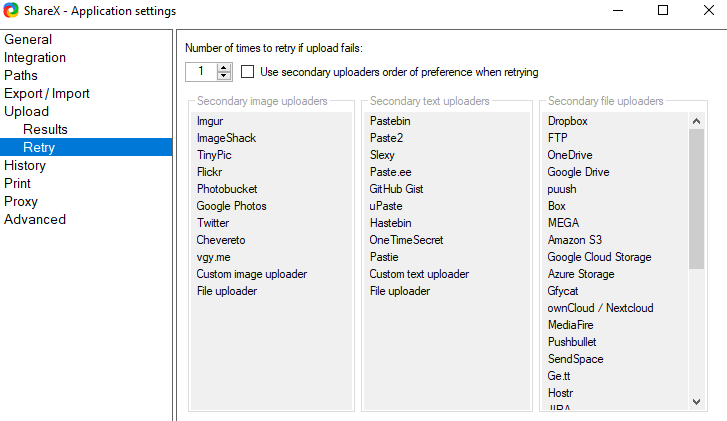
By default, if uploading is chosen for a screenshot, ShareX will directly upload it to Imgur and display the image link.
![]()
This is a useful feature to have when you want to share many screenshots quickly online. Simply capture them and right click and upload.
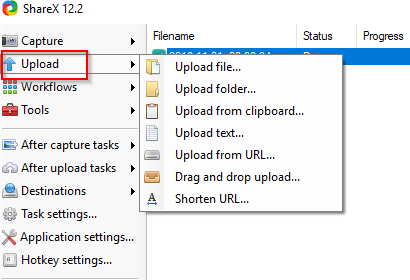
After uploading, you can also shorten the shared links by choosing from a list of link shortening services. Also besides uploading individual screenshots, you can also upload folders, list of files from a URL and even shorten links.
Workflow : The default workflow consists of taking screenshots and screencasts. Custom workflows can be assigned using the hotkey settings.

Tools : There are other useful tools that ShareX comes with including Color Picker, Image Editor, Hash Check, DNS changer and so on.
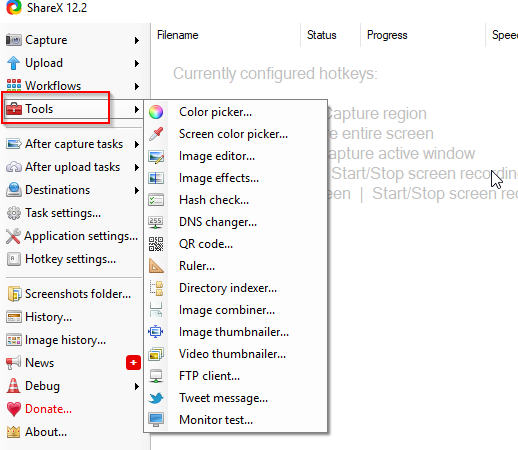
These are additional utilities and aren’t required for basic workflow for taking screenshots unless needed.
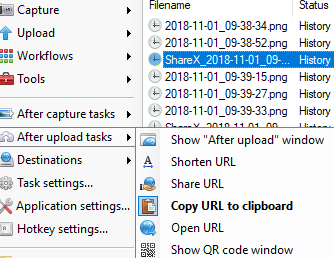
After Capture and After upload tasks : These list the possible tasks that will be displayed in the menu for screenshot capture and uploading. Either select them to be displayed or remove them as needed.
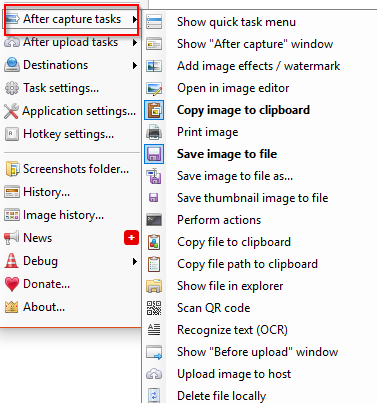
Bold entries indicate the menu functions that are active, clicking on them will enable/disable them from being displayed.
History : This will list all the screenshots taken. You can also filter by using date, file name and image type to get a list of relevant screenshots taken on a particular date.
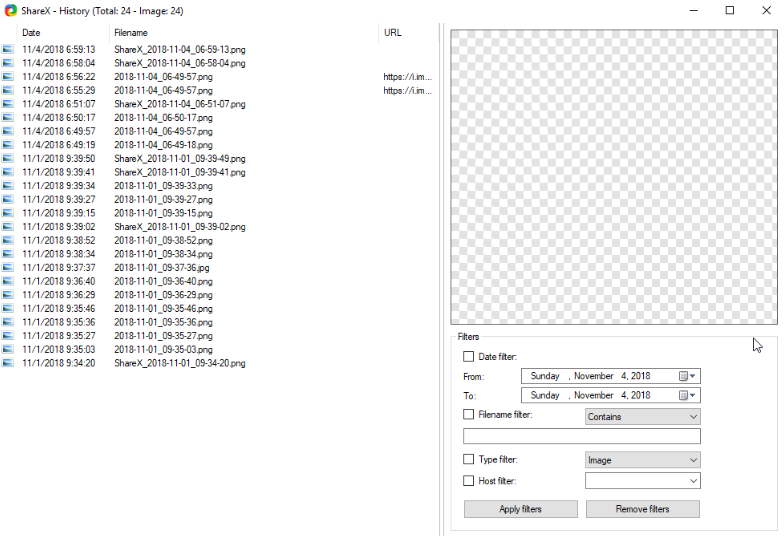
Right click and choose Clear list to clear the history. Pretty useful.
Task settings : Configure image and recording options like FPS, type of image format for screenshots to be saved in and so on.
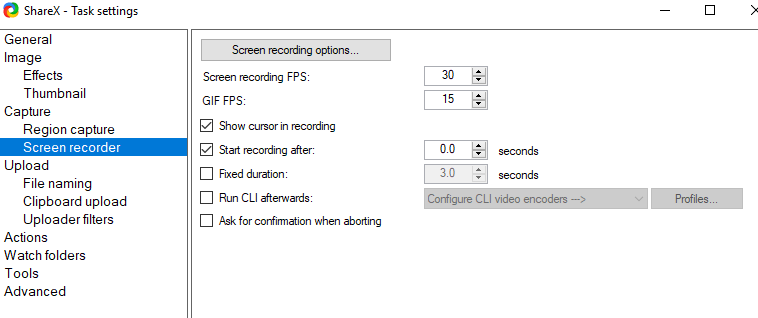
You can also specify folders to watch for changes using Watch folders option.
Application settings : You can configure ShareX integration with Windows from here. Also, there are Chrome and Firefox add-ons that can be enabled from this section.
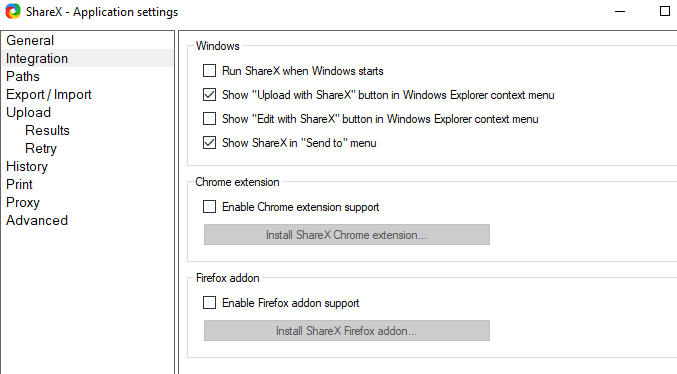
Other options include changing the upload settings, configuring a proxy, importing and exporting user settings and changing the screenshots destination path. Very much customizable.
Hotkey settings : This is the same as adding a custom workflow. Change the shortcut keys for ShareX tasks from here or go with the defaults.
Overall this is a very versatile and free screenshot and screencast capture tool that has been around for 10 years.
Do try it out and contribute to development if possible.