There are several cool Chrome extensions which can be used as a web server, or to manage time efficiently and so on. Add to that Screencastify .
It makes it easy to record screen, browser tab and webcam. The advantage of using it is that there is no need to install anything else and it can be used on PCs, Macs and Chromebooks.
Installing and setting up Screencastify:
Download and install it from here.

The free version has watermark and can record 10 minute videos with upto 50 videos per month while the premium version has no such limits. Other features like crop, trim and saving as MP4/GIF are available only in premium version.
However, if you want to create short videos, the free version can be sufficient for that.
Once installed, it will show up with an arrow icon next to address bar.![]()
The first step will be to sign in to Google account from Screencastify.
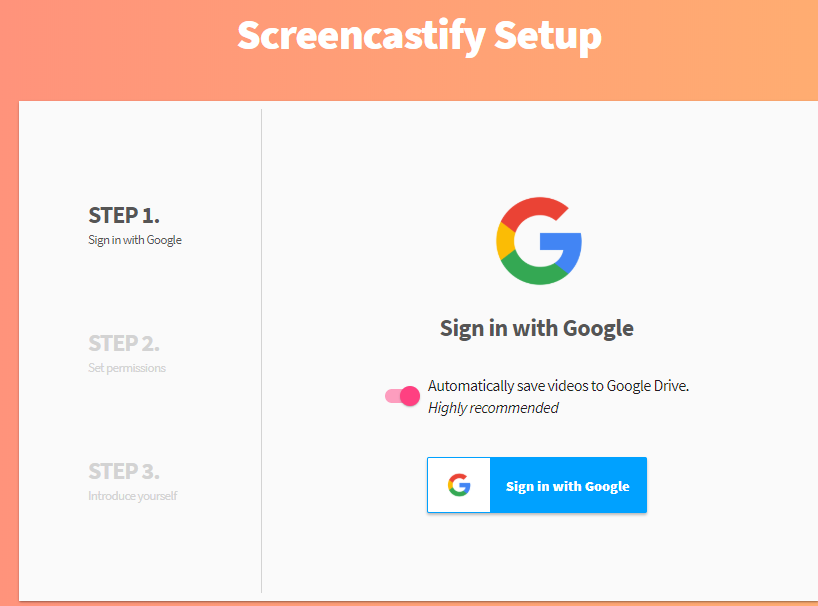
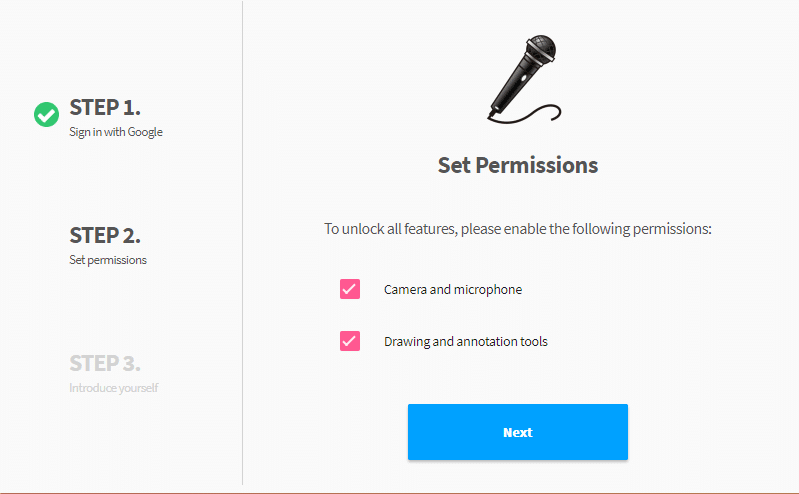
This automatically can upload recorded videos to Google Drive from where they can be shared online directly. Next step is to allow for permissions needed for recording screen and webcasts. Select as needed and click Next.
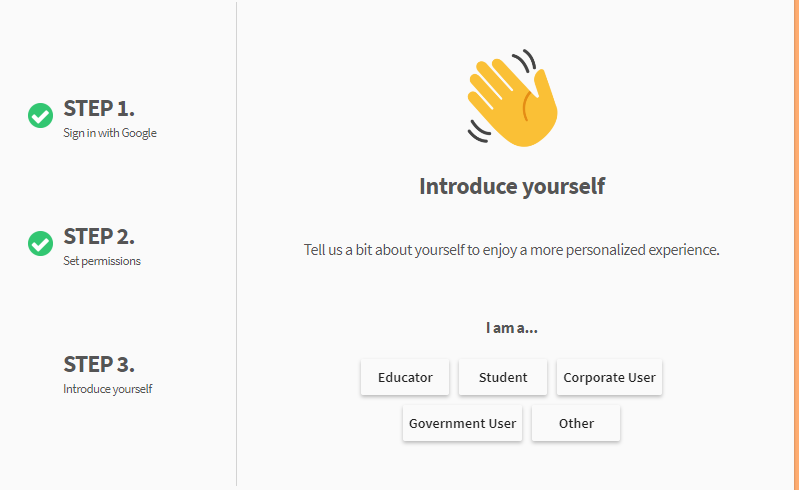
Finally, set up a general introduction to start using Screencastify.
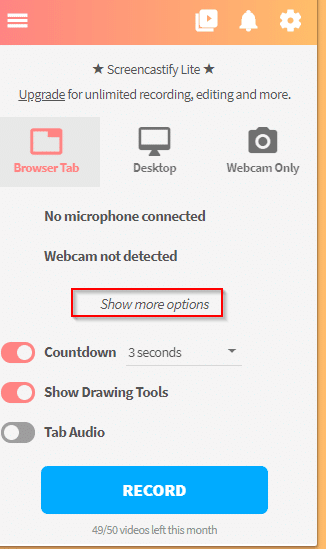
To record screen, browser tab or webcasts click the extension icon. There will be choices to record all of these. Also, expand the more options menu by clicking Show more options to set a time delay (default being 3 seconds) and other options.
Recording tab :
Once the option of recording is selected, the extension will change with a red dot indicating that the video is being recorded.
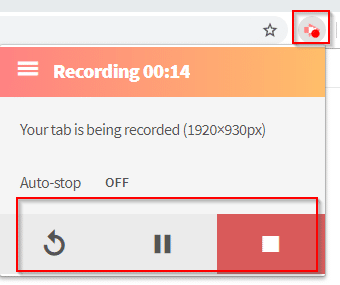
At any point during recording, click on the extension to pause or stop.
Recording screen and webcast :
This is similar to recording tab. Choose what to record as needed – either the whole desktop or specific application window and click Share.
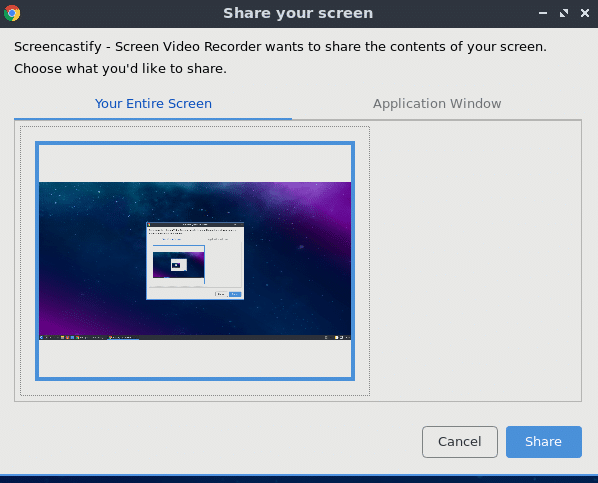
Screencastify will now indicate that the screen is being shared for recording.
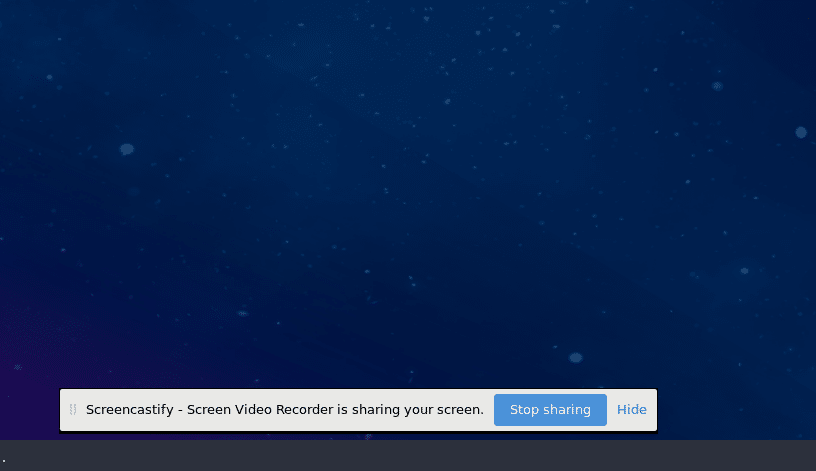
Again, stop at any time to complete the recording.
The recorded video will automatically be displayed in a new browser tab.
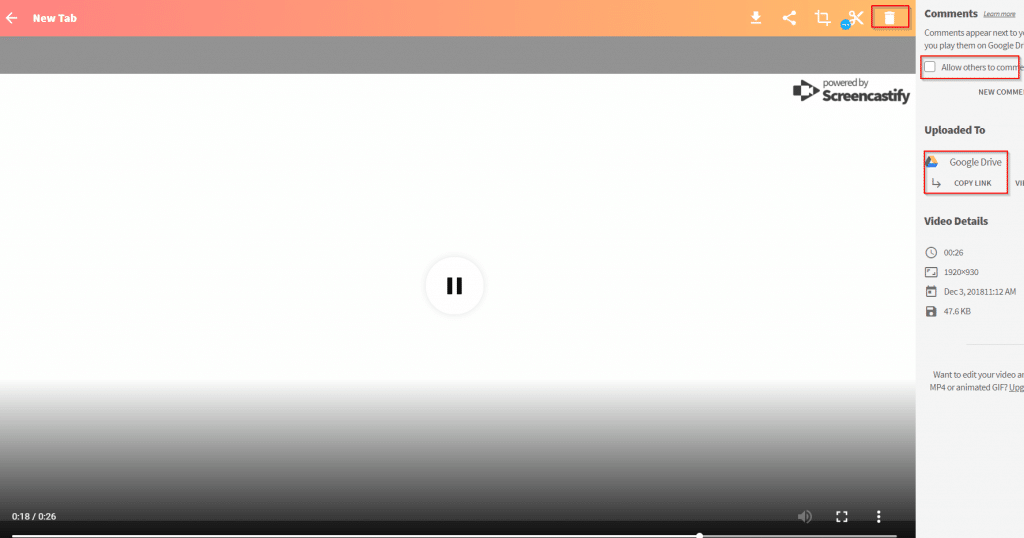
As by default, auto uploading to Google Drive is on, the video will be uploaded there and then can be shared. This becomes useful when making tutorials and for collaborating online. Comments can be enabled for these videos (interactive tutorials) and the video link can be shared directly as well.
Various options like default save location, FPS settings, video resolution, notification settings and more can be changed from here. Click on the top left square to access them.
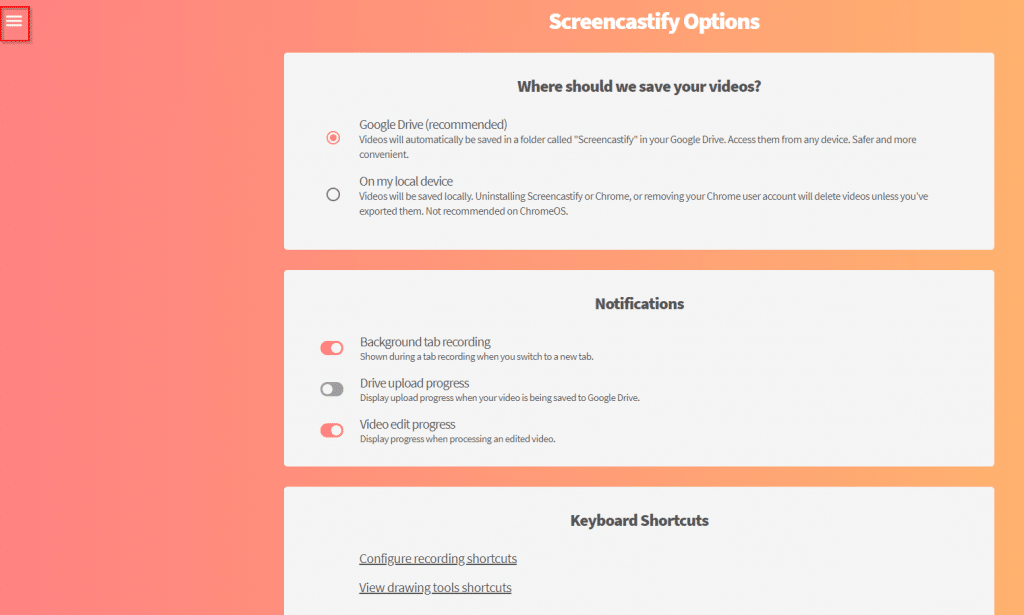
Other options for recording by default can be changed too. The default ones though don’t need to be changed as such unless required.
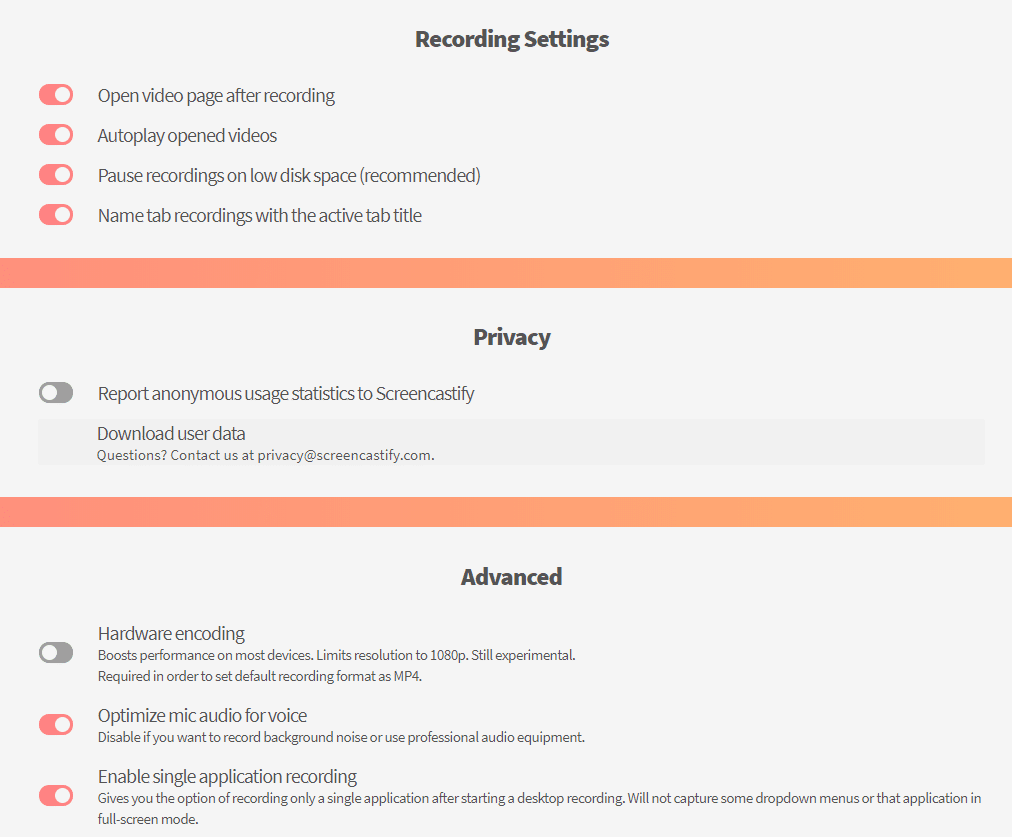
Overall this is a useful extension to have for making short tutorials, demos and brief presentation videos.
Do try it out.