Windows 10 October 2018 update combines the default snipping tool with sketching. This integration that is Snip & Sketch makes it easier to take screenshots and edit them.
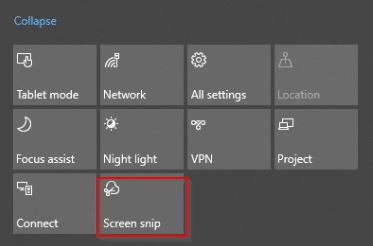
To take a screenshot, either go to Action Center > Screen snip or use shortcut key : Windows key + Shift + S.
This will launch a screenshot window with three options available : full screen, free form and rectangular.
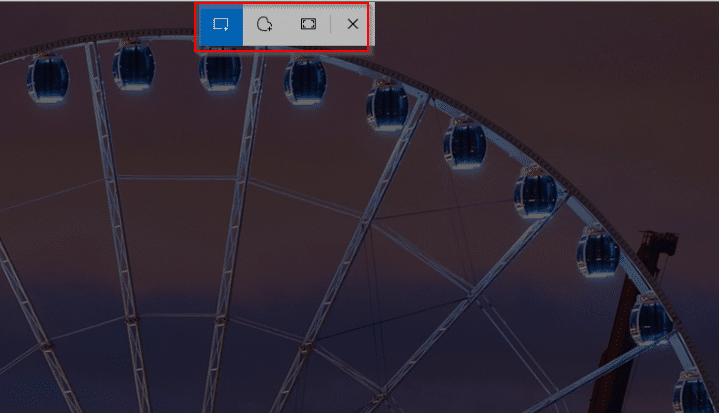
Choose as needed and capture the screenshot.
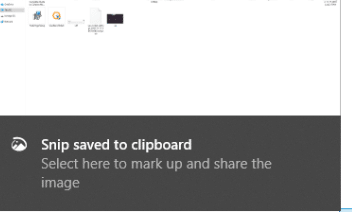
It will now directly open in Snip & Sketch editor where you can annotate it, edit and make changes.
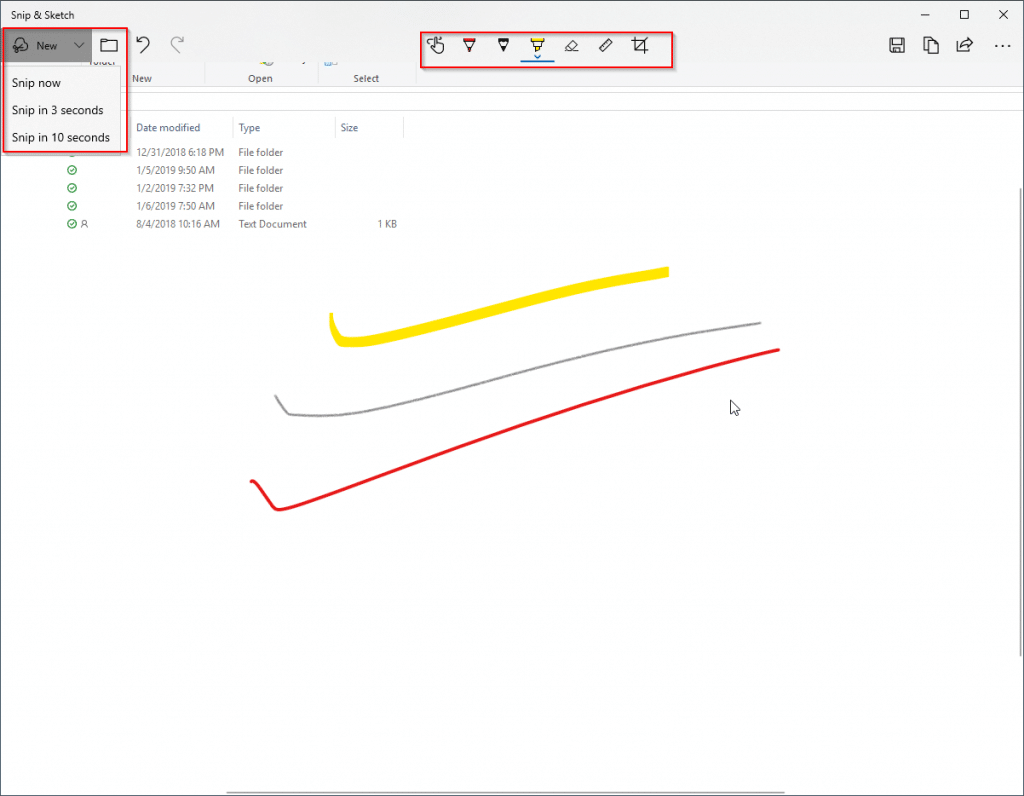
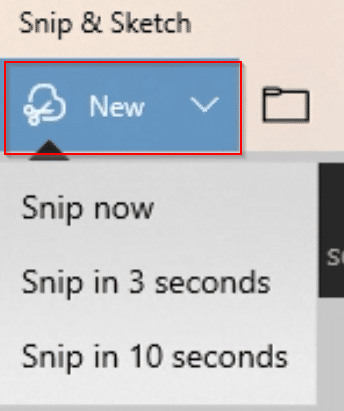
You can also use Snip & Sketch as a standalone tool from the Windows menu.

Screenshots after a certain delay can be captured directly from there by choosing New > Snip in 3 seconds or 10 seconds.
This is a useful upgrade as it makes it easy to take and edit basic screenshots directly.
For a more detailed usage when it comes to taking screenshots, other tools like Greenshot and ShareX can be a good option.
You really have shared great insights for screenshots and this article is giving all the information which actually is required.