Adding workspaces in Linux Mint 19 expands the available desktop area to fit in more open applications and also keeping them organized.
Just like virtual desktops in Windows 10, Linux Mint 19 can have additional workspaces.
Here is how to add them :
Right click on the panel and click Panel > Add New Items.
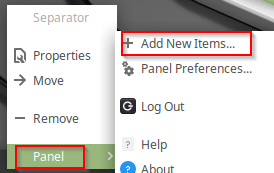
Scroll down to Workspace Switcher and choose Add.

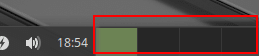
This will add the default workspace view, Linux Mint 19 by default has 4 workspaces.
To move an open program or application to a different workspace, right click on it from the panel and select Move to Another Workspace.
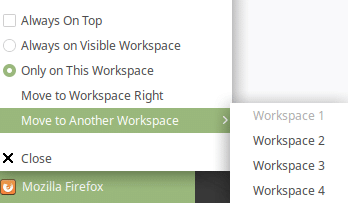
Doing this can be useful as different workspaces can be used (like a workspace which has email, another which has documents and so on).
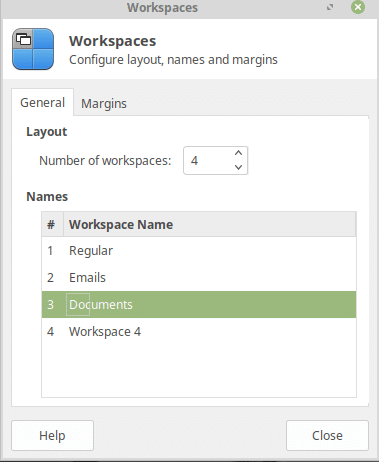
Also, the number of workspaces can be increased from the default of 4. To do this, right click on the workspace area and select Workspace Settings.
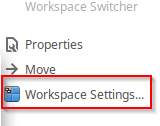
Here, from the General tab, increase or decrease the workspaces as needed, the minimum being 1. You can also rename them by double clicking and entering a name.
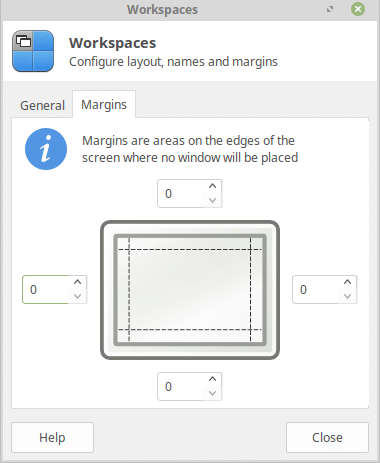
Also, layout can be configured using the Margins tab.
Overall, this is a cool feature to increase productivity and also reduce clutter from the default panel in Linux Mint 19.
Good and useful tip, thank you for such sahring. Will test it today. Continue working in the same way becasue your explanation together with screens can be really helpful in most situations.
No idea where to do the right click…
Right click anywhere on the bottom panel to bring up the Panel pop-up.