With the Microsoft Windows Subsystem for Linux (WSL), you can directly install and run Linux distros without having to use a virtual machine or dual booting.
This can be convenient when wanting to run native Linux commands directly from Windows. You can also install just the Ubuntu Terminal in Windows 10 due to this feature.
Here is how to install Ubuntu Terminal in Windows 10:
Installing Windows Subsystem for Linux (WSL) :
The first thing to do is install the WSL. Right click on Windows start menu and choose Windows Powershell (Admin) mode.
Next, type the following to get WSL installed :
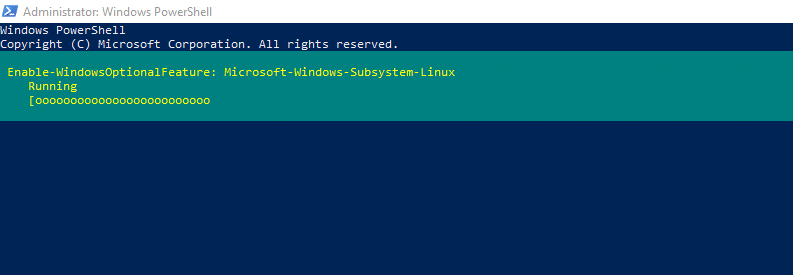
Installing it will take some time. Once it is complete, restart the PC.

Installing Ubuntu Terminal :
After WSL is installed, installing Ubuntu Terminal is easy. Simply locate it from Microsoft Store and click Get.
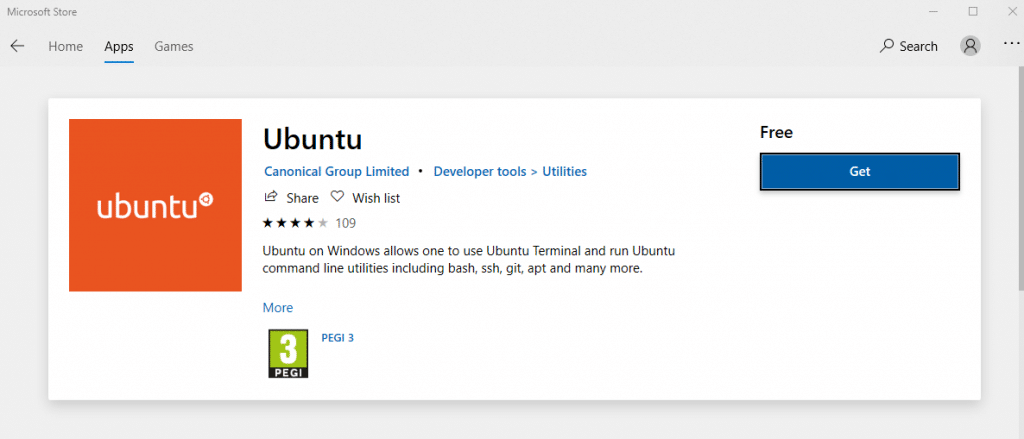
Note : If you directly try to install it without having the WSL installed first, an error will be displayed indicating that it is not installed.

So install WSL first and then continue with installing Ubuntu Terminal after that. Wait for installation to be over. After it is done, a Unix user account needs to be created.

This can be a different username than your Windows 10 username. Choose and set it as required.
Using Ubuntu Terminal:
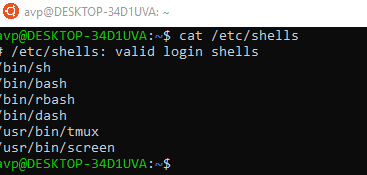
The usual Bash shell is the default with all it’s goodness will now be available ready to use.

There are others available too if you need to use them.
Command line text editors like nano and vi are available by default. So you can make shell scripts and run them just like in any other native Linux distro.

You can also run various commands for different uses like rsync over ssh, wget and so on.
Here is a brief primer on commonly used commands in Linux.

The disk partitions of Windows 10 can be mounted using the Terminal and accessed too. First list them using the df command :
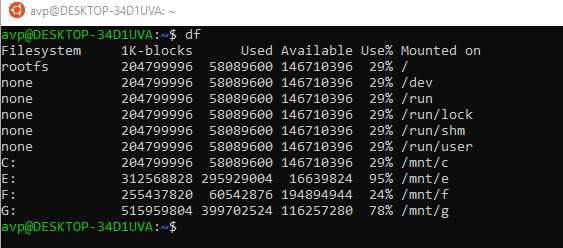
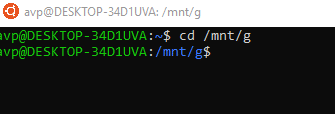
Next, mount the required disk partition by accessing the specific mount point :
All done.