It can be useful to try out new Android apps and games by installing them first on an emulator. MEmu Player is a free, lightweight Android emulator for PC which makes it easy to run Android apps.
Download and install it from here. Installing it is just like installing any other Windows program.
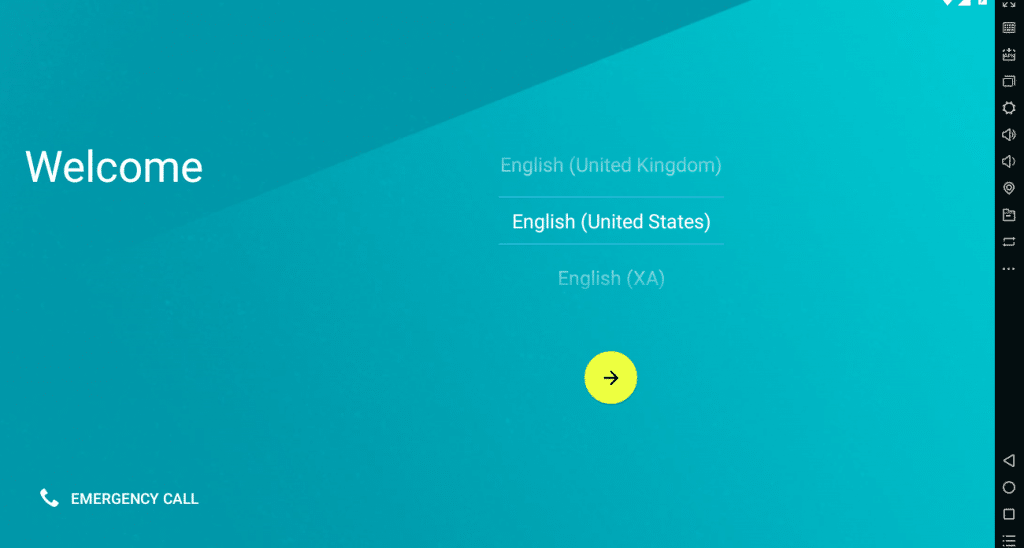
Once installed, on first launch it will ask for a default language (similar to that of setting up an Android device for the first time).
The main interface of MEmu Player is divided into the app area/screen on the left and the various options that are included on the sidebar to the right.
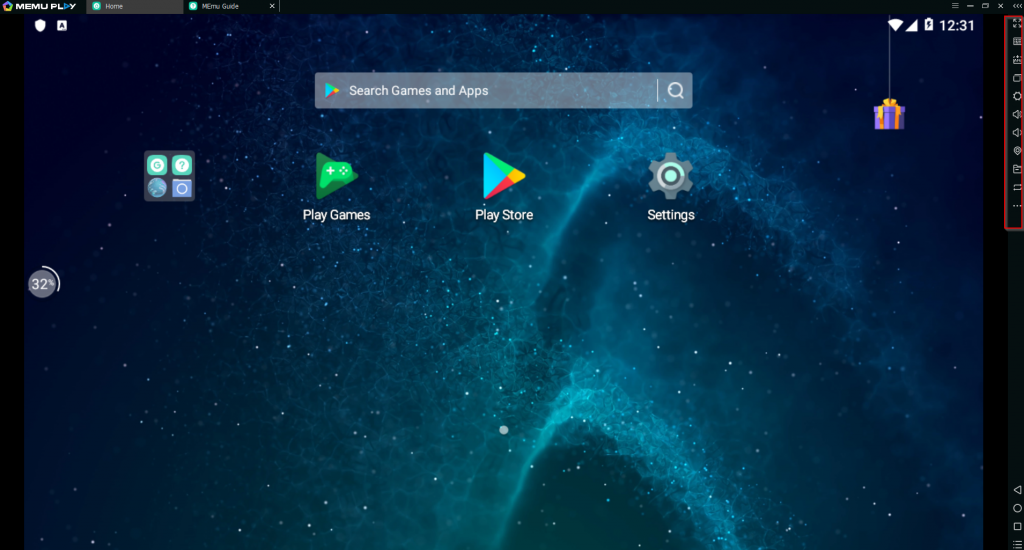
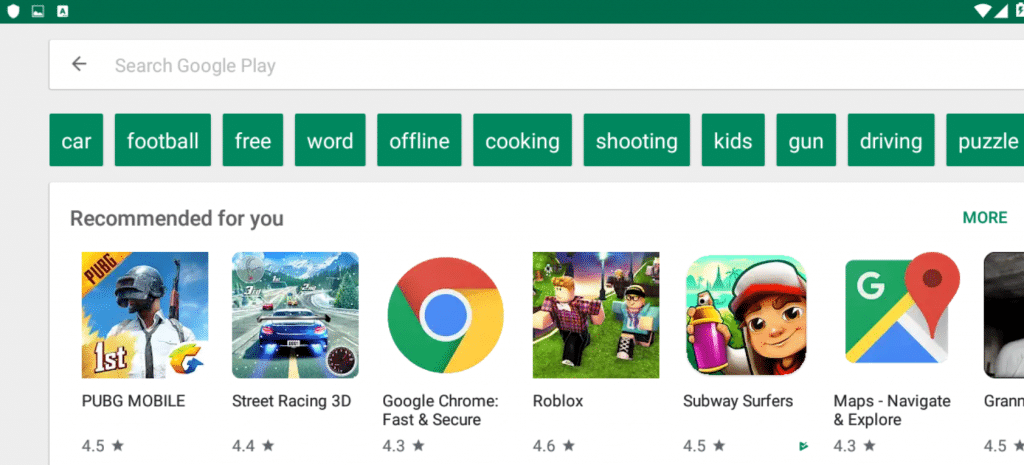
To install and use Android apps, double click the Google Play icon from the main screen. (Sign in to your Gmail account first or make one just for MEmu Player).
If you already have an APK file by which you want to install Android apps, click on the Apk icon from the sidebar.

MEmu Player will by default open the Windows user files location. You can change it to any other path if needed. Choose the source APK path and let the installation begin.
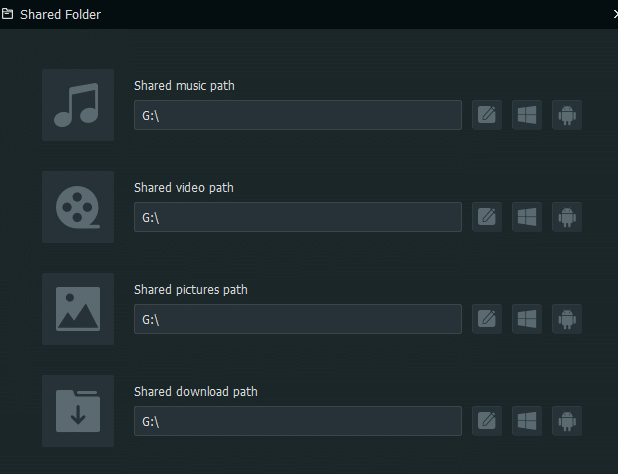
Other cool thing is the Shared Folders option. If you want to upload/download photos and files directly to PC from various Android apps that are run using MEmu Player, you can do so by configuring shared folders.

These are common folders that are accessible from PC and MEmu Player. By default, they point to the Windows user documents, files, music folders and can be changed as needed.
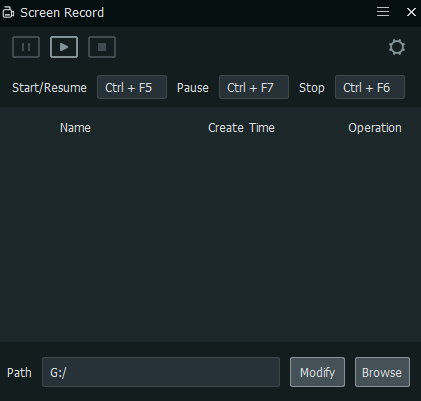
Also, clicking on the dots from sidebar will bring up other options like recording the screen, taking a screenshot and so on.
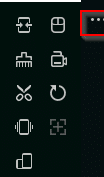
These are useful when you want to broadcast games or livestream.
There are different settings that you can configure to optimize MEmu Player for PC. Click the gear icon from sidebar to access it.
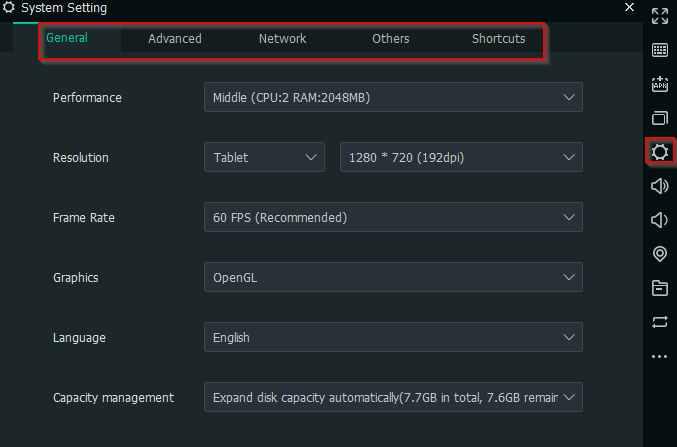
To change how much system resources MEmu Player should use, from the General tab, select Performance and adjust them accordingly. You can also change resolution, frame rate and graphics settings from here.
Change the device type and the manufacturer (mobile or tablet), the type of carrier and so on from the Advanced tab.
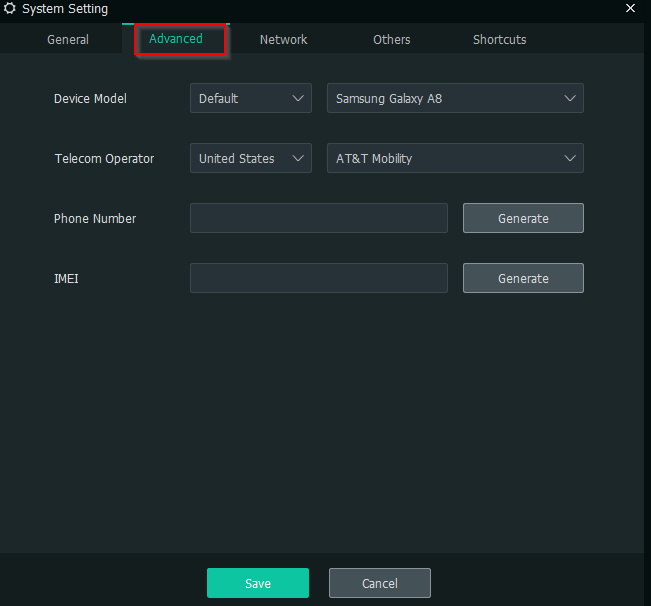
This is useful when you want to play games that will just run or are optimized only on mobile phones.
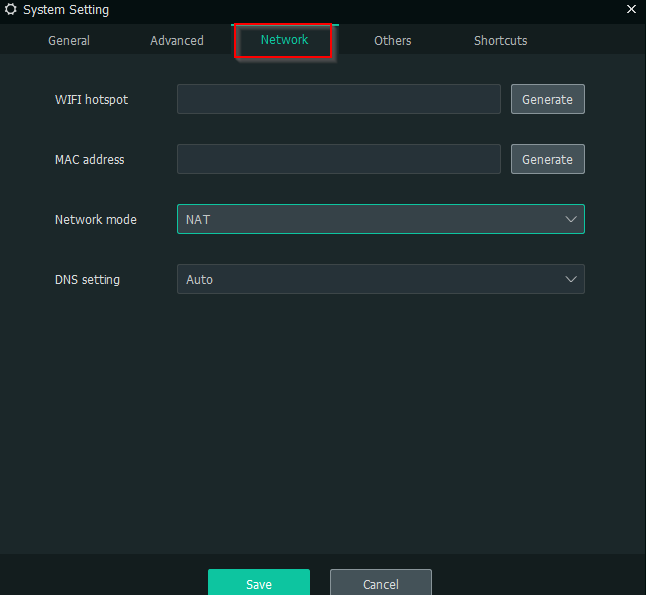
Network options include generating a custom Wi-Fi network name, changing the MAC address and DNS settings.
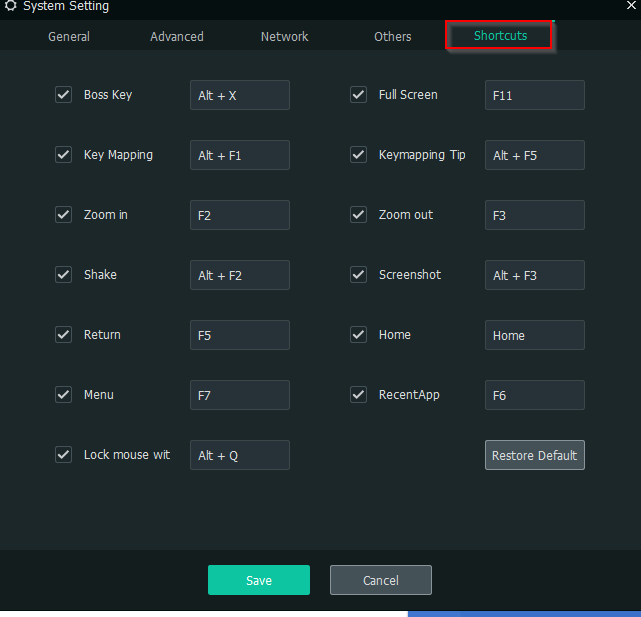
Also, if you use certain features a lot when using MEmu Player, it will be useful to know the common keyboard shortcuts. You can view and change them from Shortcuts section.
Multiple instances of MEmu Player are also available. This is useful when say you want one instance just for running apps, another instance for games and so on. You can also sign in with different accounts on each of these instances.
To get started with these instances, click on the Multi-MEmu icon to access Multiple Instance Manager (already available once MEmu Player is installed).

Next, there will be a list of all existing instances.
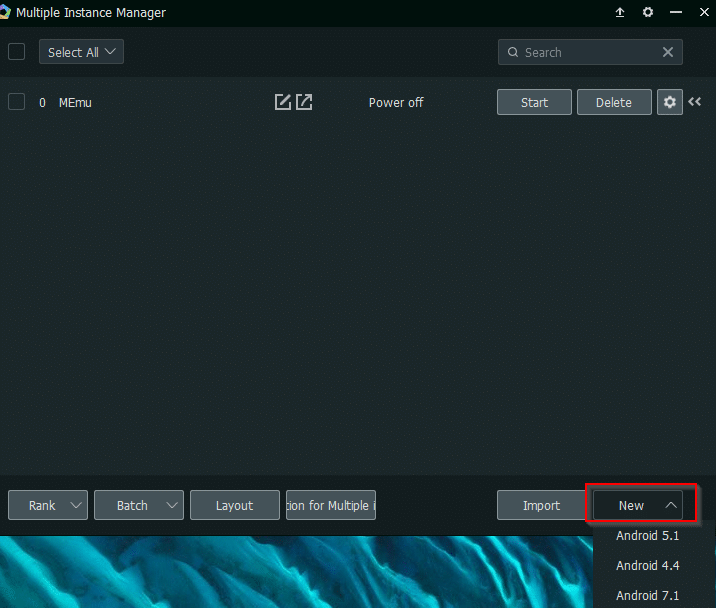
You can add/edit and delete all the instances from here. To make a new instance, click on New and choose the Android version from the dropdown menu. Once the instance is created, click on Start to launch it.

Once again, there will be the initial setup that included selecting the default language and so on for this instance too.
You can now enjoy all the popular Android games and other apps right from the PC.

All done.
