When using the same browser across different PCs, syncing can be very useful so as to have a consistent browsing experience.
Earlier articles covered how to use the sync feature in Firefox and Brave browser.
Let’s take a look at how to set up sync when using Vivaldi browser:
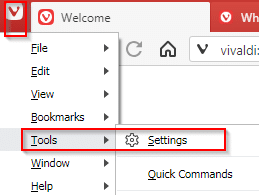
Click on the Vivaldi icon from top left and choose Tools > Settings.
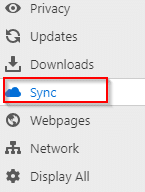
Then select Sync.
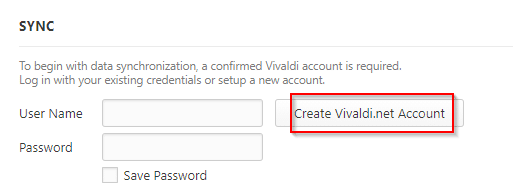
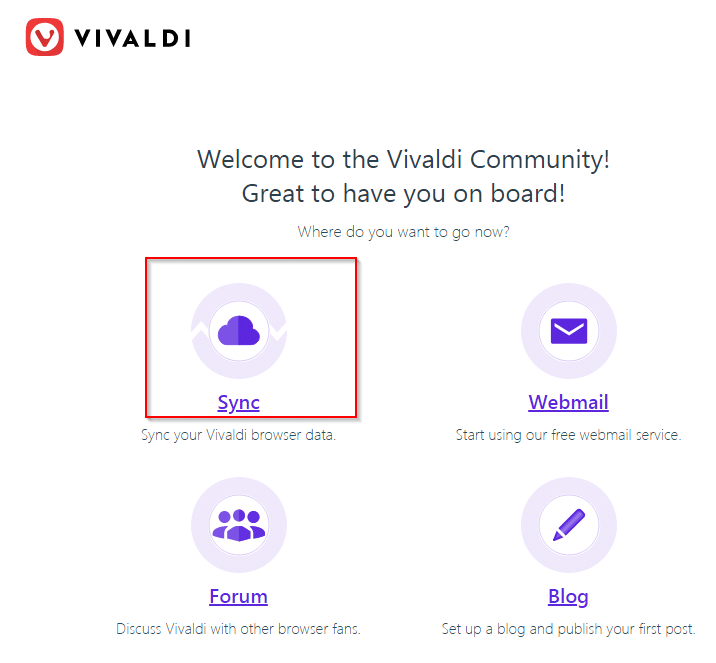
You’d need a Vivaldi account before syncing. So sign up for an account.
The sign-up process is simple, the password length though has to be minimum of 12 characters. Fill the details and create an account.
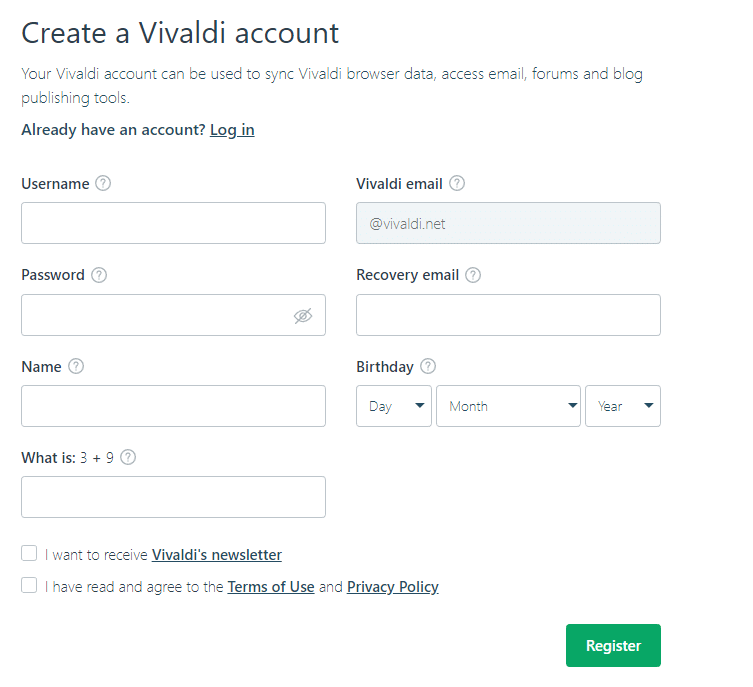
A cool thing about having a Vivaldi account is that you also get free email, access to Vivaldi forums and your own blog along with it.
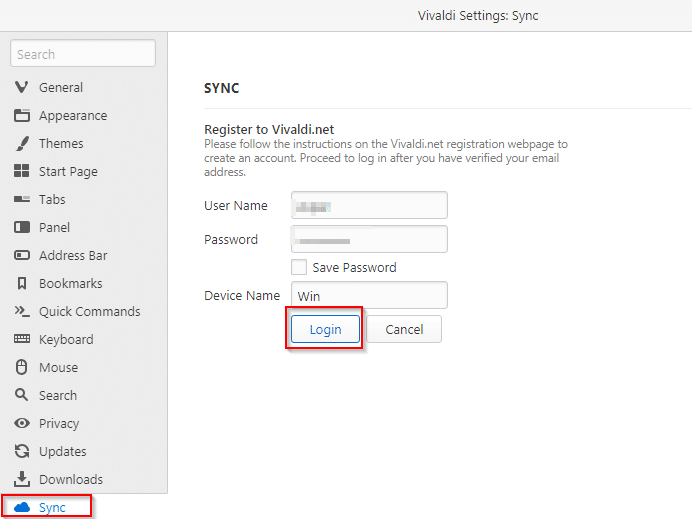
Now, again go to the Sync section and enter the Vivaldi username and password. Click Login to start the sync process.
There are basically two steps to set up sync in Vivaldi:
Creating a Sync Encryption:
There will be an option of setting a second password. This is not required but highly recommended as it is used to create an encrypted data file.
The password length again has to be of minimum 12 characters as before. Enter a password and click OK.
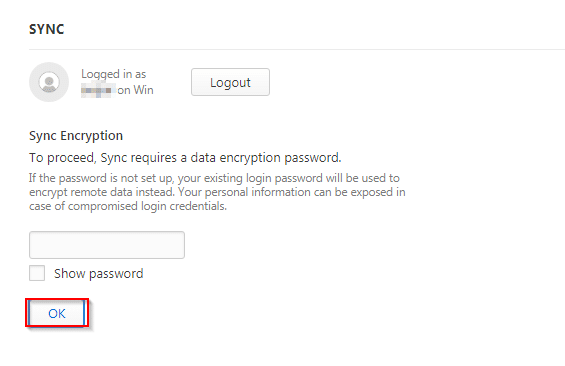
So, in case your Vivaldi credentials are compromised, there still won’t be access to your browser data if this second password is in place.
Choosing what to sync:
Either choose everything (default) or selected items to sync and be made available when signed in on a different device. Once finalized, click on Start Syncing.
Also at any point of time, you can delete all your synced data by clicking Reset Remote Data.
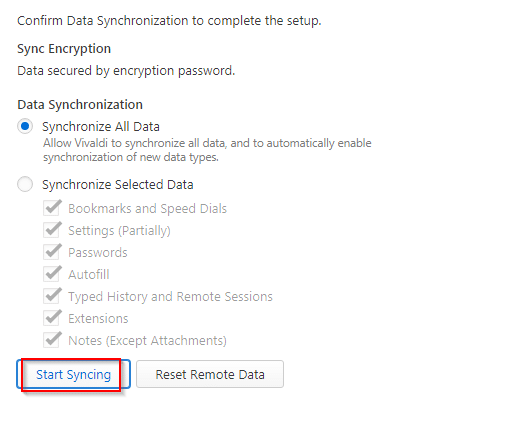
The overall progress will be displayed along with the timestamp.

All the existing browsing data is now synced to your Vivaldi account.
To access this data and preferences from another PC , once again sign in to Vivaldi account (Tools > Settings > Sync) from that different PC .
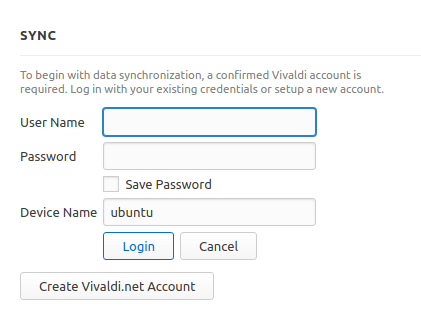
If the decryption password was set during initial sync, the same will be required to access the browsing data.
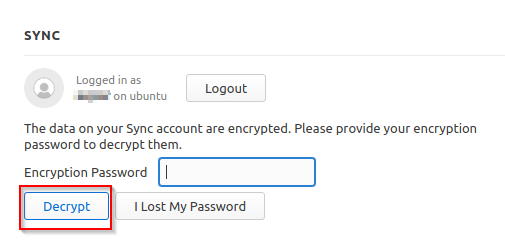
Enter that and choose Decrypt. Once again, you can choose what to sync if needed.
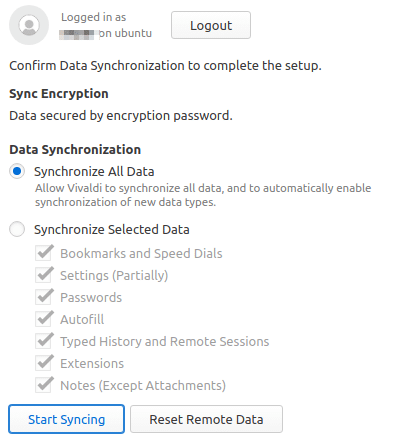
Keep the default selection as it is or add/remove what to sync. The same will now be available on the previous PC.

All done.