Time for a giveaway. 🙂
Digiarty software has a free giveaway + sweepstakes of VideoProc – a comprehensive video editing tool that can be used to process various videos and stabilize GoPro videos.

Key Features:
- Easy to use video processing options like edit, cut, trim, split, crop and more
- Stabilize shaky GoPro videos and denoise them
- Convert existing DVDs to various audio and video formats to make backups
- Convert 4K videos to 1080/720p and vice versa
- Fix shaky videos easily, with no loss and quickly
- Download videos from online websites and batch download them too
- Create screencasts and webcasts by recording screen and webcam
- Quickly process large 4K videos by using full GPU acceleration by Intel, AMD and Nvidia
Giveaway details and GoPro Sweepstakes:
VideoProc is currently available as a part of giveaway and GoPro sweepstakes campaign.

For VideoProc giveaway, you will get a zip file by clicking Get a Free License. The downloaded zip file consists of the read me document which has activation instructions along with the giveaway license key and the VideoProc setup.
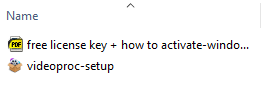
Note: This giveaway is valid till June 9 2019. So you’d need to activate the license before that. It has all the premium features with the only limitation being that the giveaway version doesn’t support future updates and can’t be reinstalled.
As for GoPro sweepstakes, it has prizes worth $1296 consisting of GoPro Hero 7 Silver and GoPro Hero7 Black cameras. Win GoPro sweepstakes by clicking this video stabilization software guide.
How VideoProc works to process, edit and stabilize videos:
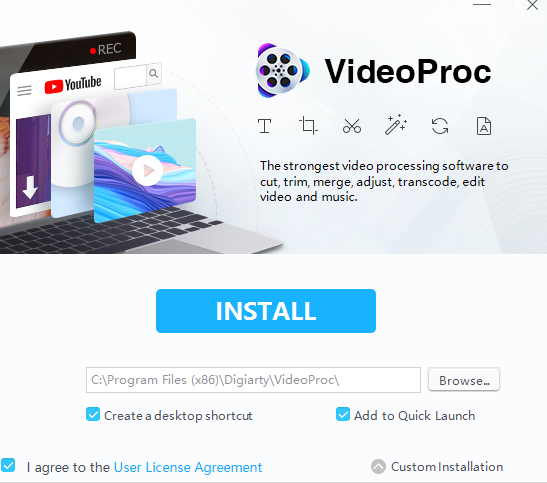
Installation of VideoProc is simple and you can change the path if needed.
A brief video tutorial can be found here:
Once installed, the main interface of VideoProc is basically divided into 4 different modules:
- Video
- DVD
- Downloader
- Recorder
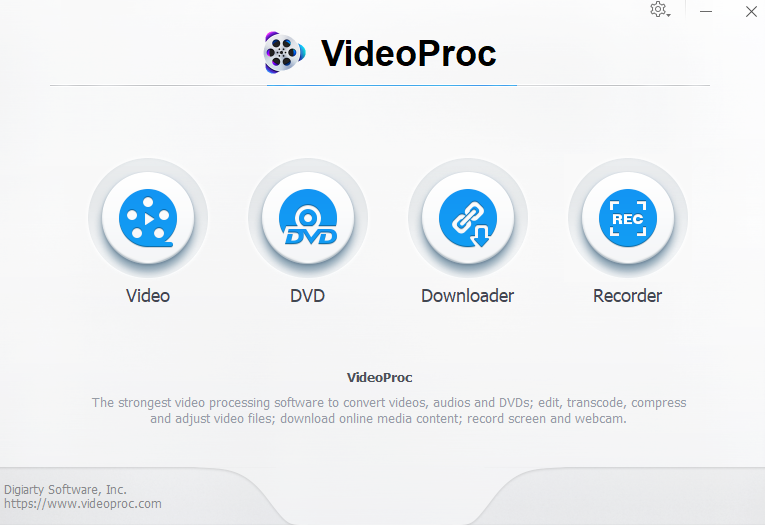
Let’s take a look at each of them.
Video:
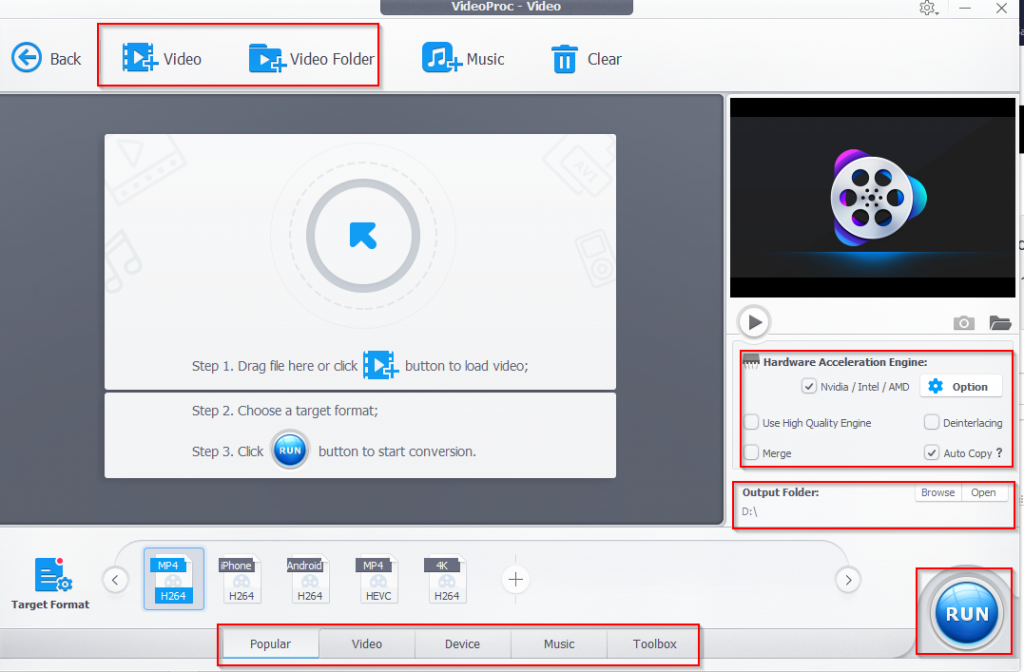
This consists of a large collection of video processing tools. To add a video to be converted or edited, simply click the Video button or the Video Folder button for multiple videos.
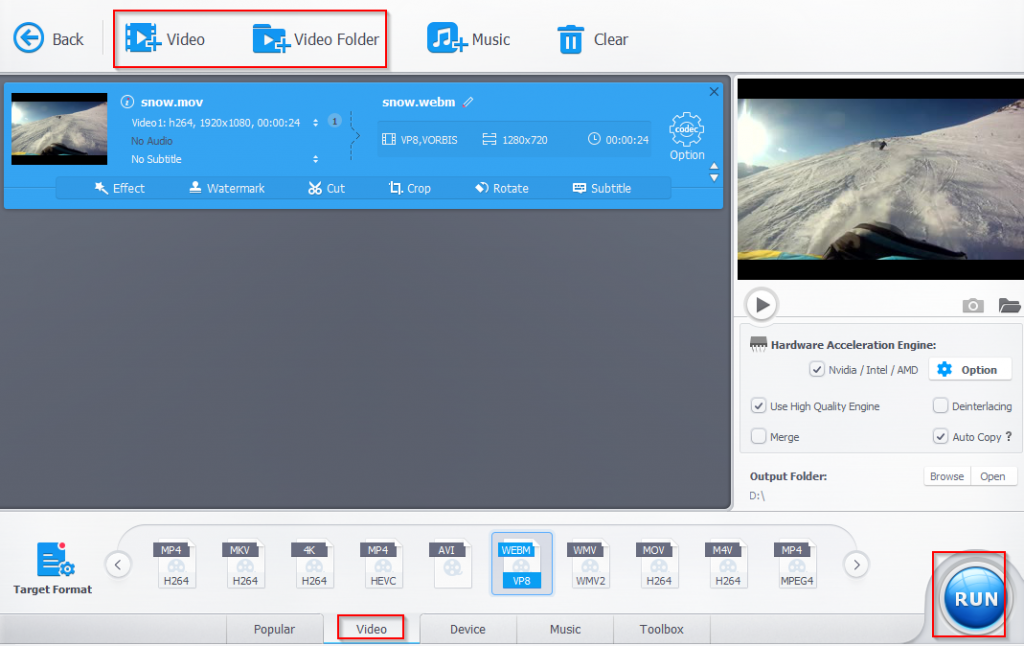
Then choose the needed function from the bottom pane. The options for these can be accessed directly by double clicking or from the gear/codec icon next to added video.
This is the standard process when editing videos in VideoProc. First choose video(s), then choose a function, configure related options and save the changes by clicking Done. Then finally process the videos by using the Run button.
If you are unsure of which format to re-encode the source video to, click the Device tab. It will have a list of various playback devices like PS4, iPhone, Android and so on.
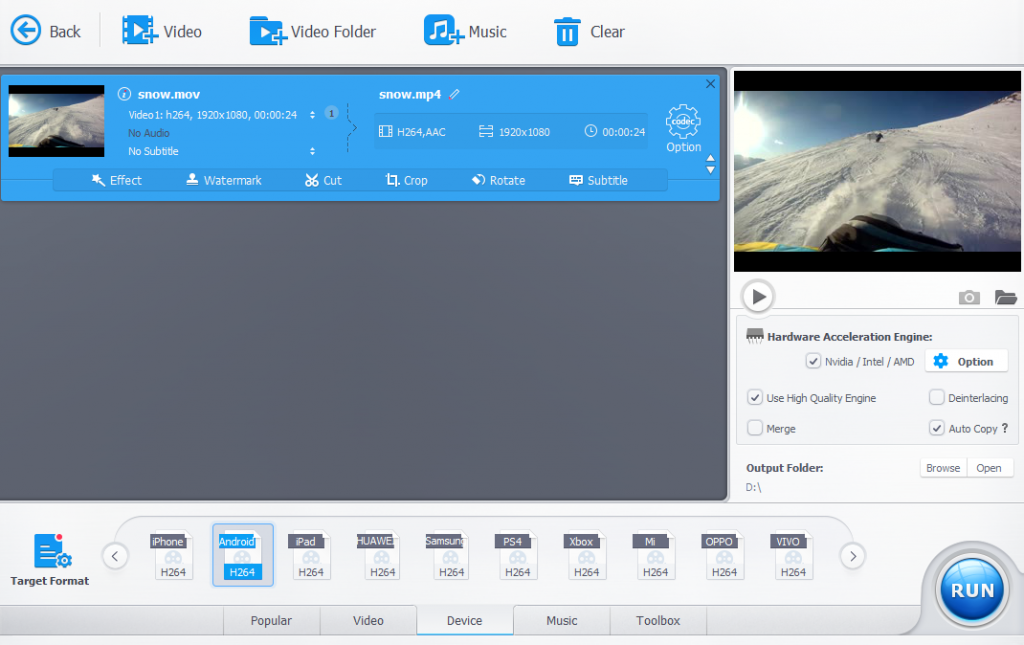
Choose the target device type and VideoProc will automatically convert the video to that compatible format. Choosing the Video tab will display a list of available output formats. Select the target format as needed and click Run to convert the video.
There are also various video processing tools in Toolbox section:
Deshake: VideoProc makes video editing easy especially for shaky GoPro videos.
You can also check the video tutorial:
As these videos are shot usually outdoors and during activities like hiking, riding, climbing mountains and so on, their footage can be shaky. VideoProc as a good video stabilization software can deshake these videos easily.
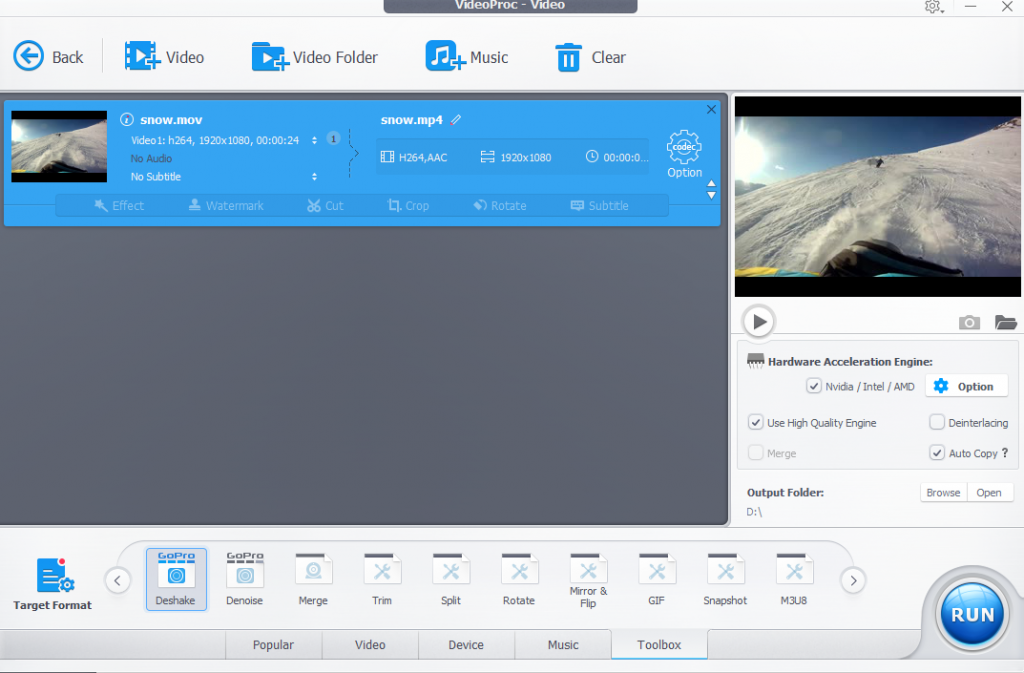
Add the GoPro footage to be stabilized, choose Deshake from the bottom. You can then either use the gear/codec icon next to the added video or double click on Deshake to bring up various editing options.
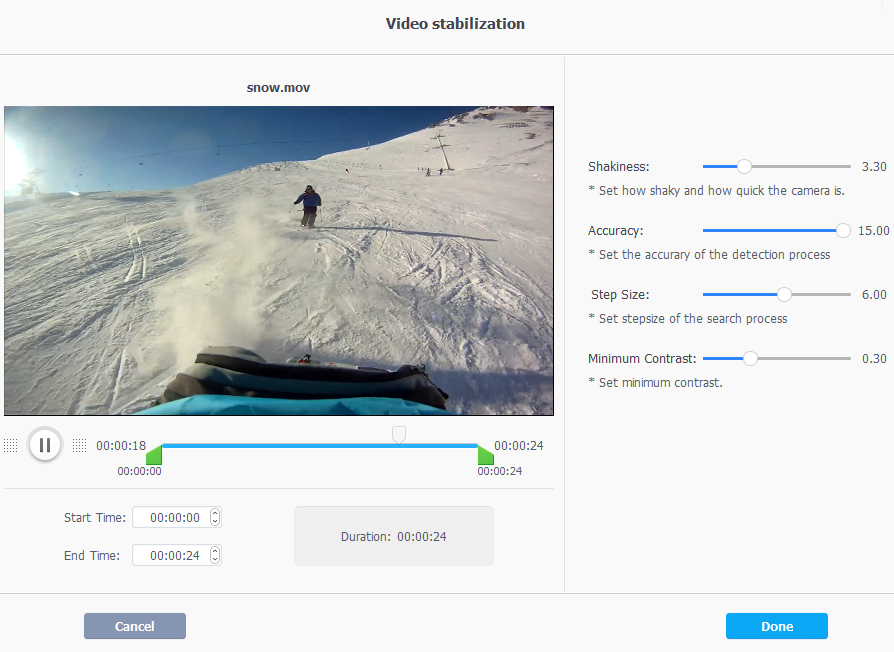
Change the stabilizing parameters like Shakiness, Accuracy, Step Size and Minimum Contrast as needed. Click on Done once the settings are finalized.
You can then click on Run button for the video to be converted. After it is converted, it will be available in the output folder as specified.
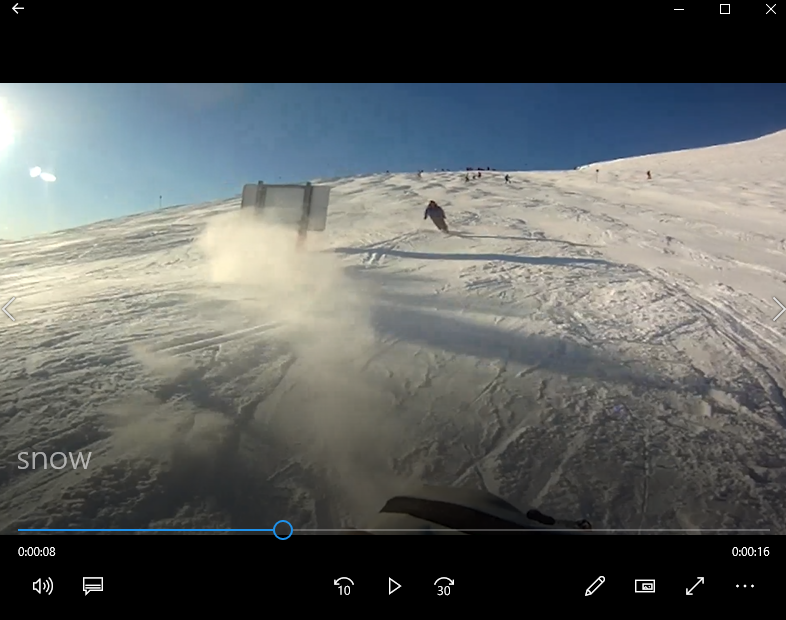
Denoise: This again is for enhancing GoPro videos. You can remove excessive background noise using this feature. Add the video to be edited, choose Denoise from the bottom pane.
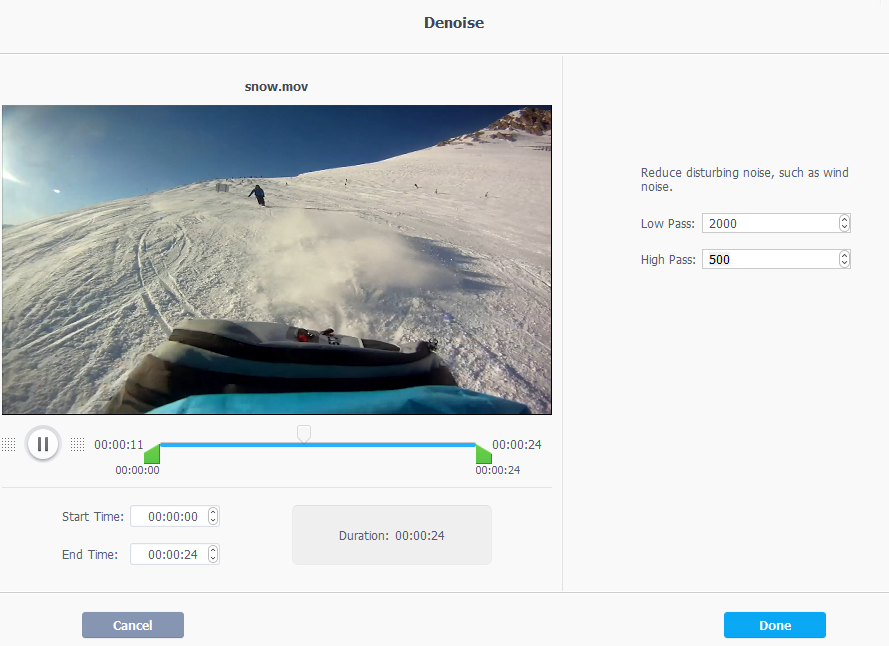
Then access Denoise settings (double click on it or from the gear icon next to video) and change the parameters of Low and High Pass until acceptable.
Merge: This is for combining multiple videos into a single video. Add the different videos that need to be merged, choose the output format and click Run.
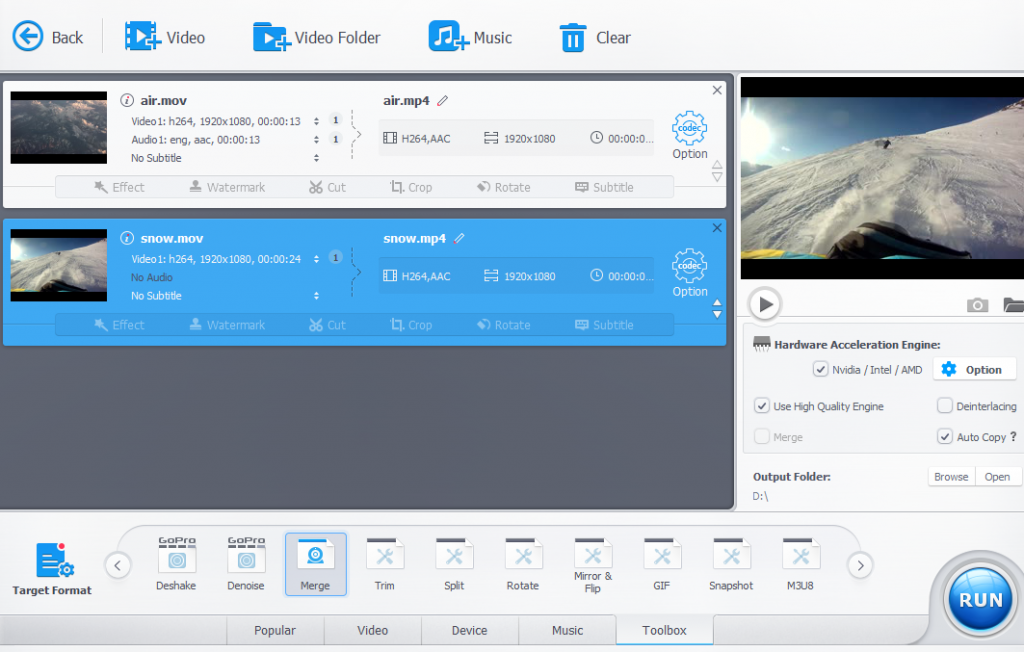
Trim: If you want to reduce the playback duration of videos, use this feature. Add the video to be trimmed and from Trim options, select the Start and End Time either by dragging the slider to capture the required portion or manually specifying the time interval.
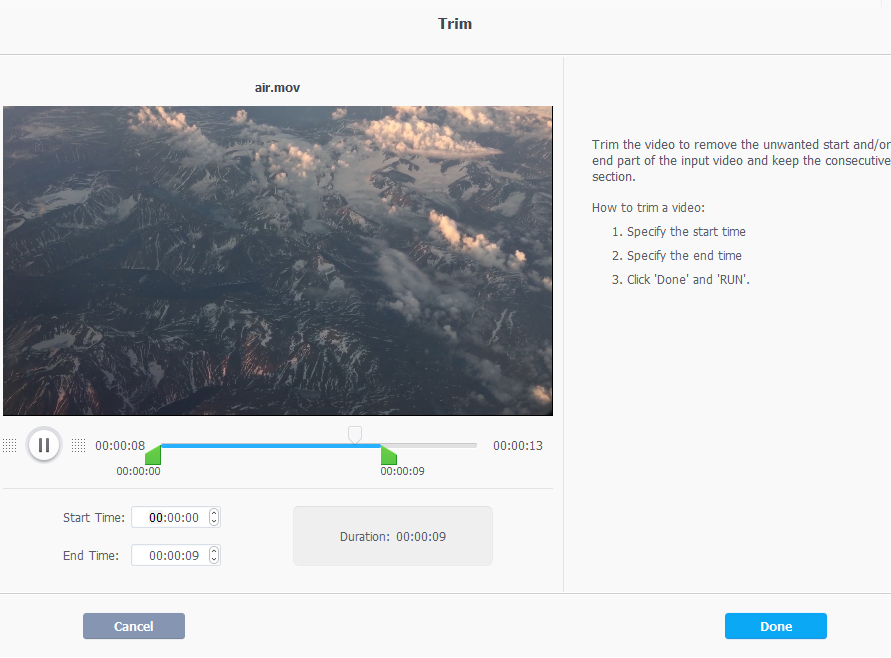
Click Done to finalize and then hit Run to convert the trimmed video.
Split: This is useful for very long videos. You can split them into smaller playback footages using the Split feature. Add the video to be split and access Split options.
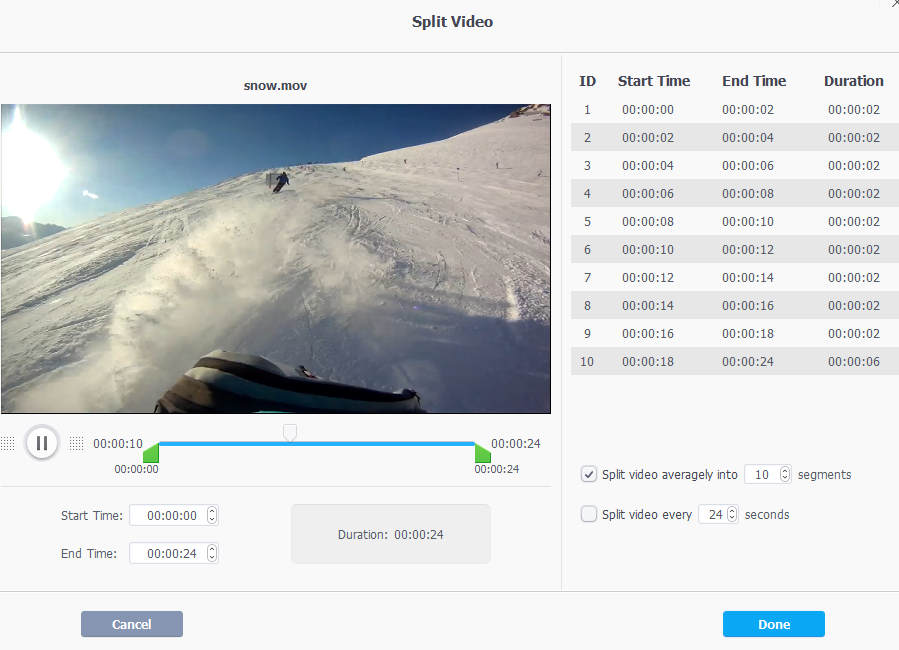
There will be a list of segments with each of them having a start and end time. You can change the playback duration for these segments thereby splitting the video. Again, click Done to save the changes before using the Run option to process the video.
Rotate: You can rotate the existing video to left or right during playback using Rotate.
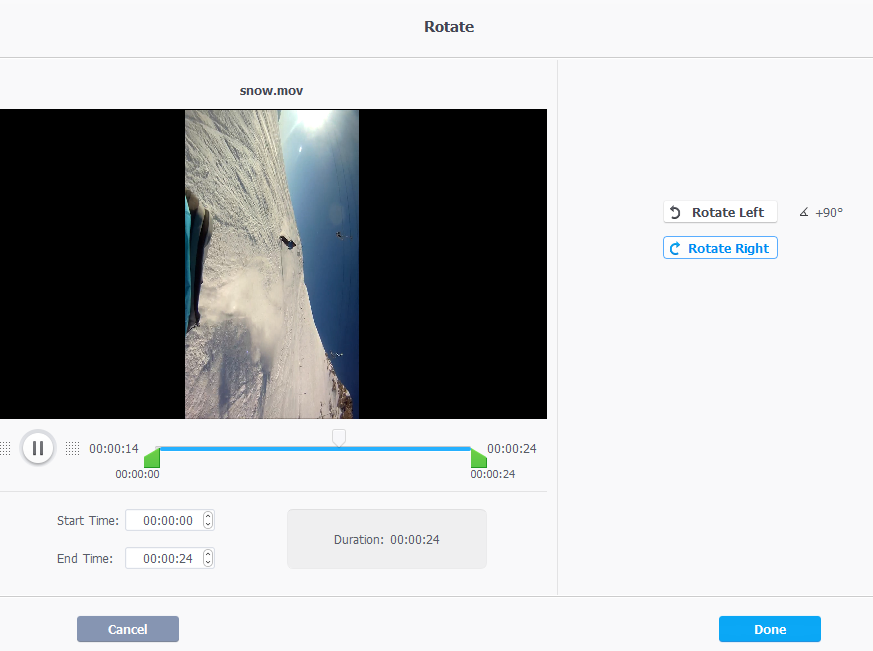
Change the orientation settings as needed from Rotate and click Done.
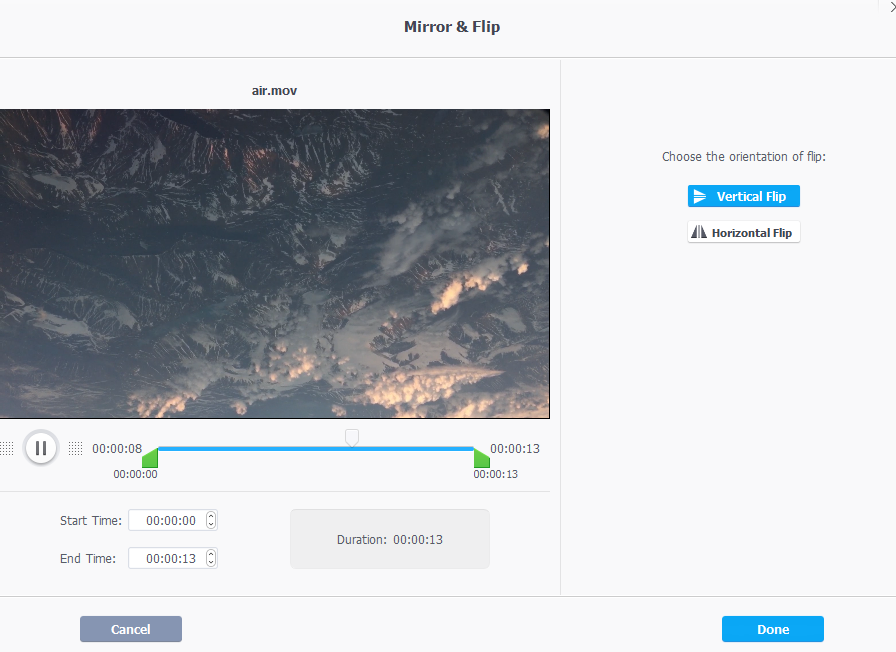
Mirror & Flip: If you want to completely flip the video upside down or vice versa instead of rotating as before, use the Mirror Flip option. Choose Mirror & Flip from the bottom pane and access it’s options. Either choose Horizontal or Vertical Split to flip the video. Save the changes and use Run to process it as an edited video.
GIF: Make GIFs from videos with this function. Specify the GIF looping (for how many times and for how long will it be repeated) from Loop Time and Duration settings.
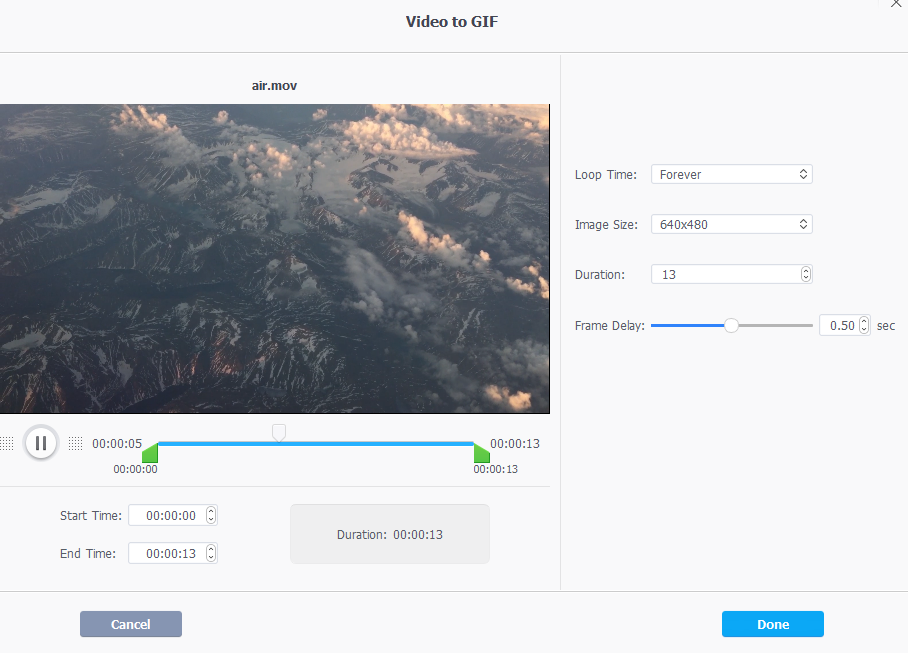
Click Done to save the changes and then click Run to save it as a GIF.
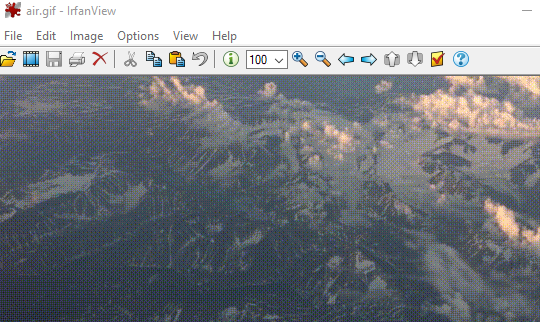
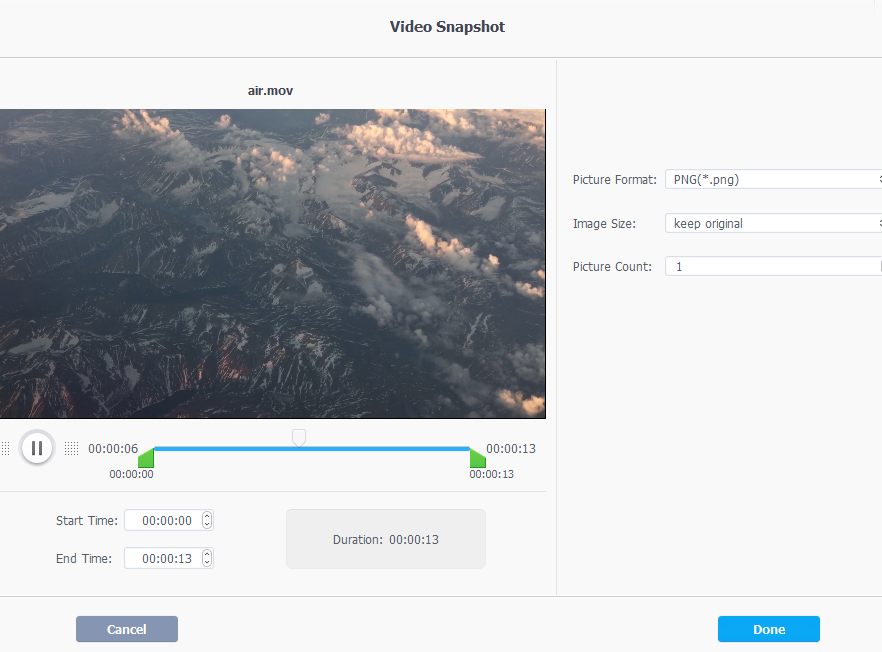
Snapshot: Just like making GIFs from videos as before, you can extract images from videos by saving the frames as snapshots. Select the video and choose Snapshot from bottom pane.
Fisheye Lens: This is for applying lens correction.
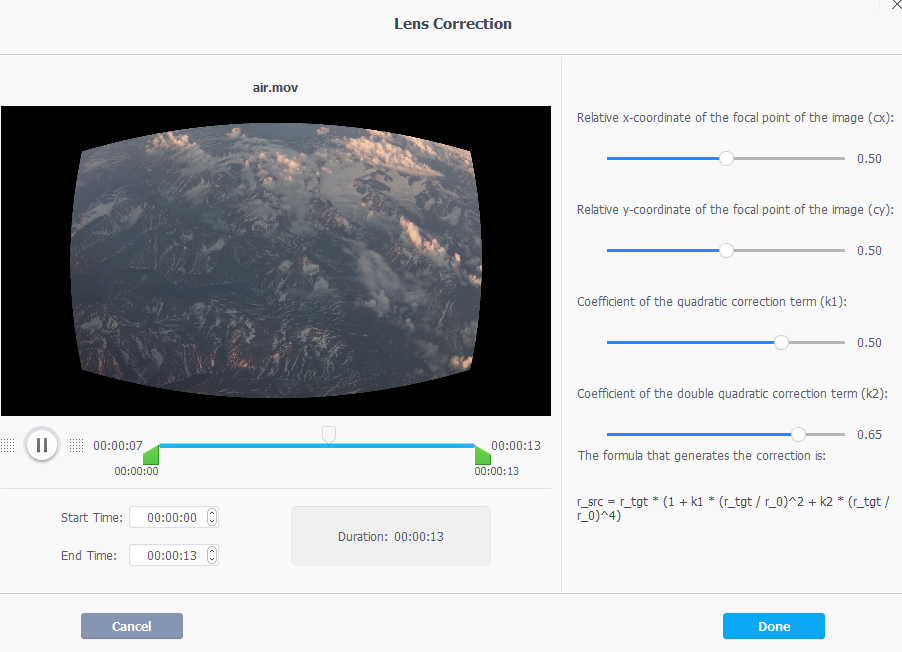
Choose Fisheye Lens and from the options there select the focal point co-ordinates as well as coefficients for applying correction.
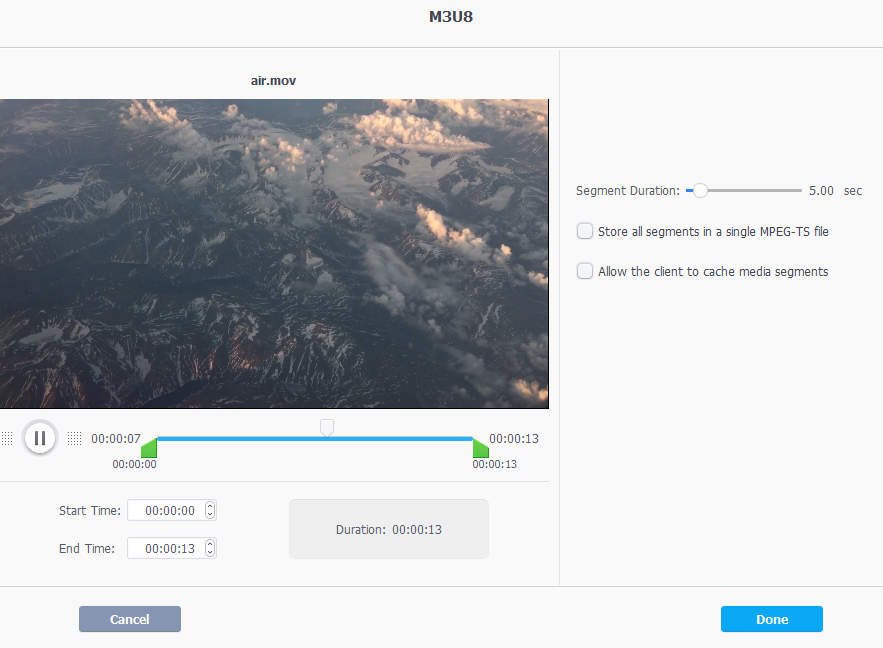
M3U8: This is only when you need Apple live streaming. Specify the segment duration and whether caching on client side is to be enabled. Save the changes.
MKVMaker: Similar to video conversion. Choose the start and end frames for video and export it in MKV format.
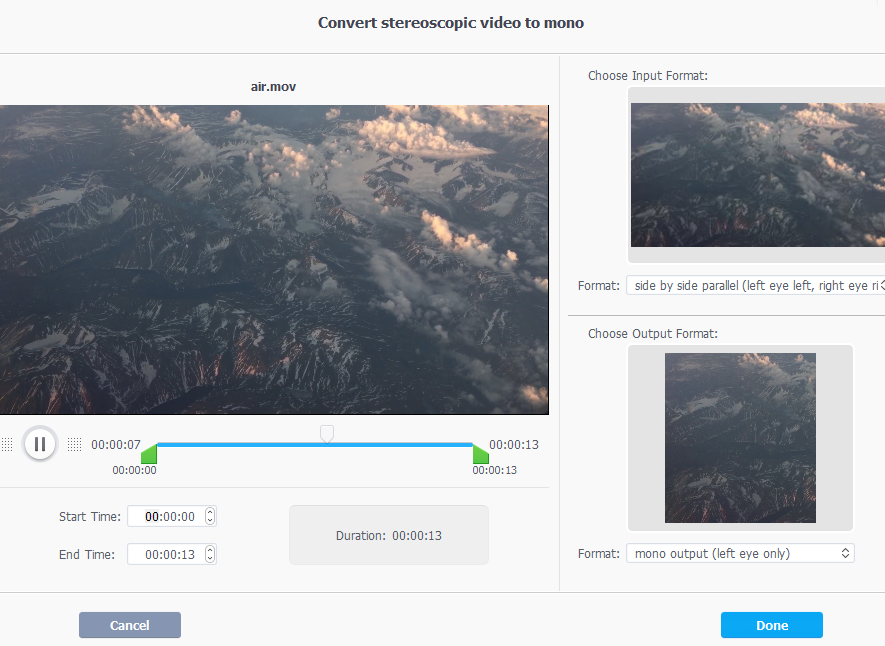
3D-2D: Convert 3D videos into 2D videos using this option. You can also convert stereoscopic video to mono using this. Choose the input and output format as needed and click Done.
DVD:
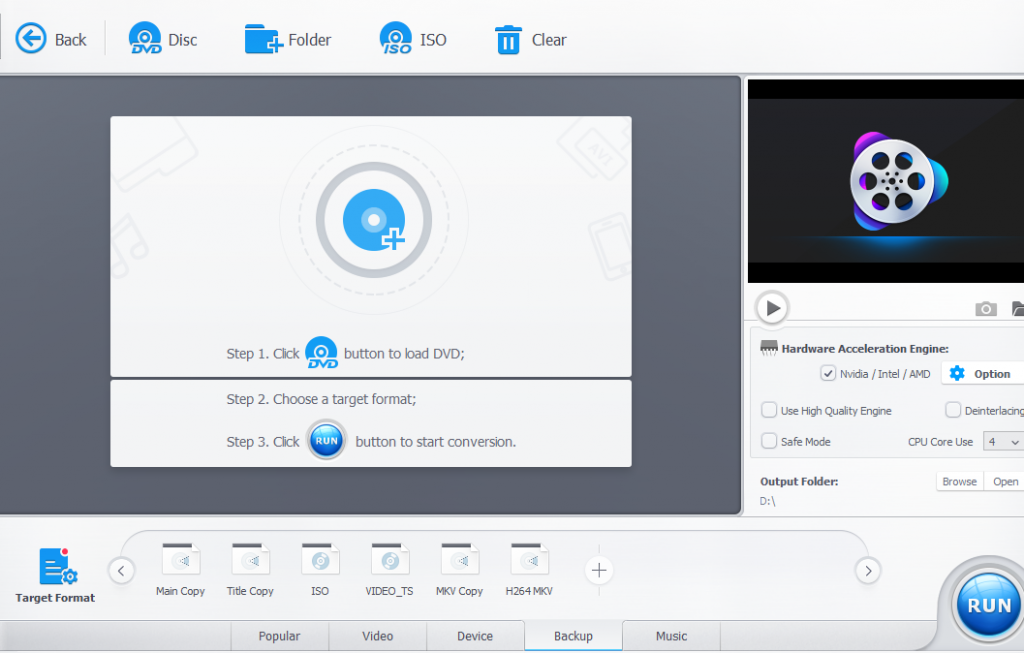
You can convert DVDs and ISOs to different formats that can support various playback devices using this. Also, choosing the Backup option, you can convert the DVDs into different formats.
Downloader:
VideoProc also supports directly downloading online videos from various sites like Vimeo, DailyMotion and so on. A complete list of supported sites can be found here.
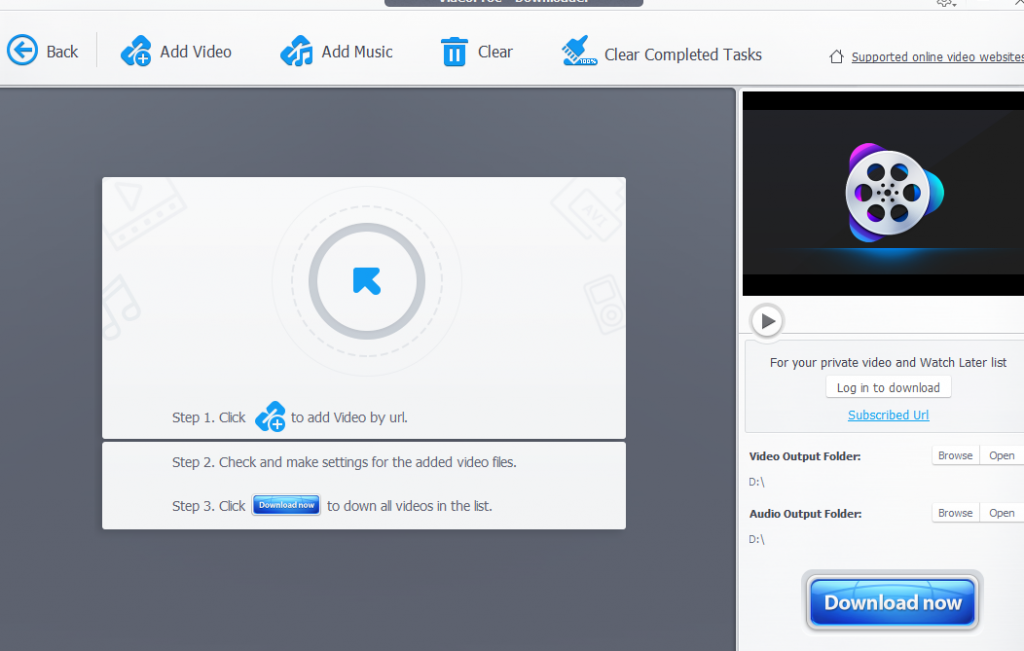
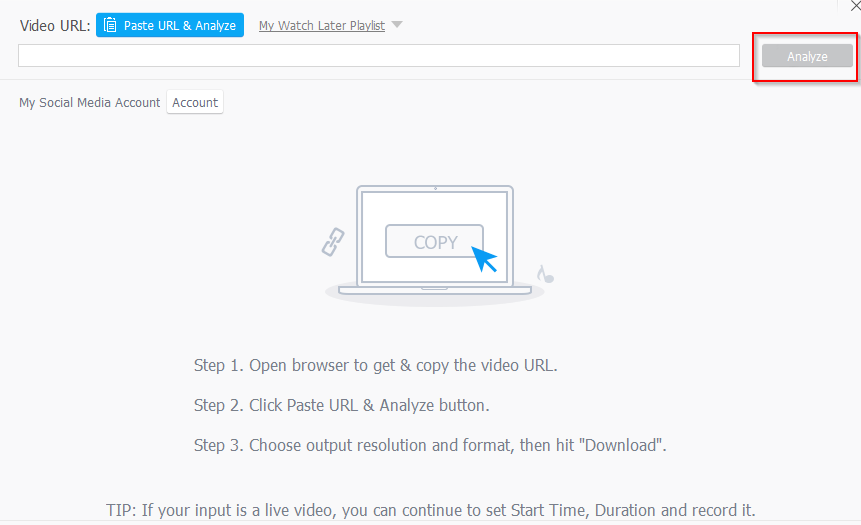
To download online videos, click on Add Video and copy paste the online link. VideoProc will automatically parse the link and then the video can be downloaded depending on the different resolutions available.
Also, there are two separate folders when using Downloader. One each for Video and Audio output. You can change them as needed.
Recorder:
This is a useful option when needing to create a screencast or webcast. Choose Recorder and then either select Screen, Webcam or Screen & Webcam.
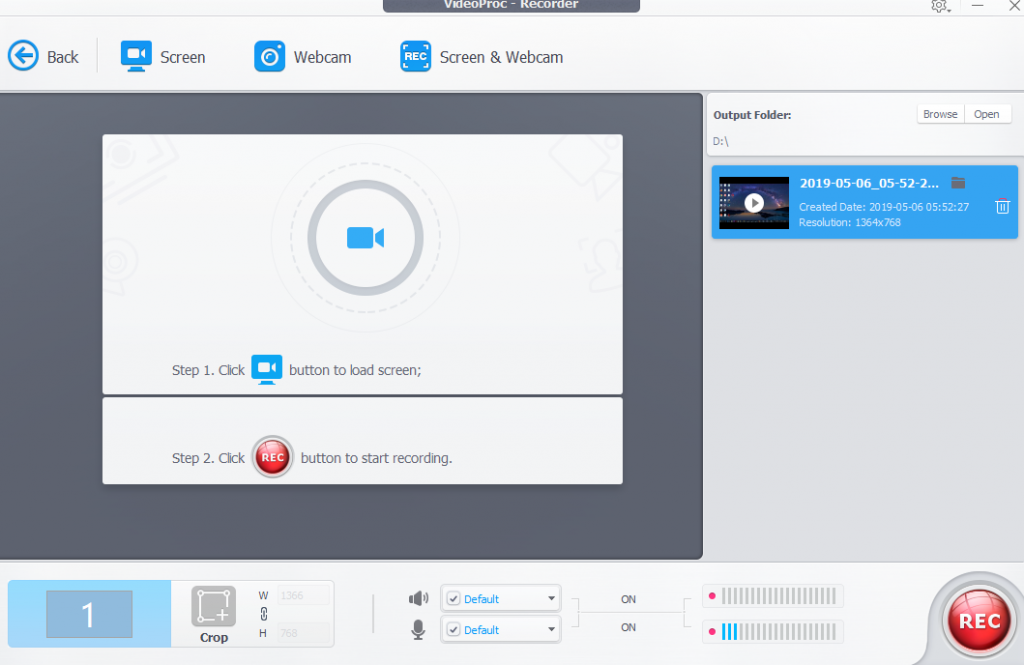
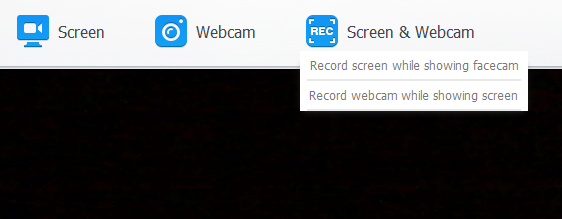
When Screen is selected, VideoProc will preview the desktop being used. Hit the record button to start recording after a delay of 5 seconds. Webcam will turn on the webcam if any and can record the webcast. Screen & Webcam is useful when creating tutorials and explaining them side by side.
When using that, there are two options: Record screen while showing facecam and while showing the screen.
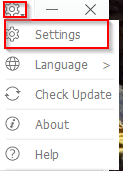
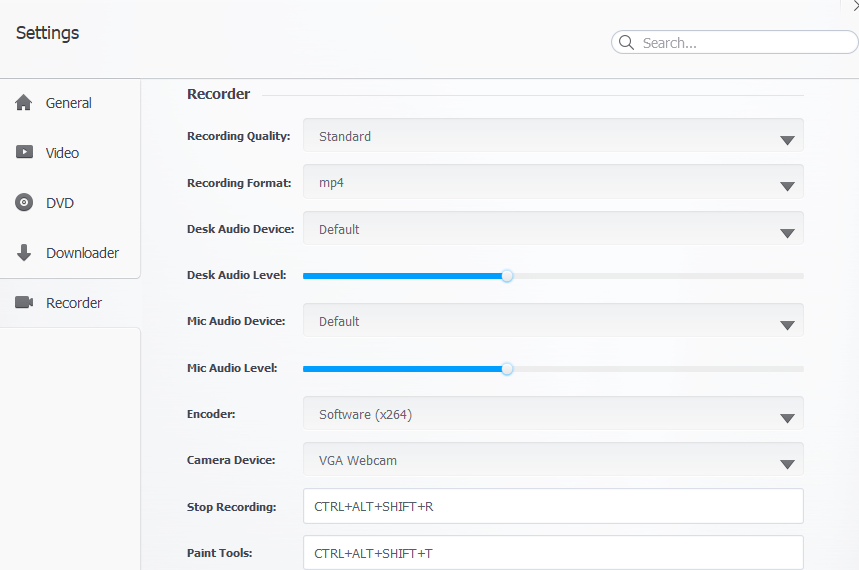
Finally, you can also configure settings for VideoProc by choosing Settings from the top right gear icon.
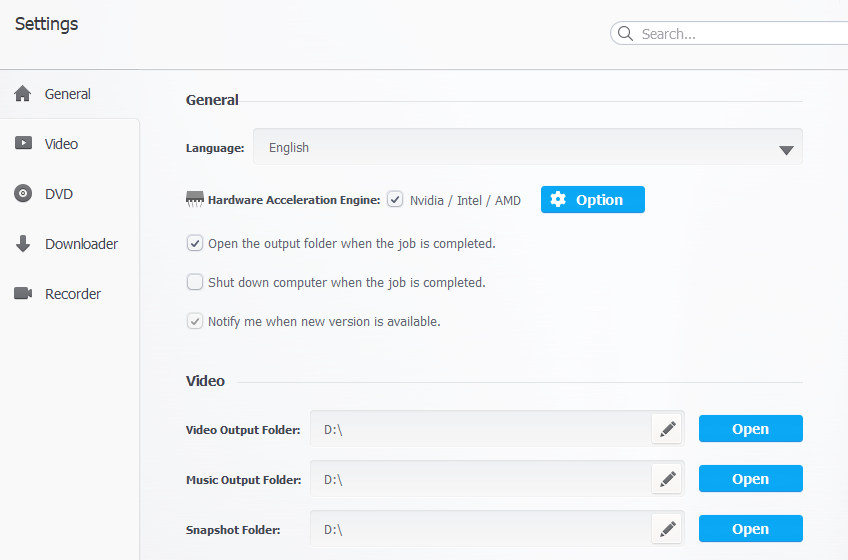
Change the output folder for each of the modules (Video, DVD, Downloader and Recorder) from here. Also keyboard shortcuts, default video quality and other processing options can be set from here.
Overall, VideoProc is an easy to use video processing software that doesn’t require a steep learning curve and can cut GoPro 4K footage as well as deshake them.
Do try it out.
