OneNote app for Windows 10 has a cool translation feature that can translate pages and sections of text to different languages.
Here is how to use it:
Open OneNote app in Windows 10.

Choose the notebook for which translation feature is needed.

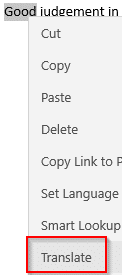
To translate a selection of text, highlight it and right click it to see the Translate option.
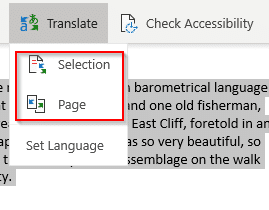
For translating the entire page, choose View > Translate.

Here, you can also again choose Selection or Page.
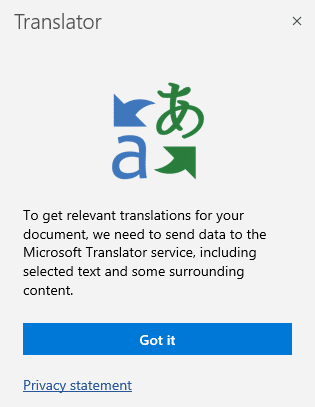
On the first run, Microsoft Translator will display the privacy statement about using this translation feature. Click on Got it to get started.
The OneNote side pane will now have the translate feature visible. If a text selection was used for translating, it will be displayed in the upper pane.
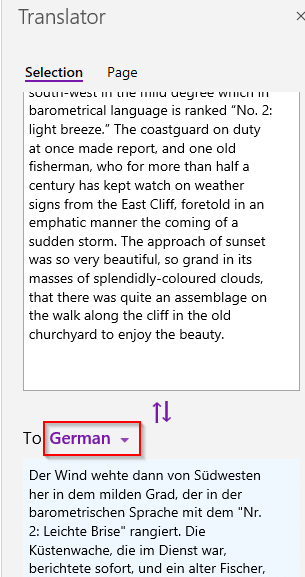
To get the corresponding translation in any other language, choose the required language from the drop-down in bottom pane. The translation will now be done.
Basically when translator is accessed, you can either use the Selection or Page sections. So you can also translate individual words after typing them in. To do that, go to Selection and enter any word. The translated form will be visible in the lower pane.
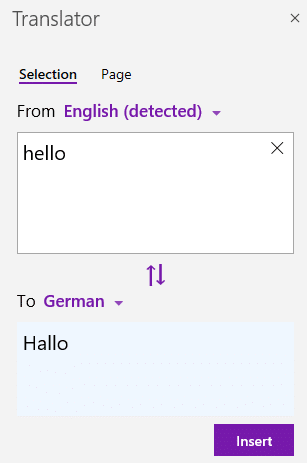
You can also directly copy and paste the translated version back in OneNote notebook pages. Click Insert from the bottom of either the translated selection or the page.
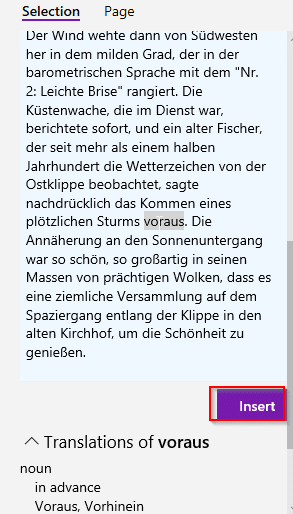
Another cool option is that you can highlight any word and it’s equivalent meaning will be displayed in the source language.
To translate the entire page, open the corresponding page from notebook and choose Page. Select the output language as needed and hit Translate.
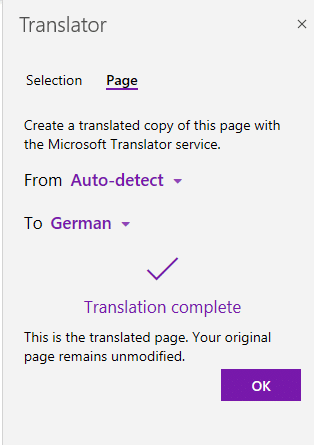
OneNote will now have a new translated version of the page alongside the original one.

All done.
