Void Linux is an independent Linux distribution suited for more experienced users. It is not based on any other popular distros like Debian or Arch and instead of systemd, it uses runit for managing system services which is considered far more better.
So if you are an experienced Linux user and want to try out a new independent distribution, Void Linux can be a good option. It can even support embedded devices like Raspberry Pi and more. Also, Void Linux has a rolling release model which means it always stays updated and you don’t have to perform a full upgrade from one version to the next.
Installation:
Installing Void Linux involves downloading the live image and making a bootable USB. It comes with a variety of desktop environments like Xfce, LXDE, MATE, Cinnamon and so on. Download and install any of those live install images from here.
You can also find other details of these images here.
(This example uses the X86_64 live image with Xfce as the desktop environment. ) After booting into live environment, open Terminal and type in:

Live environment user name and passwords are root/anon with password as voidlinux.
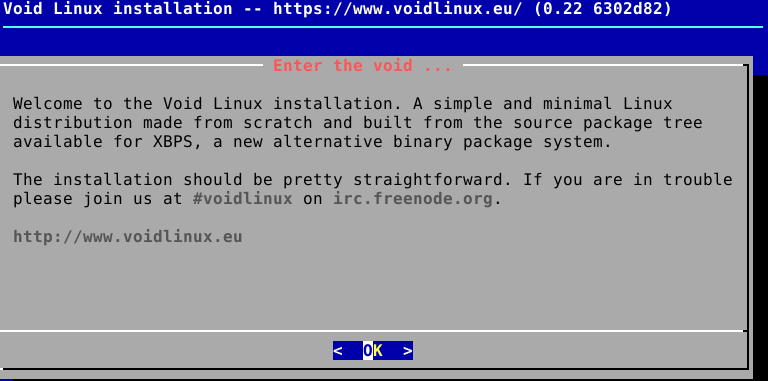
The installation process consists of various sections:
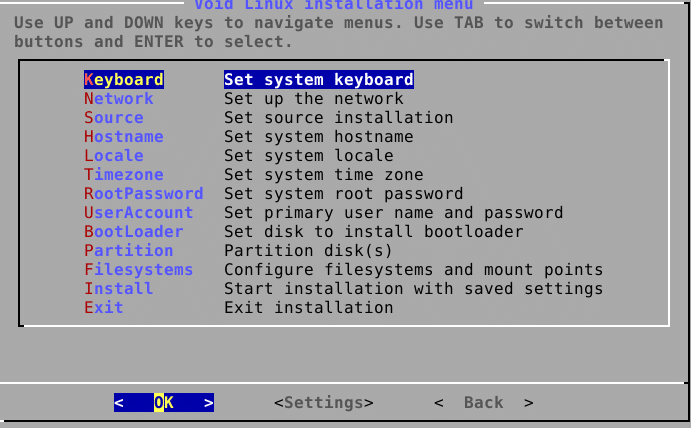
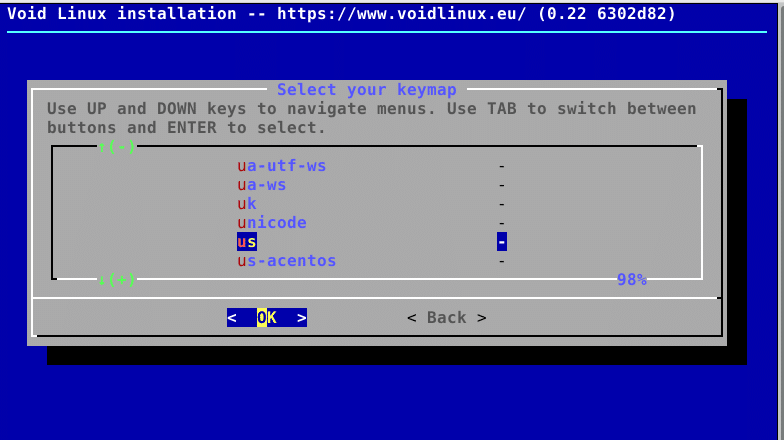
Keyboard: Choose the keymap scheme for keyboard. You can choose anyone from the list.
Network: The installer auto detects the network interfaces and if the IPs are auto assigned (DHCP) it will pick one else you’d need to manually provide the IP details.
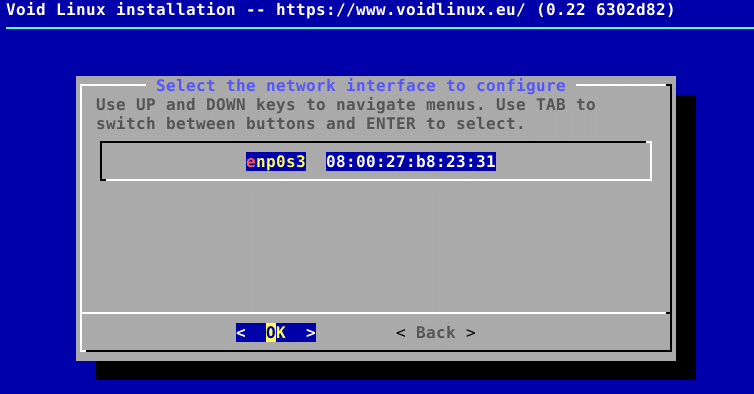
It’s better to use Ethernet interface during installation. If using Wi-Fi, you’d need to enter the SSID details, encryption type and Wi-Fi password.

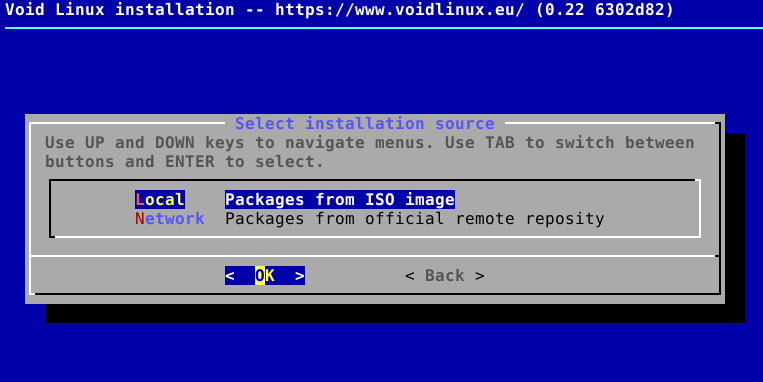
Source: As the live image (in this example) already comes with Xfce desktop, there is no need to choose a network install. That option is for downloading packages during a bare minimum base install.
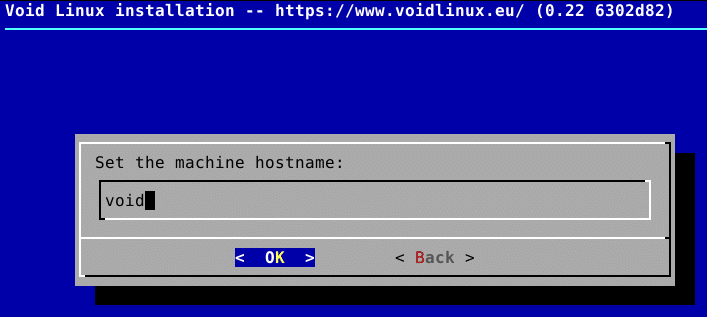
Hostname: Provide a hostname as needed, they should be all lower case and without spaces.
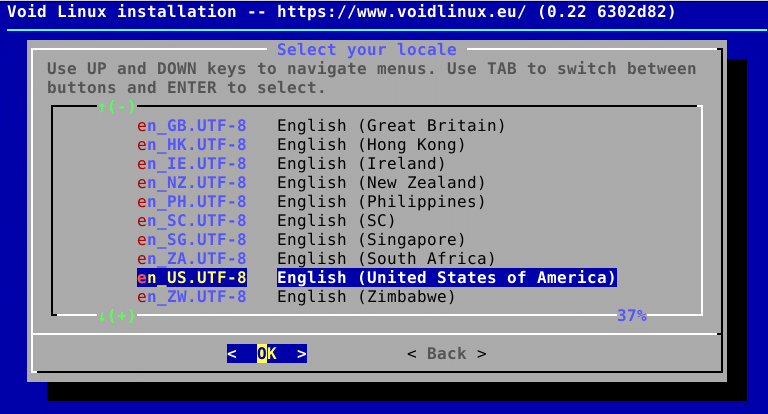
Locale: Choose the locale as preferred from the list.
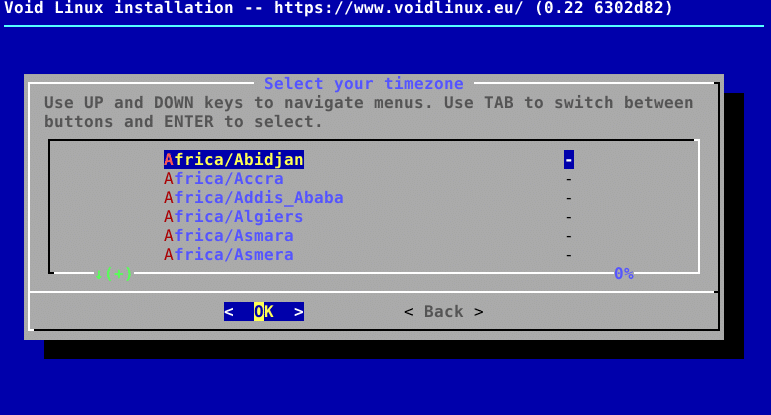
Timezone: Set timezone based on region.
Root Password: Choose a root password as needed.
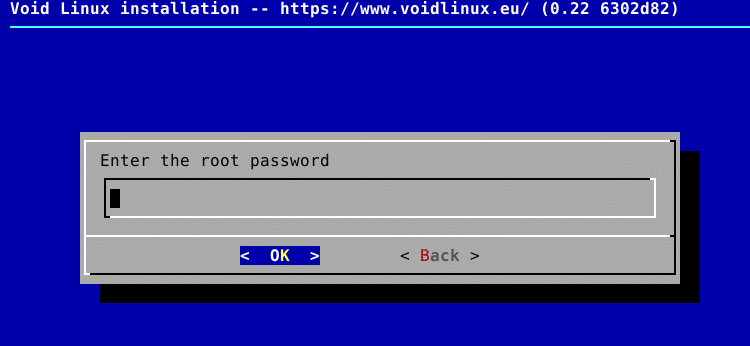
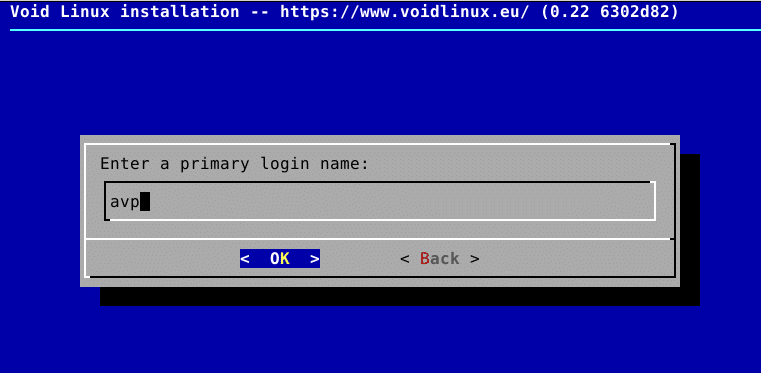
User Account: Enter a valid user name and password.
Void Linux installer already provides an option of adding the user to various groups like wheel, root and so on.
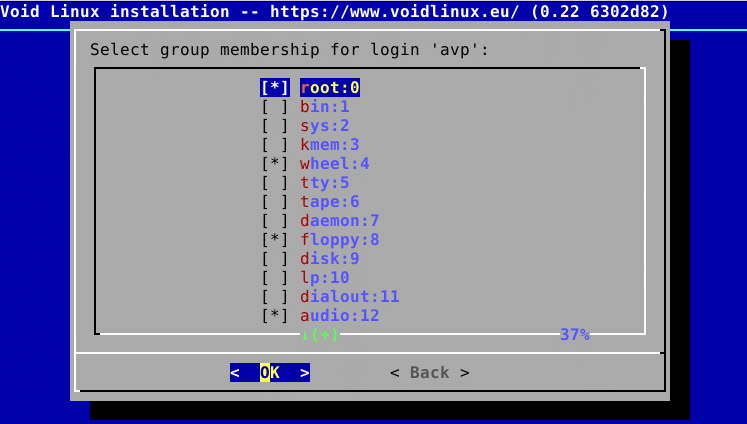
This is convenient as there will be no need to use visudo or add to other groups after installation.
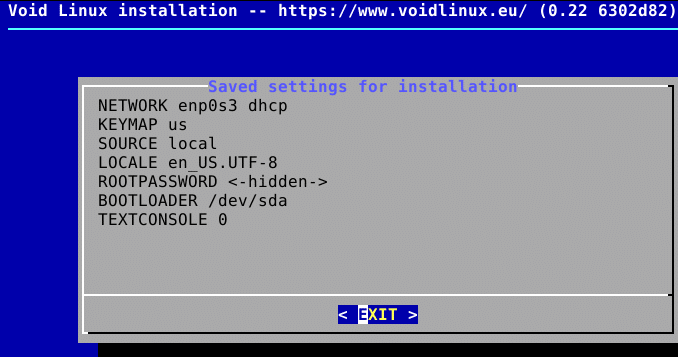
The installer also keeps a list of all the settings selected so far. You can view them from the Settings tab.

This is useful for reviewing setup configuration and making any changes if required.
BootLoader: Install the bootloader to the disk (default).
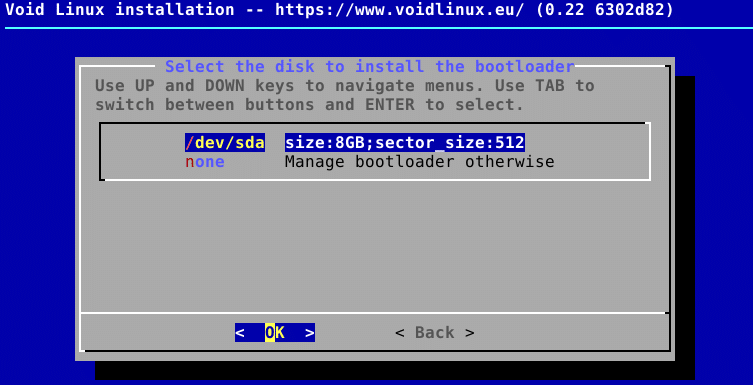
Partition: Partitions need to be created manually during installation. Choose the target disk where Void Linux is to be installed.
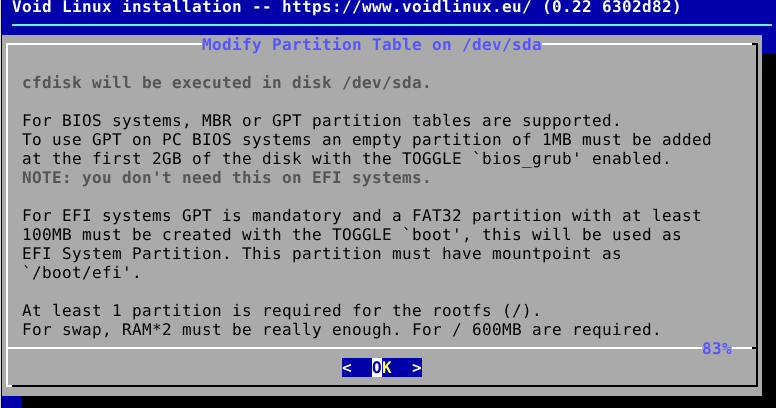
For standard installation, choose the disk type as DOS (MBR), make it bootable and create a Linux swap partition with it. Use the tab key to cycle between choices at the bottom of screen. Then highlight the Bootable option and hit Enter. Similarly, choose Linux as the partition type from a list of options in Type. Finally, highlight Write and press Enter to make these changes.
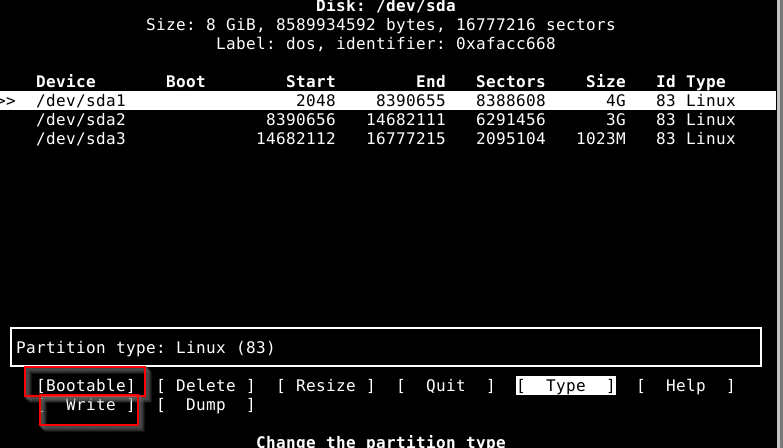
There are various installation scenarios for both GPT and MBR partition schemes. Some of them are explained in Void Linux wiki here.
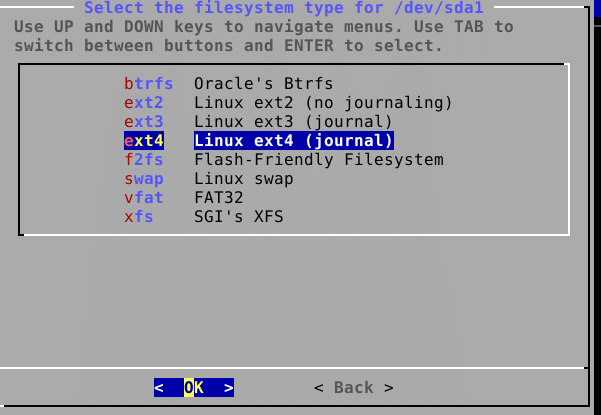
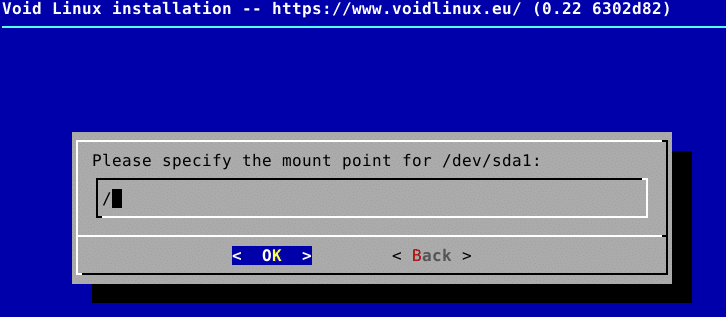
Filesystems: Once the partitions are created and written, mount the file systems and specify the mount points.Select Change and hit Enter to select filesystem types.
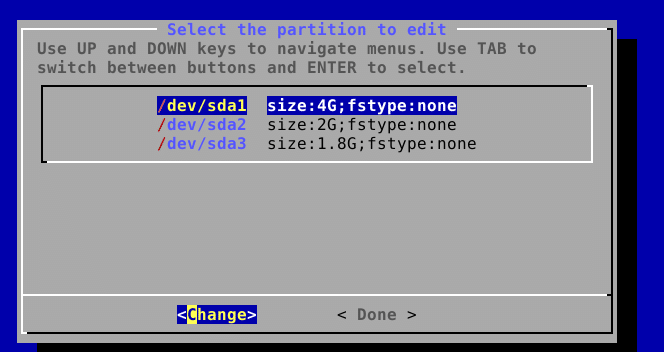
This example uses 3 partitions – root (bootable), home (both of which use ext4 file system) and a swap partition.
The root partition which is already marked bootable is where GRUB2 bootloader will be installed.
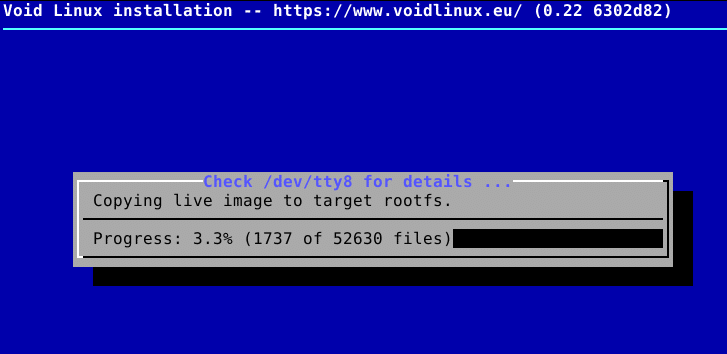
Once these changes are finalized, the installer will download the base system packages to the target partition and finally install GRUB2.
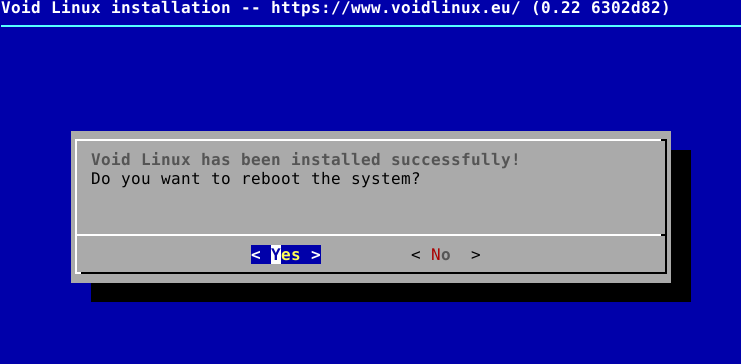
If all goes well, installation will be complete. Reboot the system.
Using Void Linux:
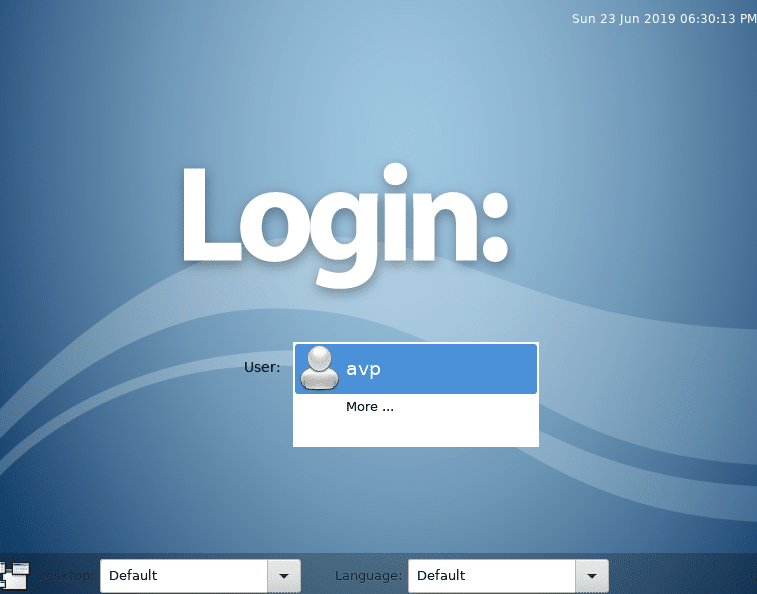
Login to the welcome screen. As this example uses Xfce environment, the default desktop environment for that is loaded.
Installing packages:
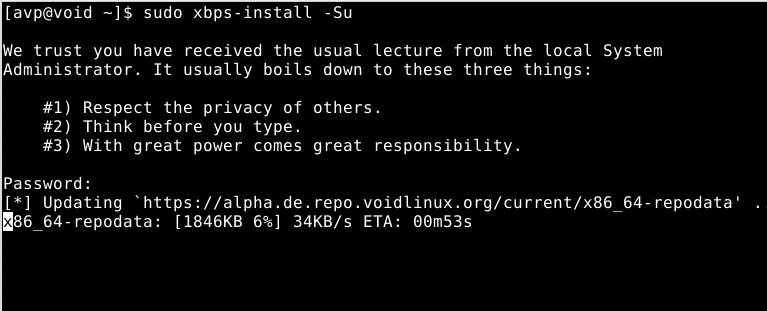
Void Linux has it’s own package management system – XBPS (X Binary Package System). This is different from apt, dnf and other package managers found in various other distros. The default shell is Bash so if you have used Linux command line before, then it will be familiar.
To update packages along with their dependencies to the latest version, open Terminal and type:
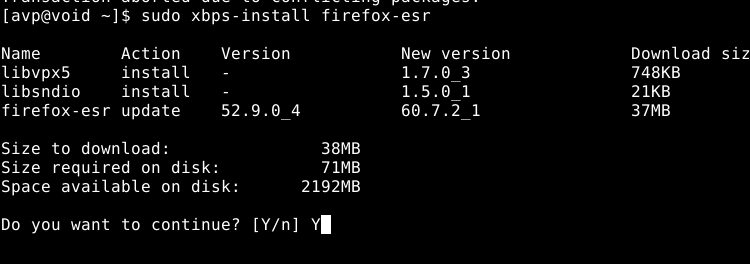
To install a package:
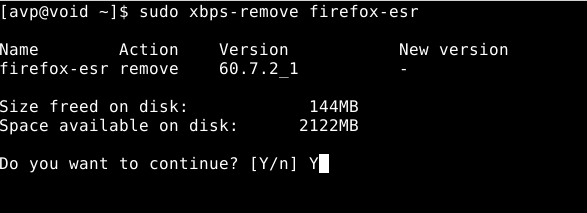
To remove a package:
To search for a specific package:

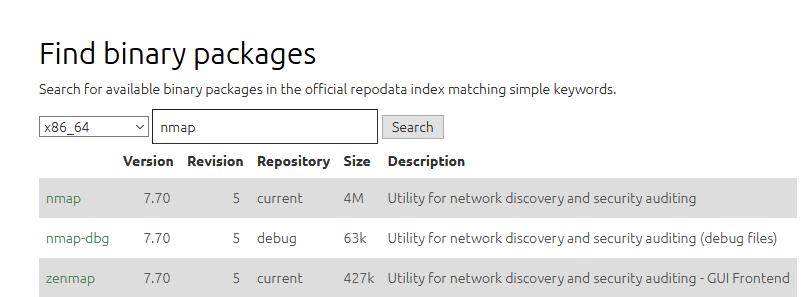
You can also query for packages from the Void Linux website here. Also, a list of commonly used applications for various tasks can be found here.
Overall, this is a fast and lightweight independent distro, and best geared for experienced Linux desktop users, open source developers and enthusiasts who use Linux command line a lot. Also if you want to use an independent Linux distro that uses runit rather than systemd, then Void Linux is a good choice.
For new users that need lightweight distros other than the commonly used ones like Ubuntu, Linux Mint, Manjaro etc, here are a few of the alternatives.
All done.