Icecream Video Editor is a free to use video editing tool that makes video editing easy. (An earlier article covered Icecream Screen Recorder which has both trial and PRO versions). This video editor though is completely free.
Download and install it from here.
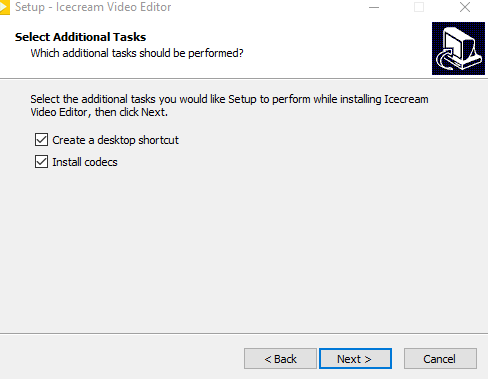
During the setup, keep the default option of installing codecs enabled and complete the installation.

Icecream Video Editor interface consists of a file selection pane at the top, the editing pane at the bottom and the preview pane on the right.
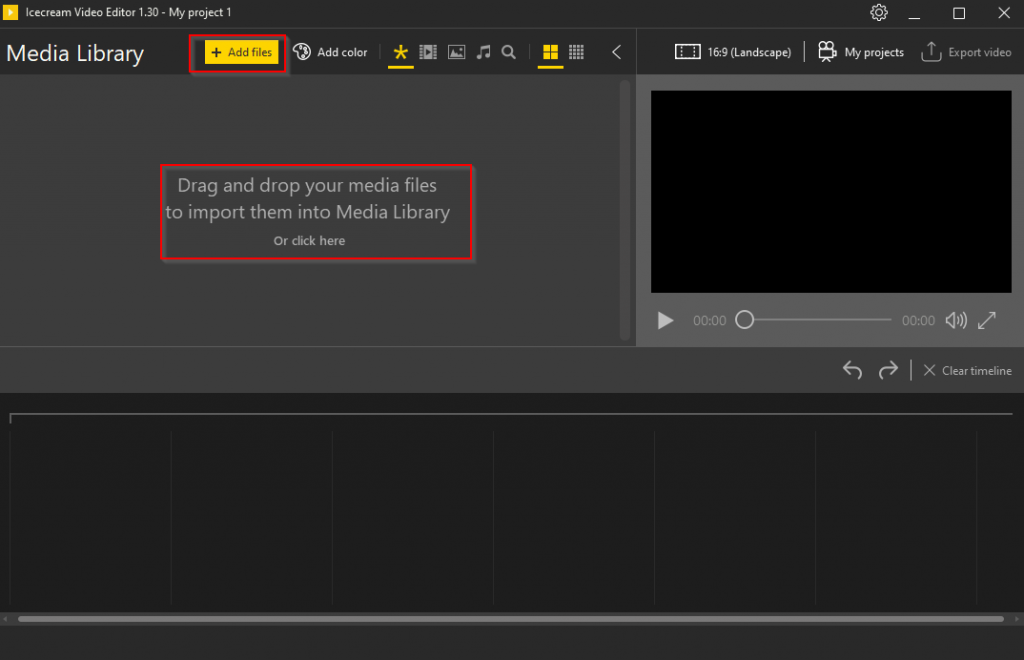
To start editing videos, drag and drop the video to be edited in the top pane. You can also do that by clicking Add files.

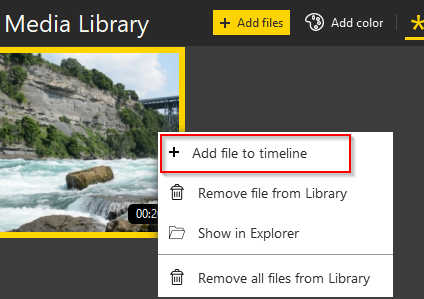
To enable editing, right click on the added video and select Add file to timeline.
It will now appear in the bottom pane from which it can then be edited. You can also remove files from the editing pane by clicking on Clear timeline.
Icecream Video Editor supports most of the video editing functions like adding and editing audio to source video files, trimming, cropping, applying filters and so on.

Besides that, you can also add a collection of audio files, images, and videos to the editing pane. For editing images, options include General, Duration, Crop, Text, and Filter. This is useful when wanting to add custom images to videos.

These functions will be visible once the source video is added to the editing pane.
Also for multiple videos and images, you can add cool transition effects. Simply add the source files to be combined in the editing pane.

Then click the + icon between them and choose a transition effect.

Let’s take a look at other editing options.
General: This option allows to set contrast, brightness, hue and saturation effects.

Also, if you want to change the video playback speed and rotate/flip it, that can be set from here.
Audio: Add an audio file to the source video or change the existing audio settings from here.

You can also add different sound effects from here. Select Done once the changes are finalized.
Trim: Edit long videos to make them short and relevant using this feature. Simply choose Trim and drag-drop the start and end markers to cover the playback portion of the video that is to be viewed.

You can also preview it from within the preview pane on right. Click Done to save the trimmed video.

Other options here include blurring the video background and changing the aspect ration. Again, choose Done to save the changes.
Crop: Crop the existing video to fit as needed. The default option is Scale to fit but you can choose Crop and make resize video.


Text: Add custom text to videos using this feature. You can also change where the text will appear in the video by clicking on Position. It consists of a grid with squares. Select the required square from the grid. That will be where the text will be displayed in the video.

Also, text size and style, as well as the speed of text that will appear, can be set from here.
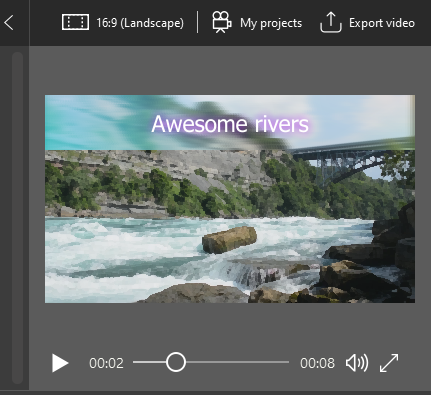
Use the preview pane to view how it will look and select Done to save.
Filters: Add various filter effects to the source video from here. Most of the commonly used filters like Sepia, Vintage, Color Bokeh and so on are available to choose from.

Preview the changes and save the edited video.
After the source video is edited and the changes are finalized, click on Export video.
![]()
Icecream Video Editor can save the exported video either as an MP4 video or in WebM format.

It also supports HD, Full HD, Quad HD, and 4K so the video can be saved as any of these. Select the destination path where the video will be saved and click Export.

Depending on the size, the process may take a while.
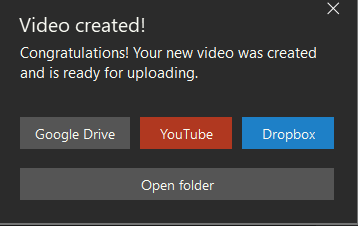
After the export is over, you can also directly upload the edited video to Dropbox, Google Drive or YouTube. For that, you’d need to link Icecream Video Editor with those services.
Also, Icecream Video Editor by default autosaves the progress every 5 minutes. You can change this interval by accessing Settings.

Click on the gear icon from the top right of the window and choose a time interval as needed (smallest autosave interval being 1 minute and largest as 20 minutes).

This is an easy to use video editor that makes basic video editing tasks simple without a steep learning curve. And it is free.
Do try it out.