Sync is an online cloud storage service for storing and sharing files and folders. Where it differs from the other cloud services is that is a zero-knowledge storage platform. What this means is that Sync can’t access or read user data as it doesn’t keep a copy of your encryption keys. Private encryption keys are decrypted locally whenever a user logs in using the Sync account so only the user has access to the data.
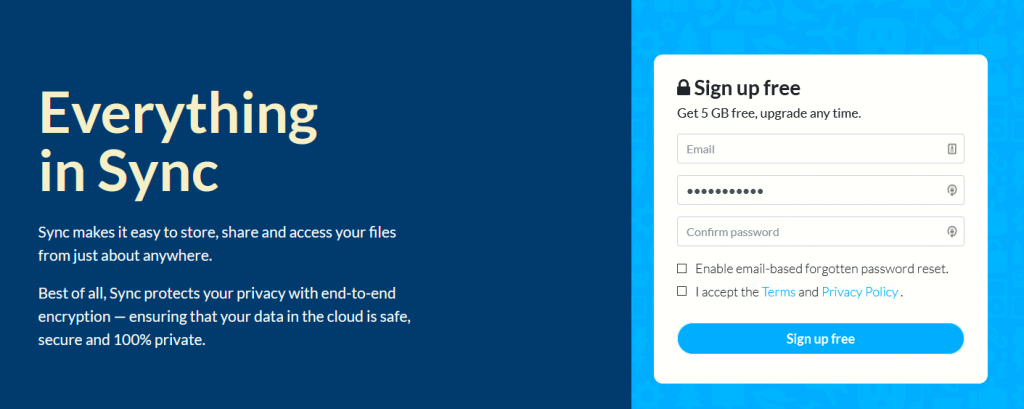
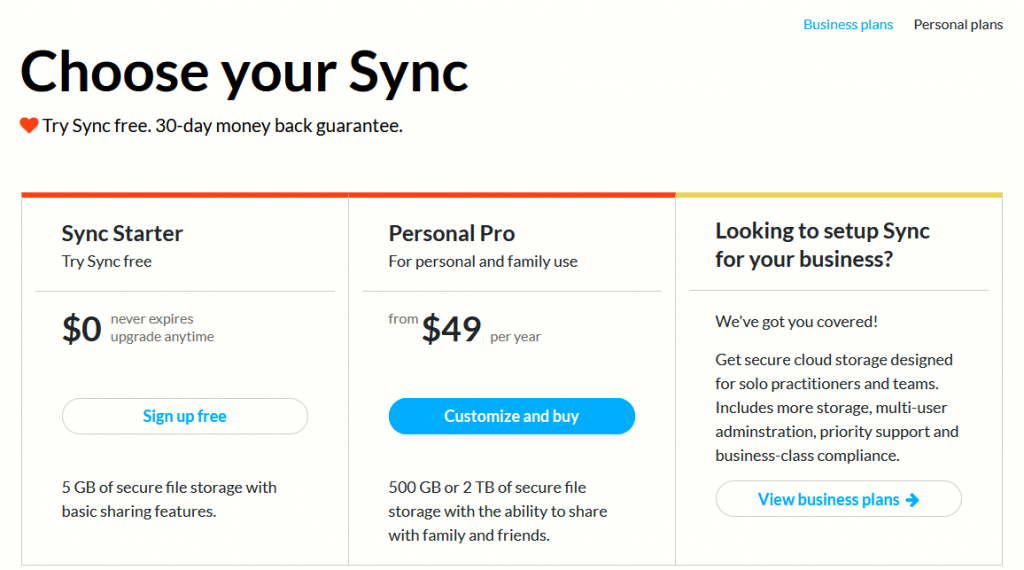
The free personal plan allows up to 5 GB storage per user while the other plans have different storage limits. The entire pricing list with the plan details can be found here.
Using Sync is similar to most of the online cloud services: you can access and upload files to be stored through a browser or download a desktop client to do that. If you have used Dropbox or OneDrive, then using Sync will be similar to that.
Web-version:
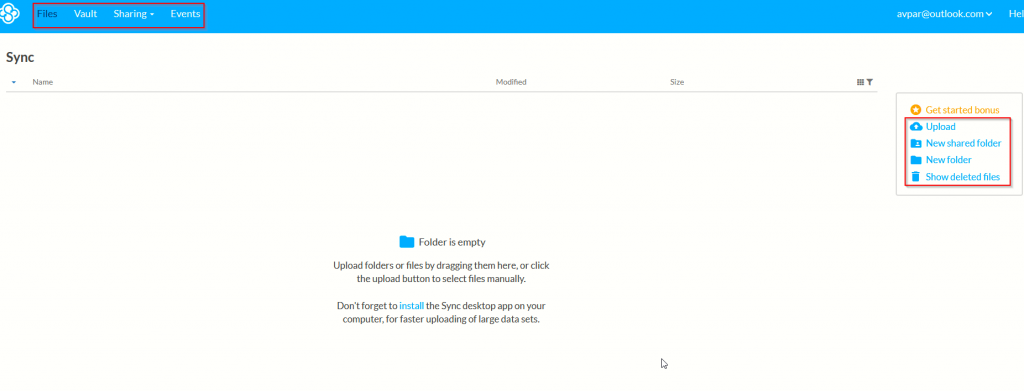
The web version is fairly simple. After logging into the Sync dashboard, click on Upload to store files online. You can also create new folders from here.
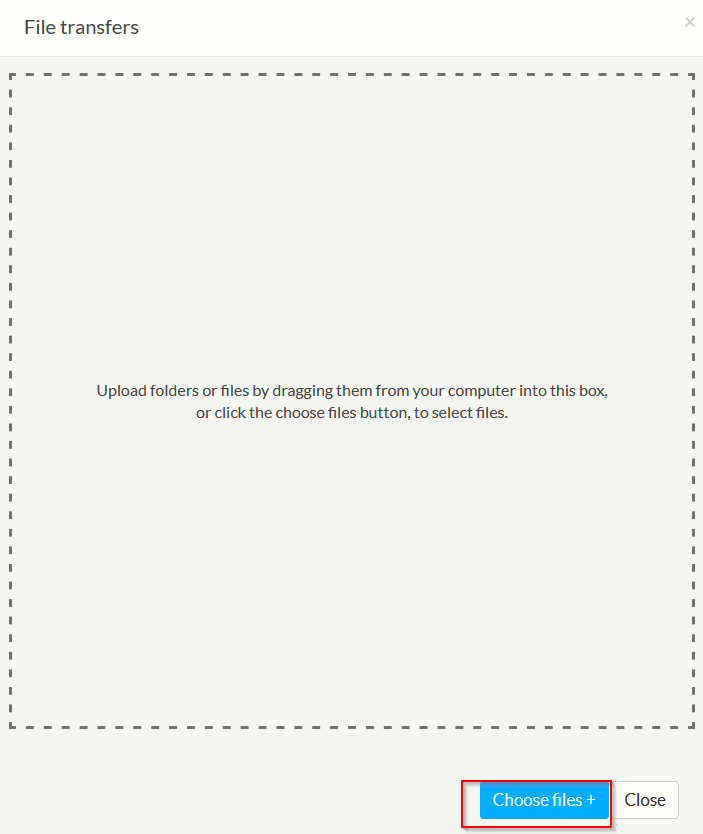
Click on Choose files+ and add them as needed.
Once they are uploaded, you can share them, rename, move and delete them.

These options can be accessed from the ellipsis menu. To share the uploaded file, click on Share next to it or from the ellipsis menu by clicking on Share as link.

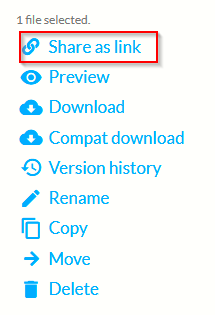
A download link will be automatically generated.
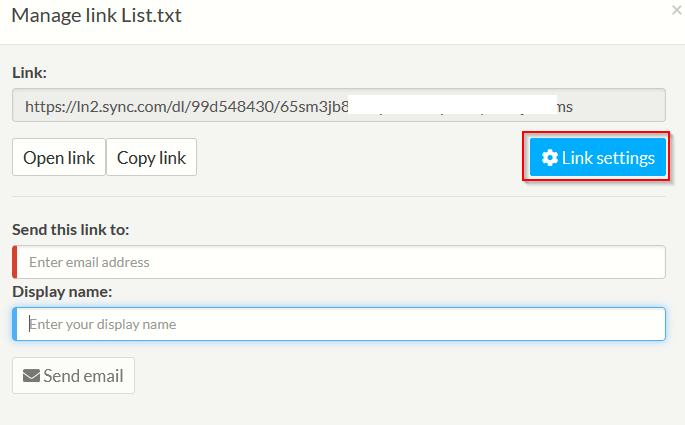
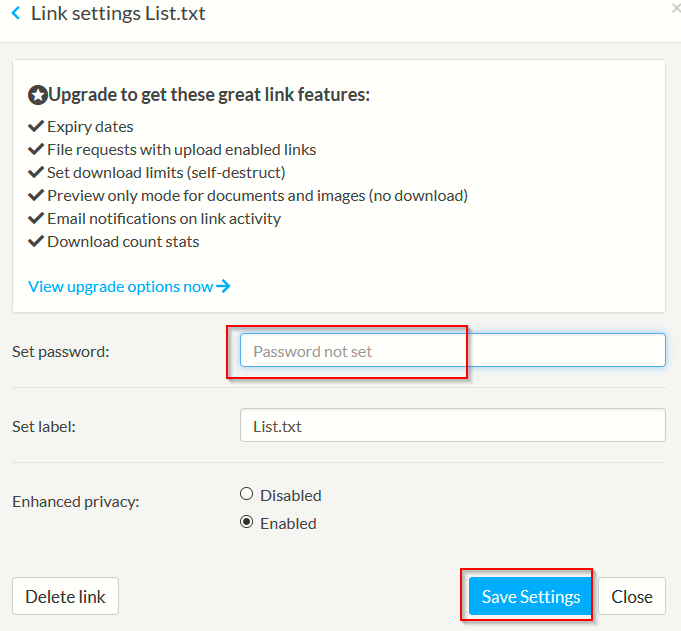
To set a password, click on Link settings and enter a password.
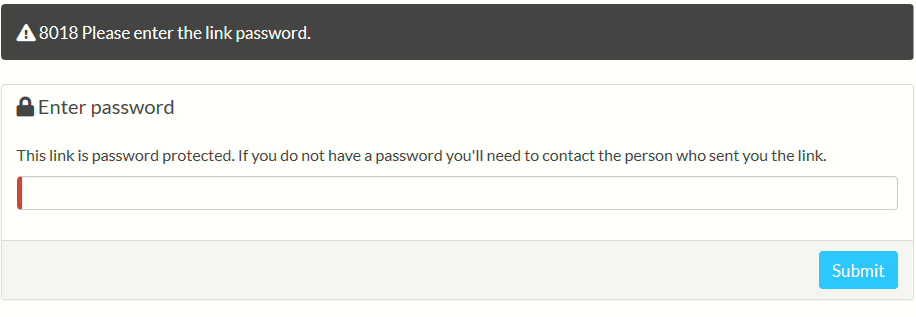
The recipient will then need a password to unlock and access the shared file through the link.
Other features like setting an expiration date for the links, limiting download count, getting notifications on the shared link activity, requesting files from non-Sync users and more are available only in premium plans.
For team-based tasks, you can also create a shared folder through Sharing > Team Shares.
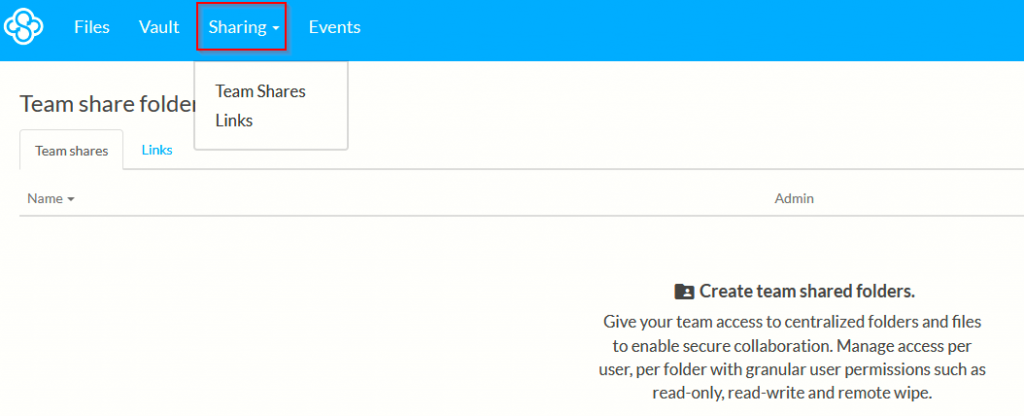
Permissions for accessing it can be assigned granularly depending on the team members.
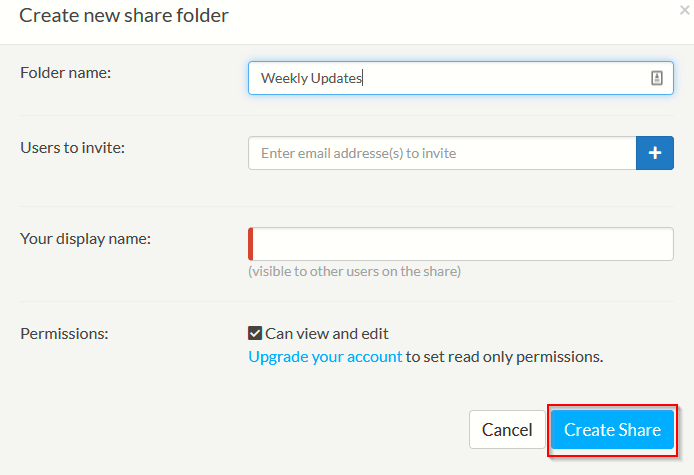
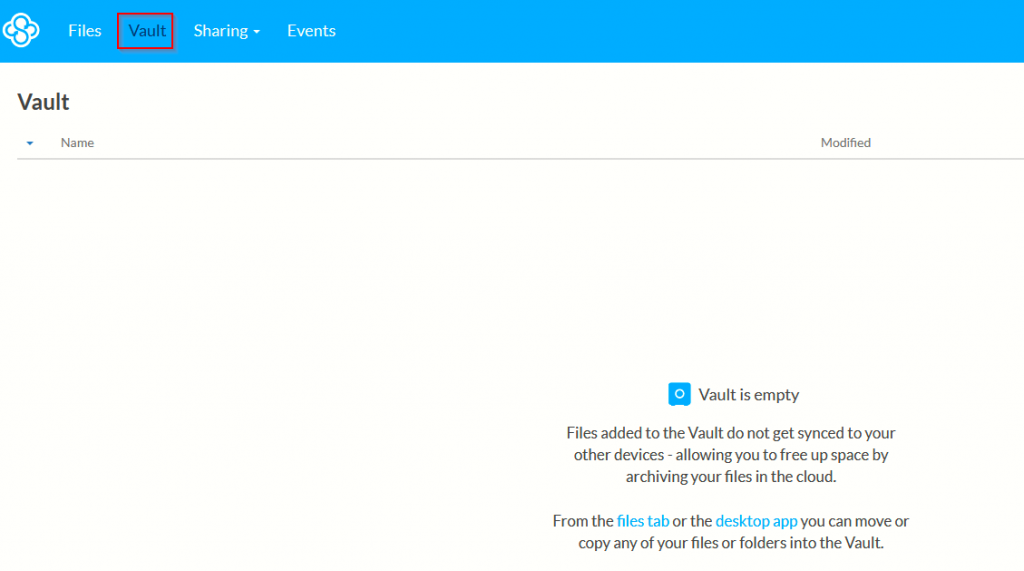
Sync also has a special folder – Vault. Files added to it won’t get synced with other devices. This can be useful in creating backups and archives of old files.
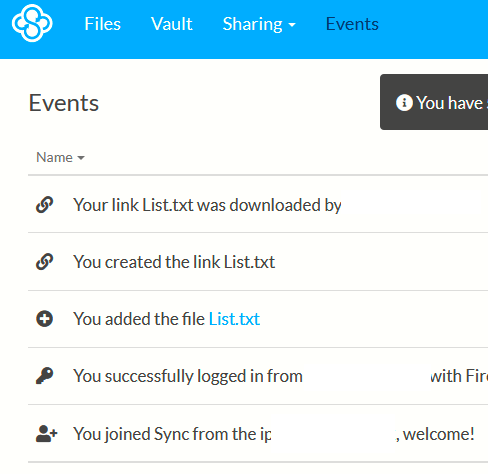
To get an audit trail about file activities, click on Events. This will display the list of events related to various files and folders that are uploaded, shared and edited in Sync.
Desktop client:
To use the Sync desktop client for Windows, first download it from here and install it. There is also a Mac version along with a mobile app version for using it.
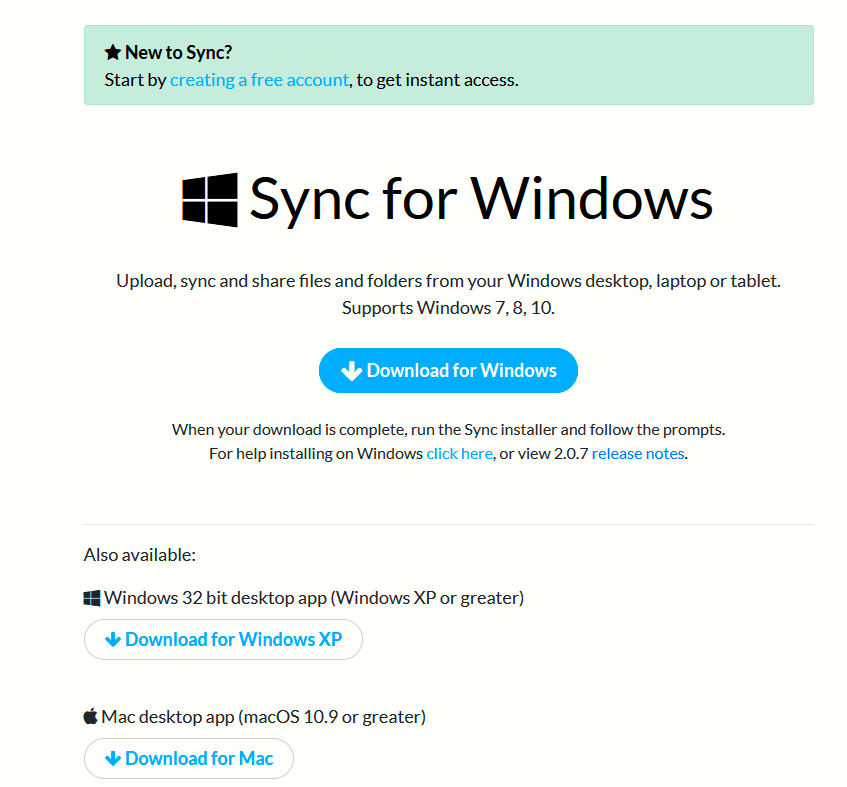
The setup will prompt to make a new Sync account or ask to login with your existing account.
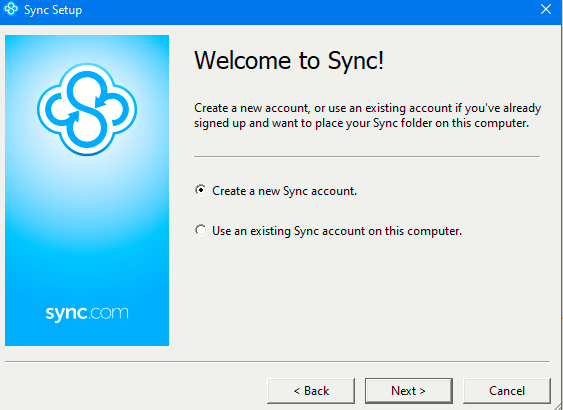
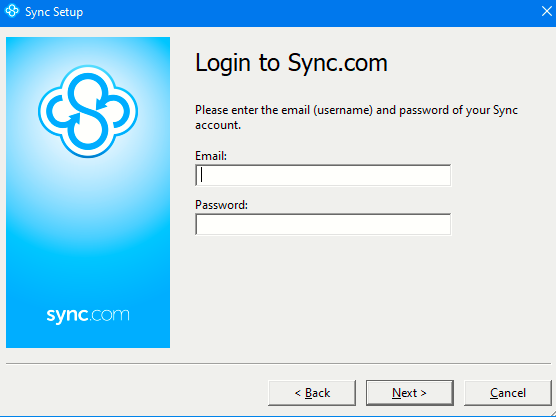
Login to your Sync account if it is already created or make a new one.
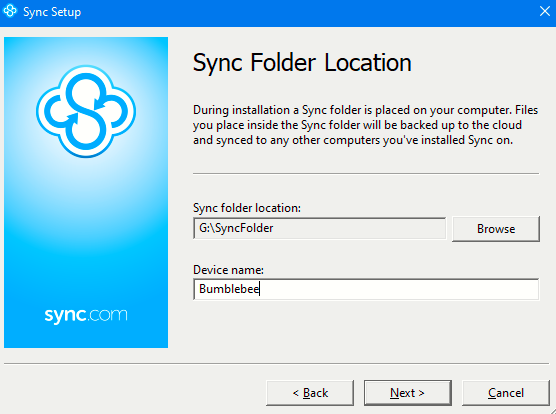
Enter the path of the folder where the stored files will be synced and the desktop name. By default, it points to the Windows username but can be changed.
Wait for the registration to be over and the setup to complete.
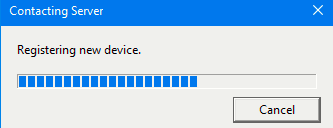
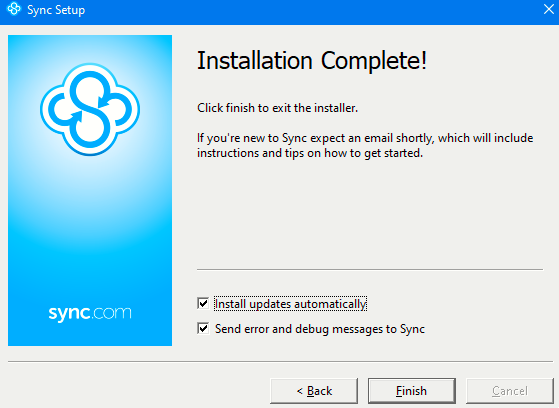
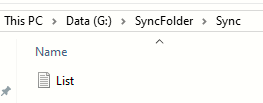
The Sync folder will now be visible in the Quick Access panel of Windows.
![]()
To upload files, simply copy or move the files to the assigned Sync folder.
You can also directly search for stored files from the Sync icon which will be active in the system tray.
![]()
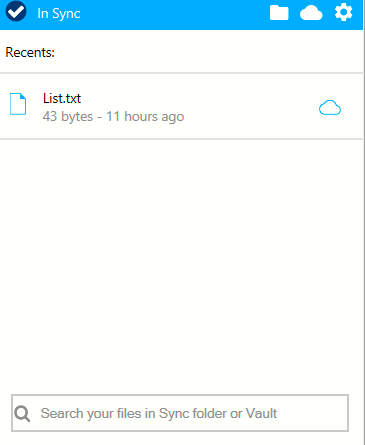
Other than that, settings like pausing syncing, accessing the web version of Sync and other options too can be configured from the gear icon there.
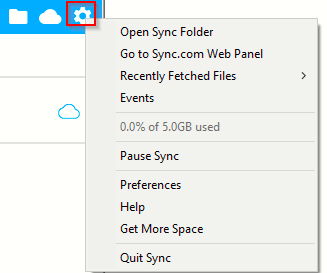
There is also an option of managing device access when the desktop client is installed. That means you can unlink the desktop or disable changing the user password through the desktop client.
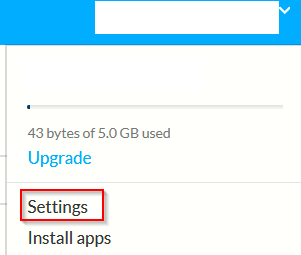
These settings can be changed from the web version. Choose Settings from the account drop-down.
Then go to the Devices tab.
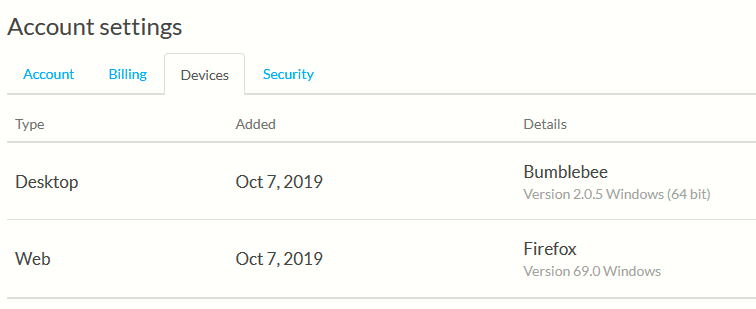
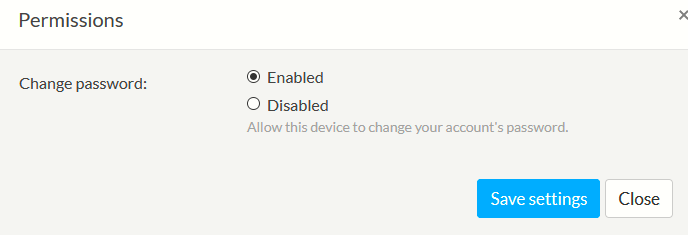
From the ellipsis icon next to the Desktop client details, choose Set permission from the drop-down menu.
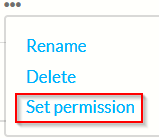
You can then disable changing of password through the desktop client if needed.
All done.