Windows 10 Mail app has the feature of linking inboxes. What this means is that if you have multiple email accounts configured, then you can link them together as a single inbox. This is useful when you’d like to consolidate different email accounts under one inbox (E.g: one linked inbox for all your personal email accounts and the other for work). There has to be more than one email account added in the Mail app to make a linked inbox.
To create these linked inboxes, click on the gear icon in the Windows 10 Mail app.

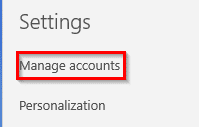
Then, choose Settings > Manage accounts.
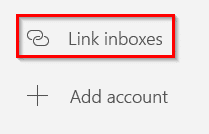
Next, select Link inboxes.
Select the accounts that need to be together for the linked inbox, give the linked inbox a name if required and click Save.
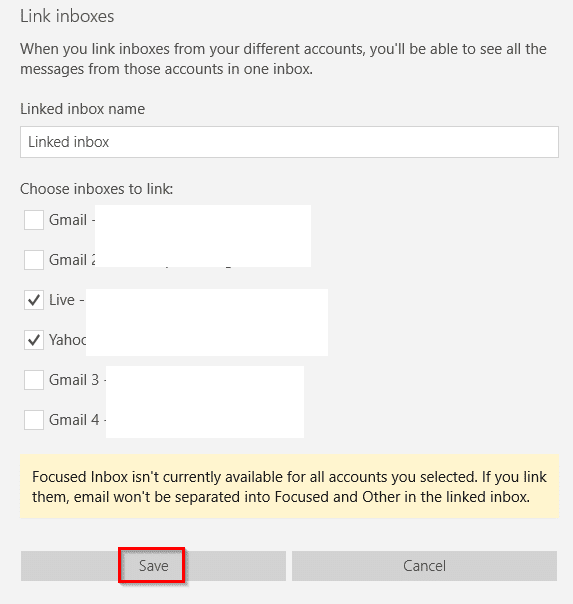
These accounts will now appear as a single inbox.

You can also add nested linked inboxes (linked inboxes within linked inboxes). Again, add the selected accounts that need to be consolidated under one inbox. Name it as needed and click Save.
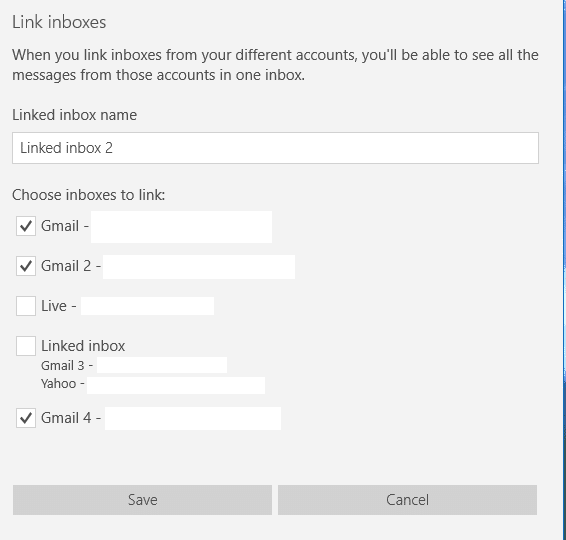
The email accounts will now be added to the linked inbox. You can have multiple linked inboxes too.
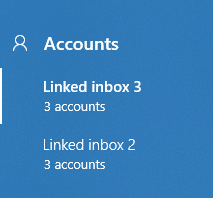
To compose email messages, select the linked inbox and click on New mail. Then choose the account from which the messages are to be sent.

Unlinking accounts from the inbox:
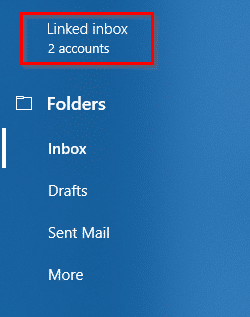
To unlink these email accounts, right-click on the linked inbox pane from the Mail app.
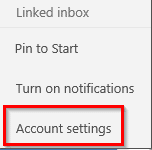
Then choose Account settings.
Click on the linked inbox name and select Unlink inboxes.
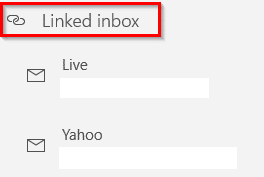
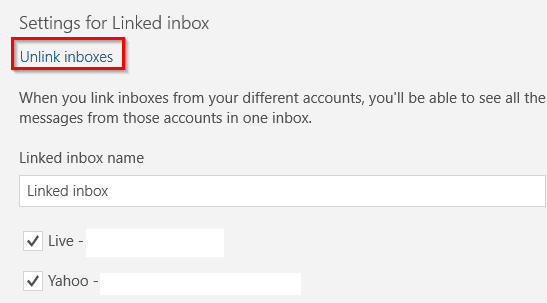
The email accounts will then be unlinked and again show up individually in the Mail app.
Happy emailing.