It can be useful to record a virtual machine (VM) session when using VirtualBox right from the boot-up to shutdown.
So, there is a useful feature in VirtualBox to capture video recording for virtual machines and it is simple to set it up.
Here is how to do it in Windows and Linux:
In Windows:
Launch VirtualBox, then right-click on the VM to be recorded and choose Settings.

Next, go to the Display section and click on the Recording tab. Select Enable Recording.
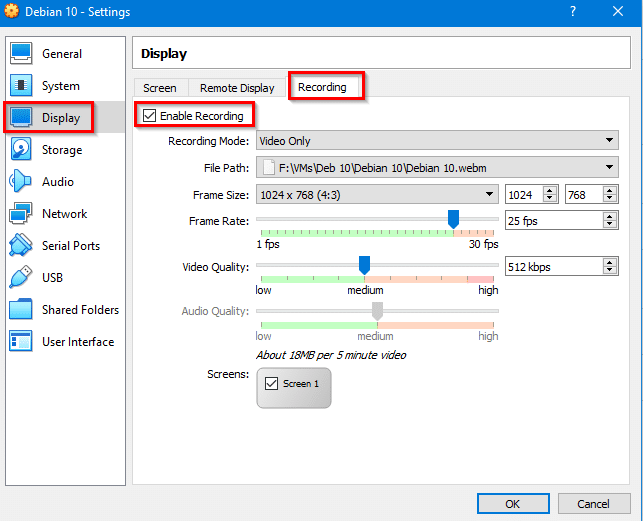
The default recording choice is Video Only, it can, however, be set to video and audio or just audio.

Also, if required change the default path where these recordings will be saved (WebM format).
You can also change the frame rate and display resolution.
Click OK to save the changes.
Note: This recording option will need to be enabled every time before you start the VM whenever a session recording is required. So if you’d like to record multiple sessions, make sure that the video file names are different to prevent them from being overwritten.
To record the session, simply start that VM and use it as before.There will be a spinning recording icon at the bottom right during the whole session.

When you shut the VM down, a recorded video of the entire session from start-up to shutdown will be available at the set path.

You can then play it in any media player.
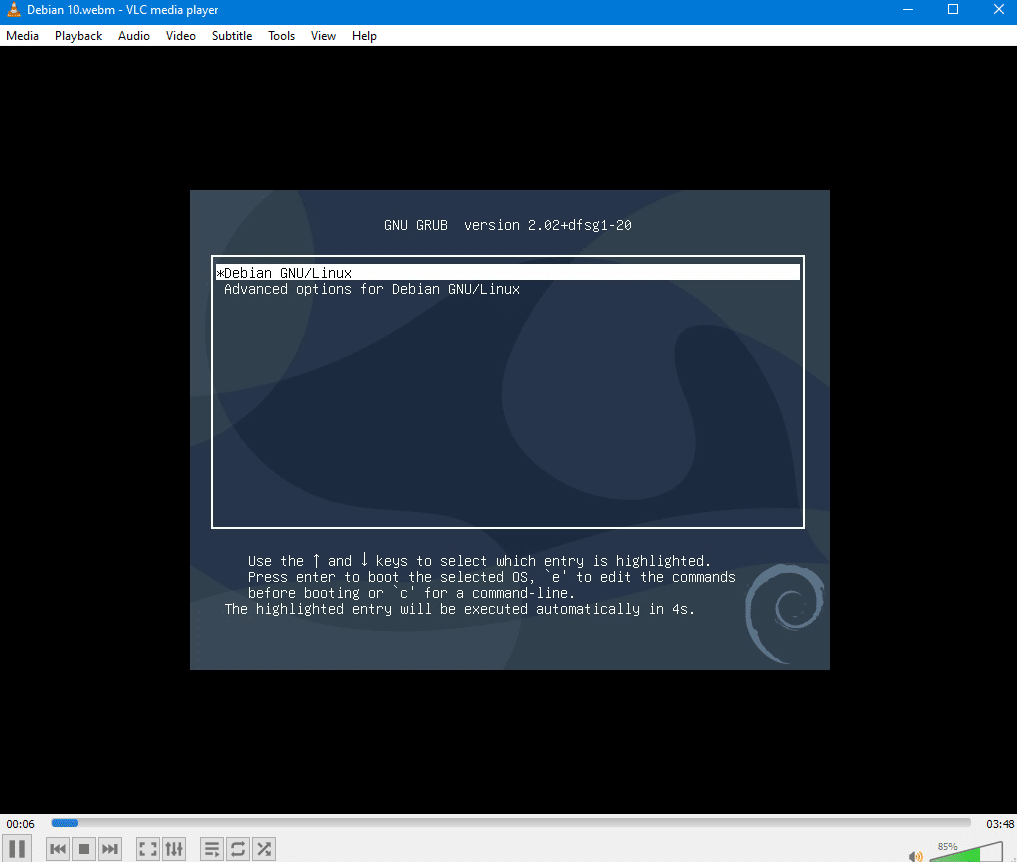
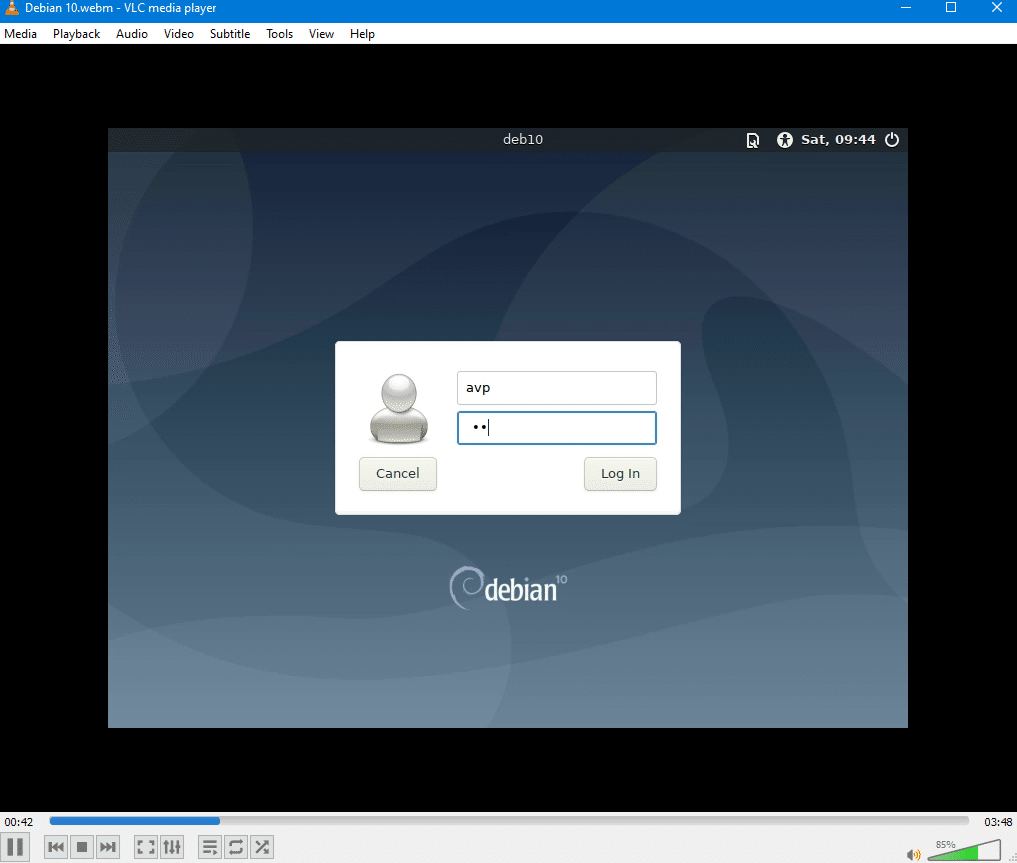
This is useful when you’d like to troubleshoot scenarios or make walkthroughs.
In Linux:
This example uses VirtualBox installed in Linux Mint 19. Again, launch VirtualBox and right-click the VM for which the session has to be recorded.
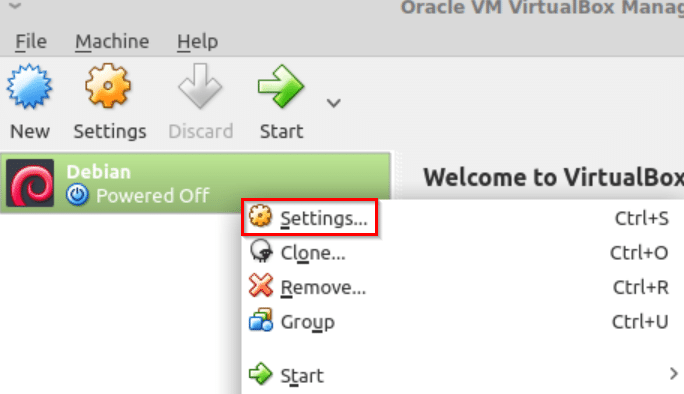
Then, click on the Display section on the left and select the Video Capture tab. Choose Enable Video Capture.
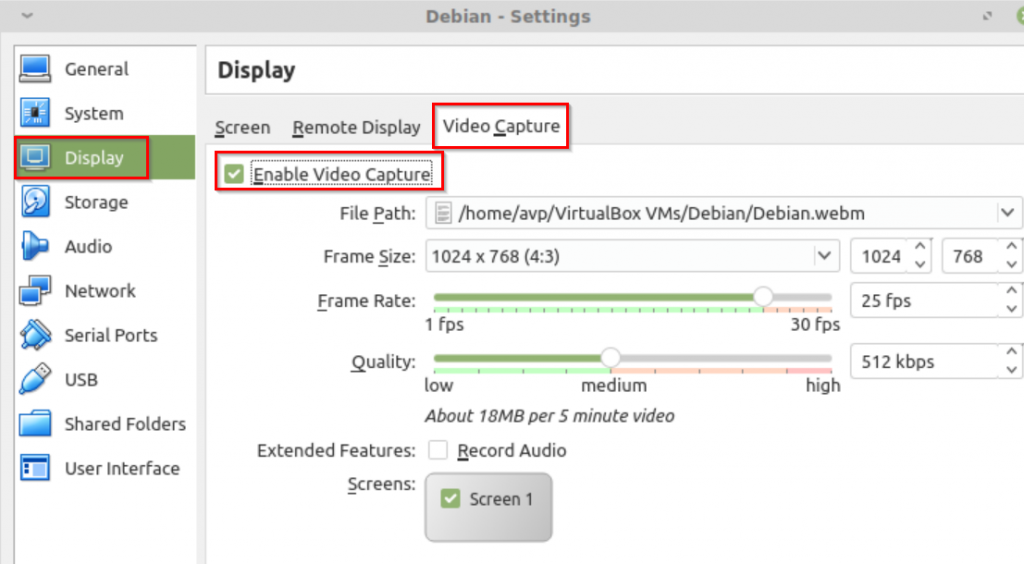
The rest of the recording options are similar to that of those in the Windows version of VirtualBox.
All done.