If you have multiple photos that need to be combined or stitched together then Photo Stitcher is a free tool for Windows that can do that. Besides that, it can also annotate images and add watermarks to them. It is free and can be used offline.
Download and install it from here.
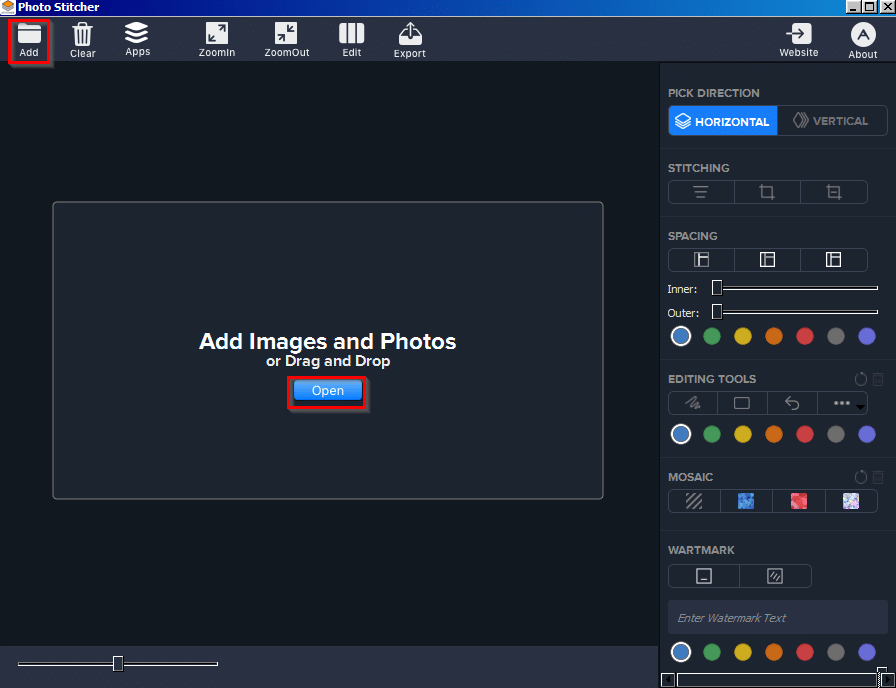
After it is installed, launch it. To add photos, click on the Add button from the top panel or choose Open from the editing pane.
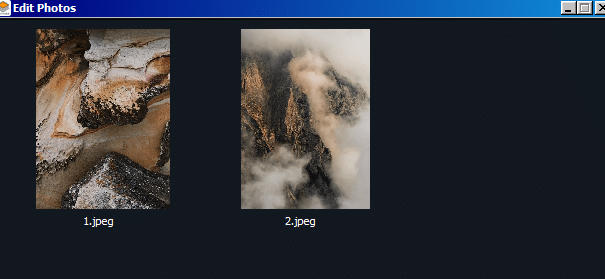
You can also rearrange photos before stitching and editing them. To do that click on Edit from the top panel and drag-drop the photos to rearrange them as needed.
STITCHING: To stitch them, first click on PICK DIRECTION from the right pane and select the direction.
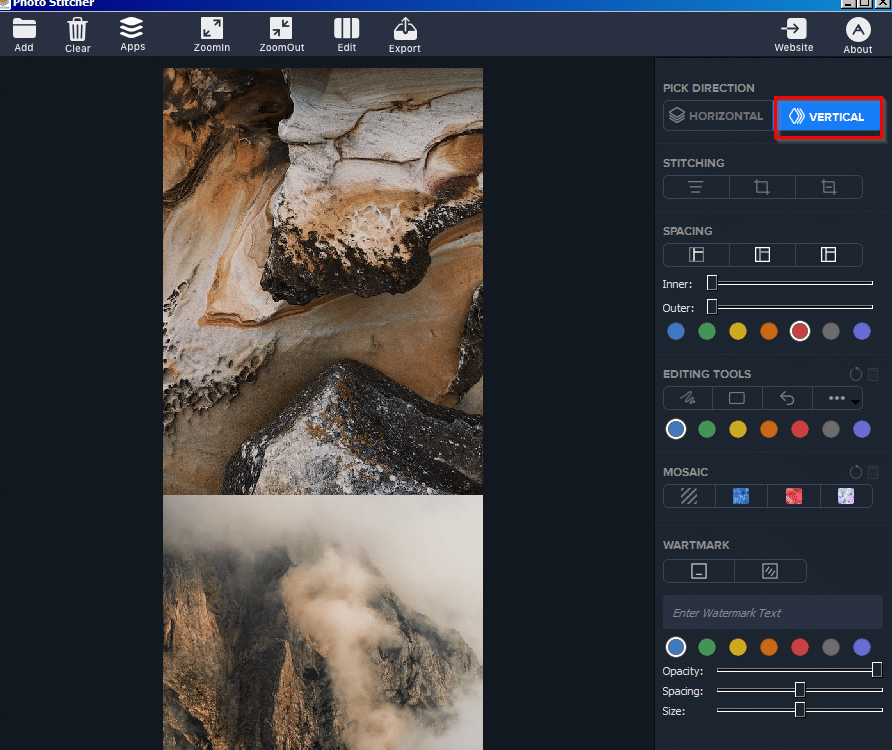
The photos will then be aligned horizontally or vertically as selected. Then from the STITCHING section, add the cropping stitcher (blue lines with arrows at the edge of the photos).
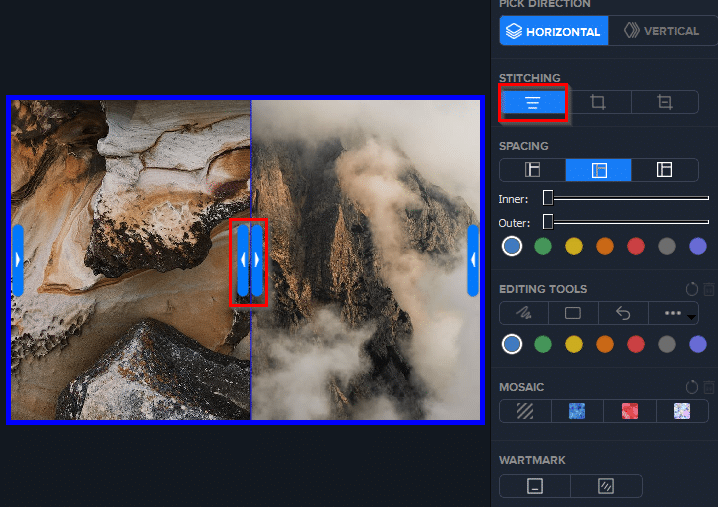
SPACING: You can also add spaces between photos or around the boundaries. To do that select SPACING and change the slider for Inner and Outer selections.
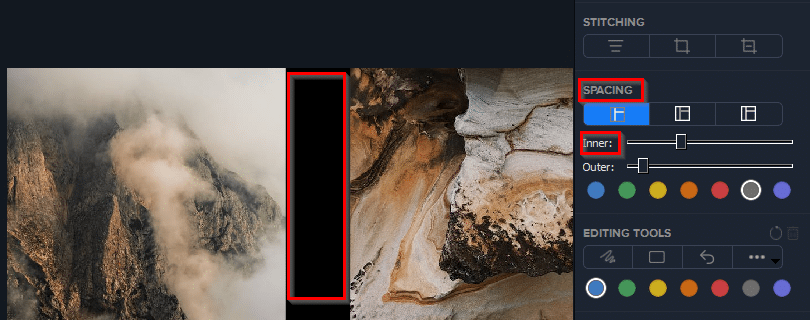
The spacing will change as required. Different colors for spacing can also be selected from here.
EDITING TOOLS: Add shapes and freehand from this section. Select these different tools, they can be directly used on the images.
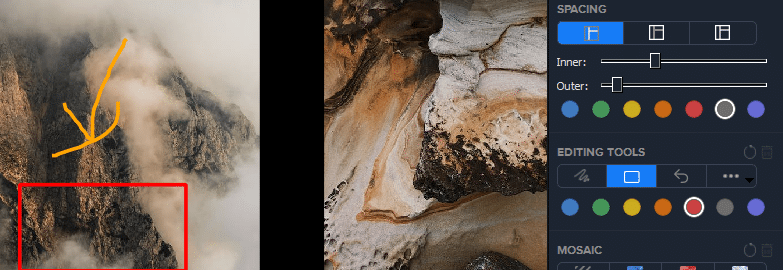
To undo or delete the previous actions, click on the Undo button or Delete buttons that are visible at the extreme right.

Here too, you can select colors as needed.
MOSAIC: To pixelate images, you can use this option. Select the background for the mosaic and draw it over the images.
Again, this can be undone or be removed using the undo and delete buttons.
WATERMARK: Add a custom watermark to the edited images and add the text for it in the text box.
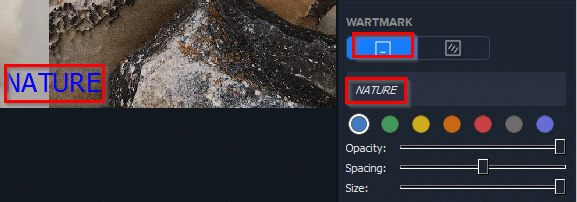
This can be either a single watermark or multiple watermarks.

Finally, once the changes are finalized, save the edited image by clicking on Export.

The edited stitched image will now be exported and saved locally.
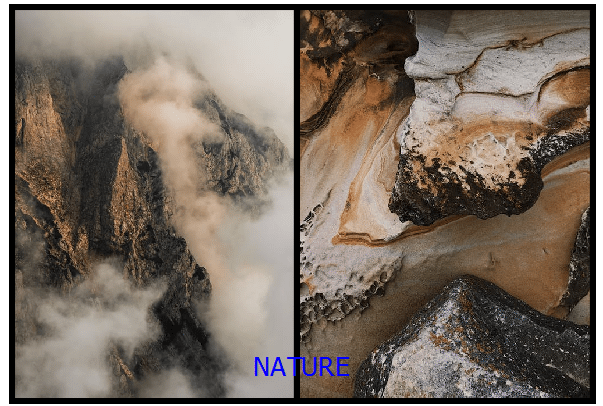
All done.
awesome program and it is working fine