Dropbox now includes a paperless signing feature for documents known as HelloSign. It supports various document types like MS-Word, OpenOffice, PDF, and so on.
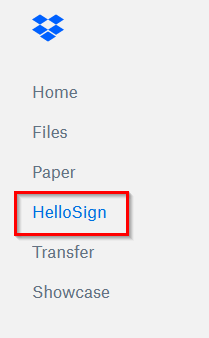
To use it, login to Dropbox from any browser and then choose HelloSign.
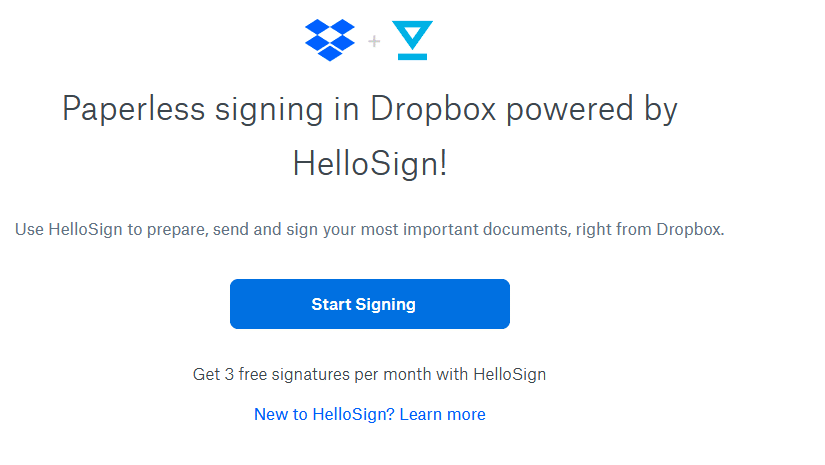
Click on Start Signing to begin.
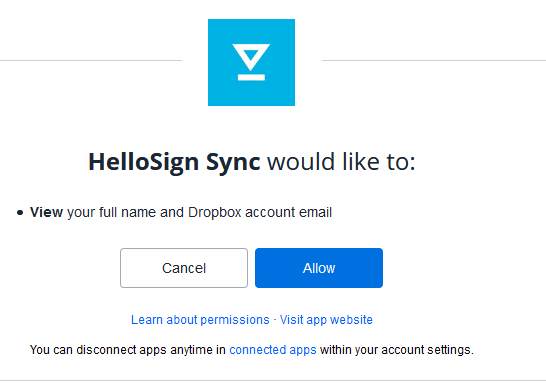
Select Allow to link HelloSign with your Dropbox account.
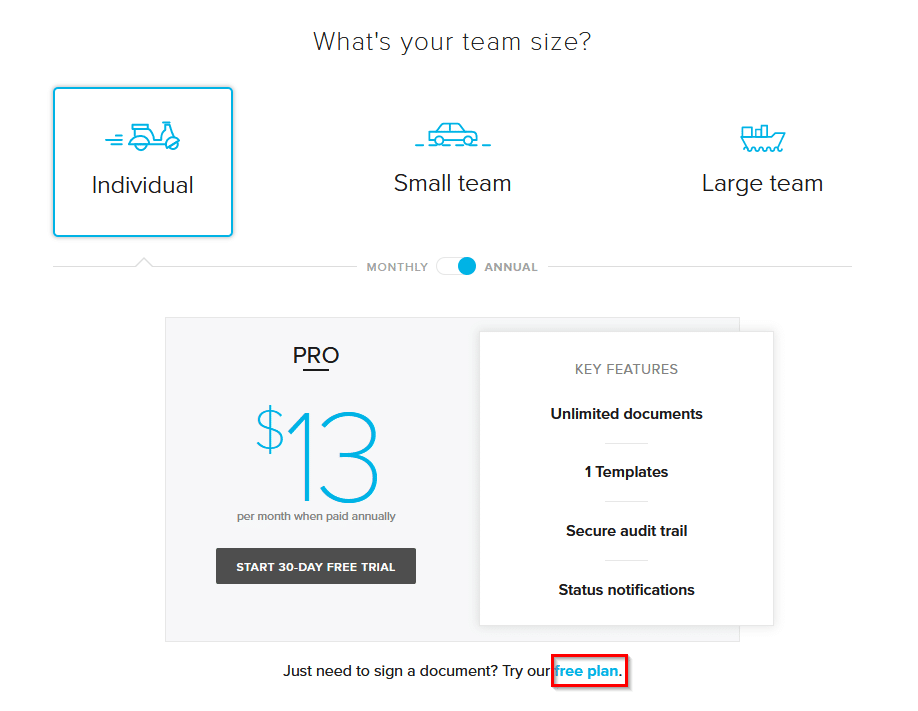
There will be various premium plans listed. You can use HelloSign for free though for signing up to 3 documents per month. To use that, select it by clicking the free plan.
HelloSign offers various paperless signing options for signing your documents, co-sign them with others, or have other sign them.

This is useful when you’d like to have digital signing for various contracts, agreements, and so on with others. Also, the premium plan has the option of choosing templates for such documents besides the Bulk Send feature (to send documents to many recipients in one-go).
Adding own signature:
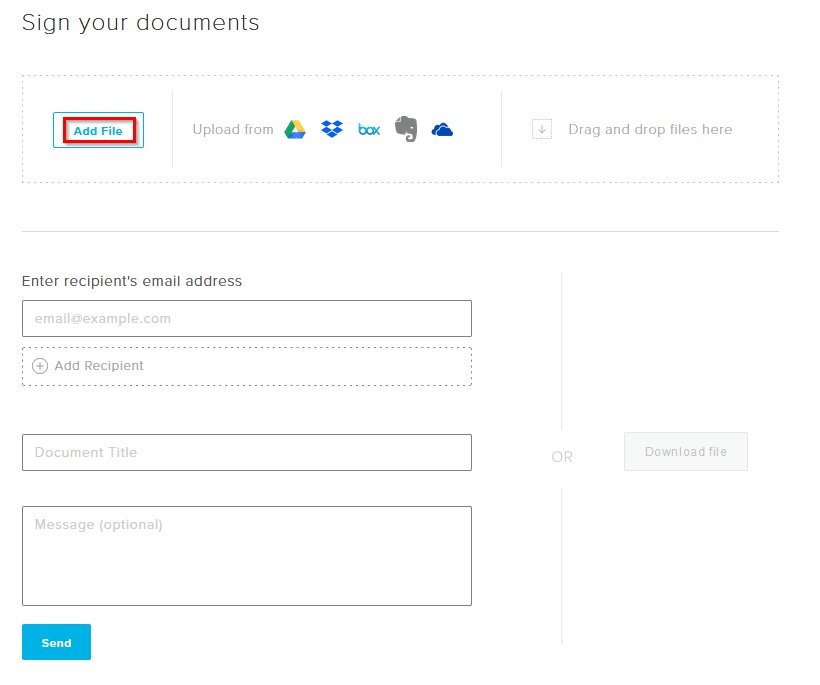
Choose JUST ME to sign your documents. Next, select Add File to add the document to be signed. Add the recipient’s name and email address in the bottom pane.
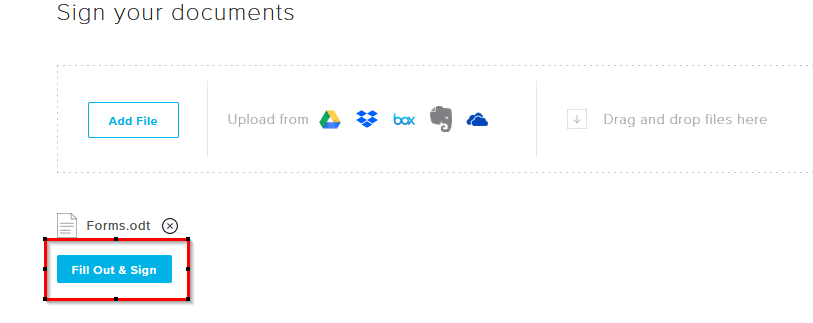
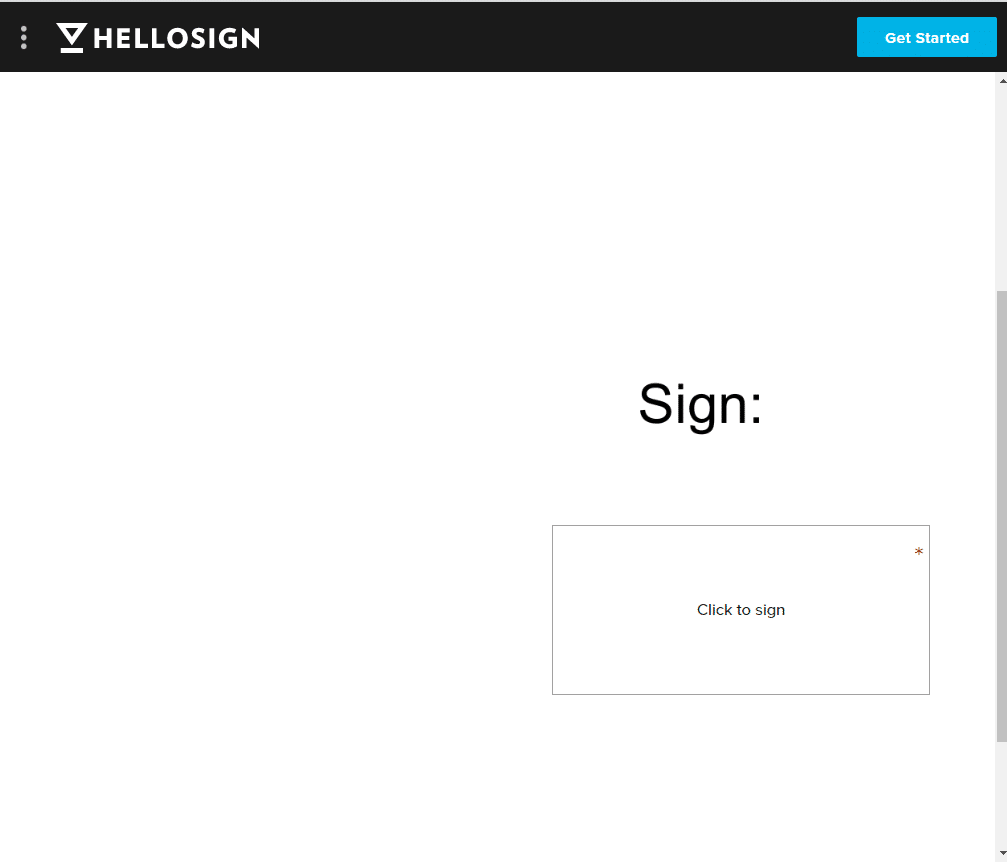
After the file is added, click on Fill Out & Sign.
This will open a new editor for HelloSign.
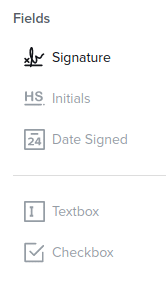
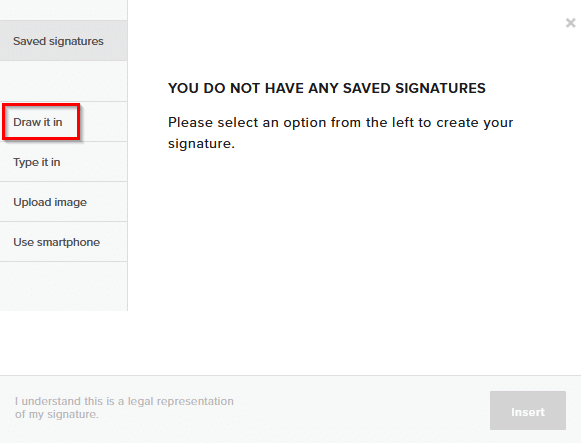
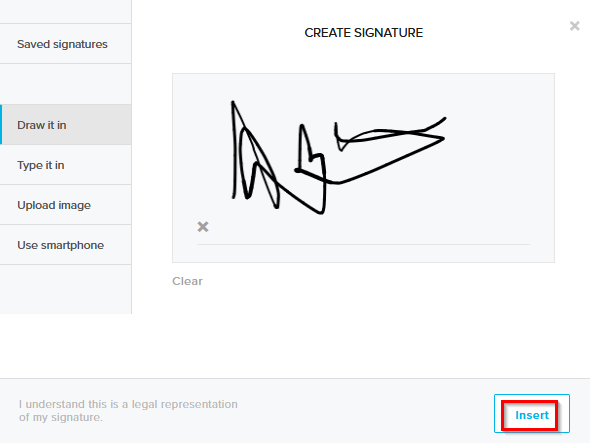
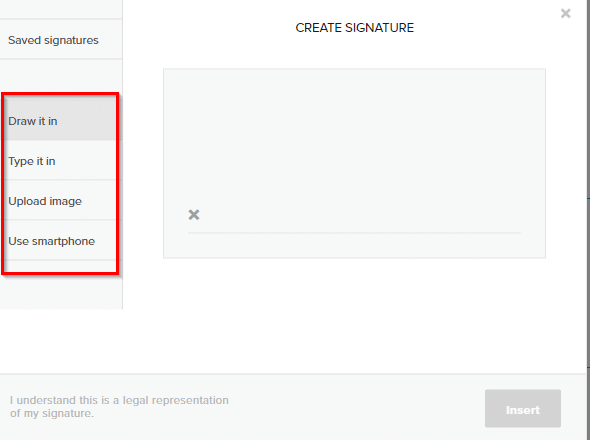
From here, you can add your signature either by drawing it using the mouse, by typing it in, by uploading it as an image or by smartphone.
Create a signature as needed and click Insert.
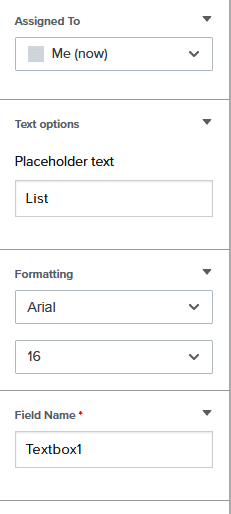
HelloSign editor also has other options like including a tick box and a text box which may be added along with the digital signature. You can add these by selecting them from the left pane and inserting them in the document where needed.
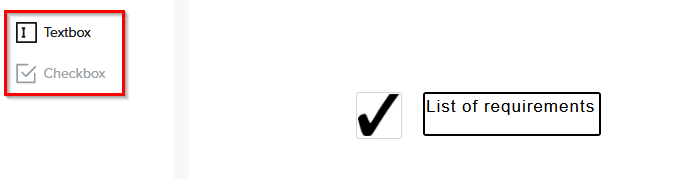
Various attributes for the text box like font size, style, placeholder name, and the text box can be changed too.
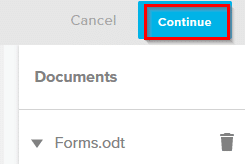
After the signature is added and the changes finalized, click on Continue from the top right.
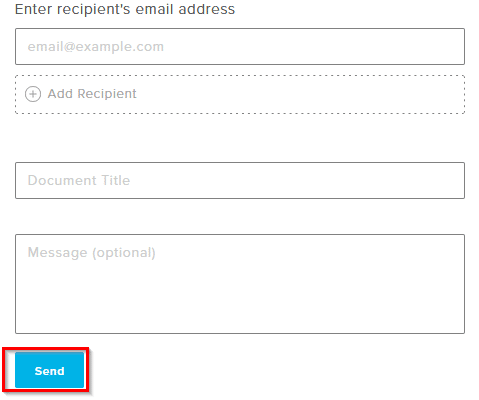
Fill up the recipient details along with a message and click on Send.
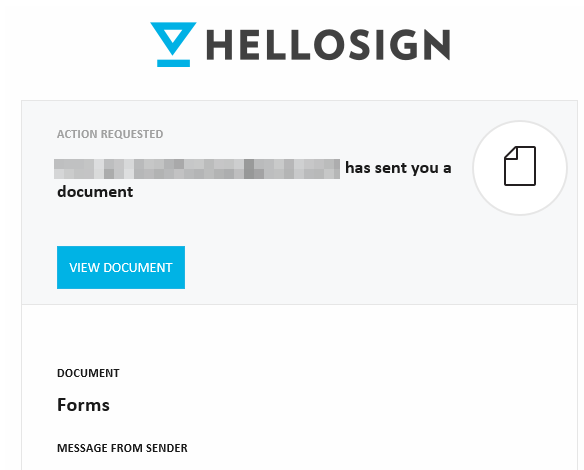
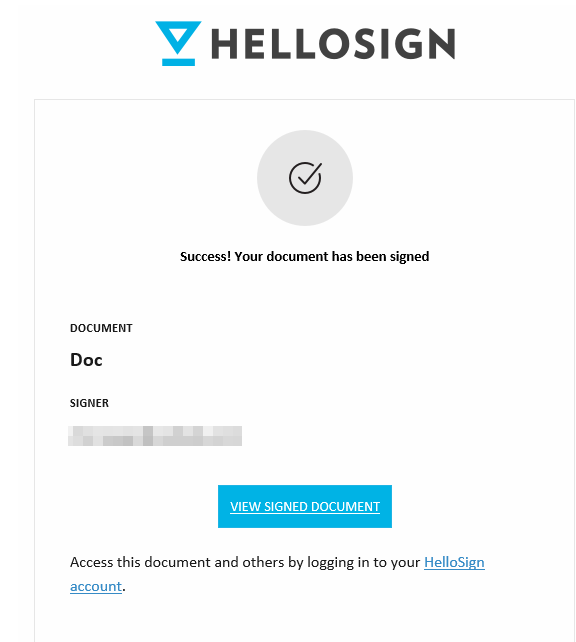
The recipient will get a notification and can view the signed document.
Requesting signatures from others:
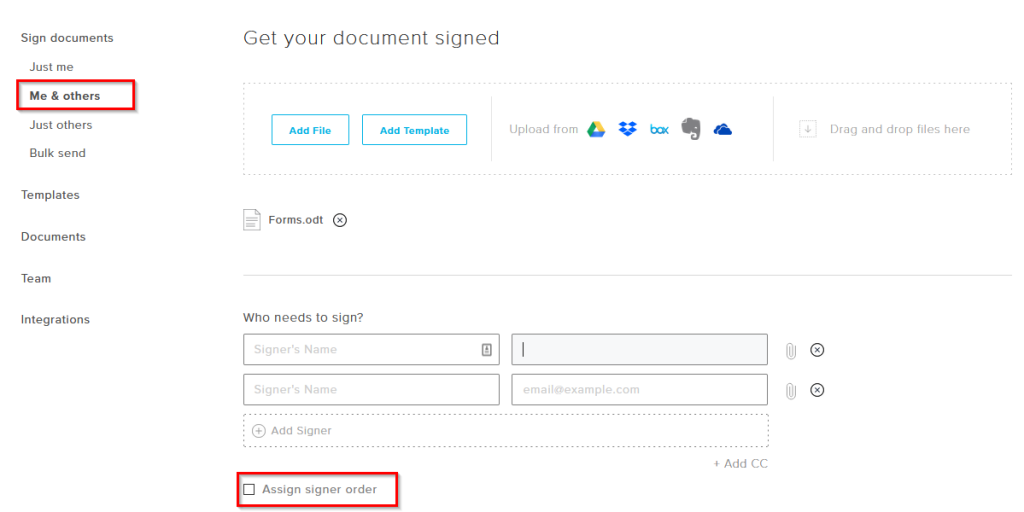
Similarly, if you’d like to have someone add a signature, choose Me & Others or Just Others from the setup screen. Then add the names of the recipients whose signatures are needed. You can also rearrange the order of these signers.
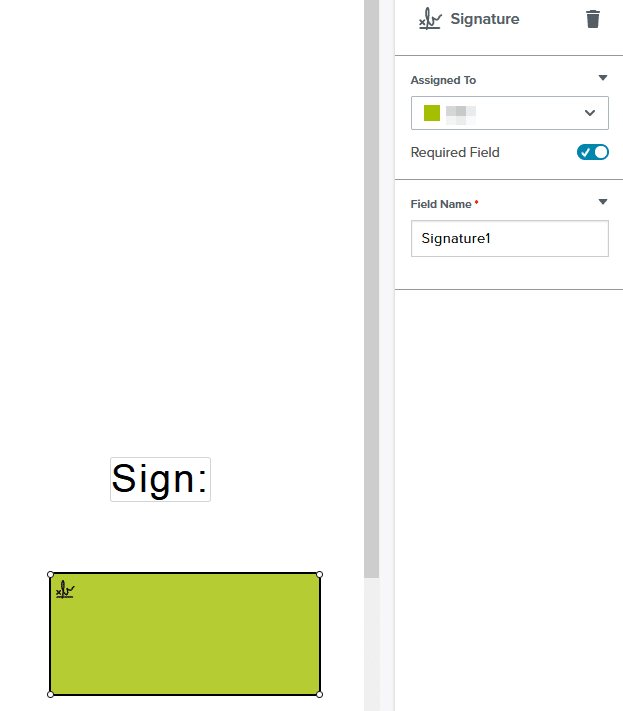
Select the type of signature input as before (draw, type, image, etc) and add the signature block in the document. Click Continue to finish.
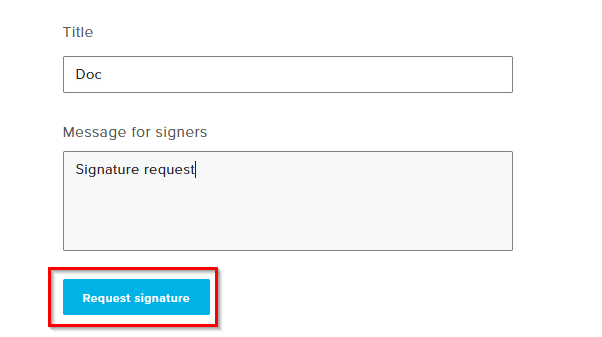
Click on the Request signature button after adding a message title and subject.
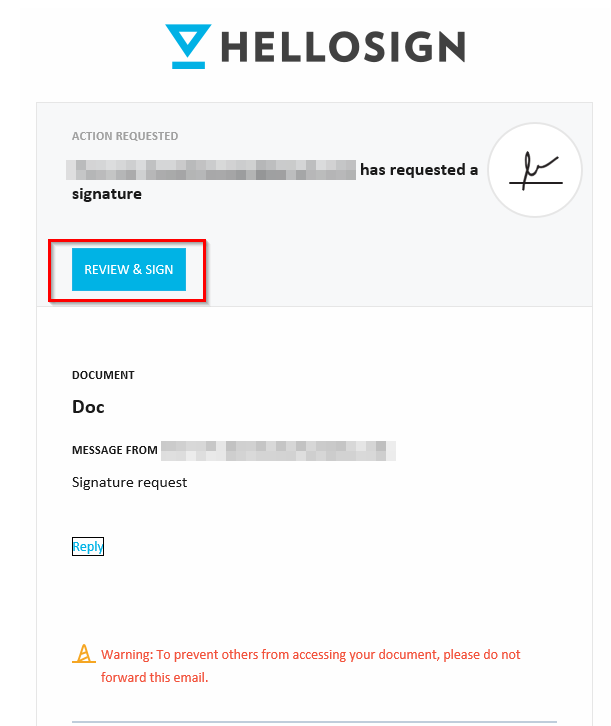
The recipients will receive a signing request. They can directly open and sign them without a Dropbox account by clicking REVIEW & SIGN.
A HelloSign window will open in the browser to add their signatures after clicking on Continue.
The options for adding signatures will be the same as before (drawing, typing it in, etc).
The recipients after signing can complete the process by clicking Continue and finally the I agree button.


The sender will get a confirmation message about the signed document.
All done.
Happy signing.