Linux Lite is an Ubuntu LTS based desktop Linux distro that’s geared for users making the move from Windows. Linux Lite comes with a simple desktop environment (Xfce) and is suitable for even low-end PCs.
A list of hardware requirements can be found here. It is a lightweight desktop distro can be used on very old PCs too with around 1 GB RAM and 1.5 GHz processor.
Installing Linux Lite:
Download the ISO from here and make a bootable USB disk from it.
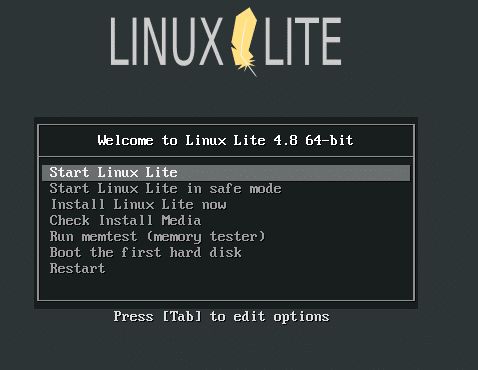
Once ready, boot the PC with the USB drive. The initial welcome screen will list various options, choose Start Linux Lite.
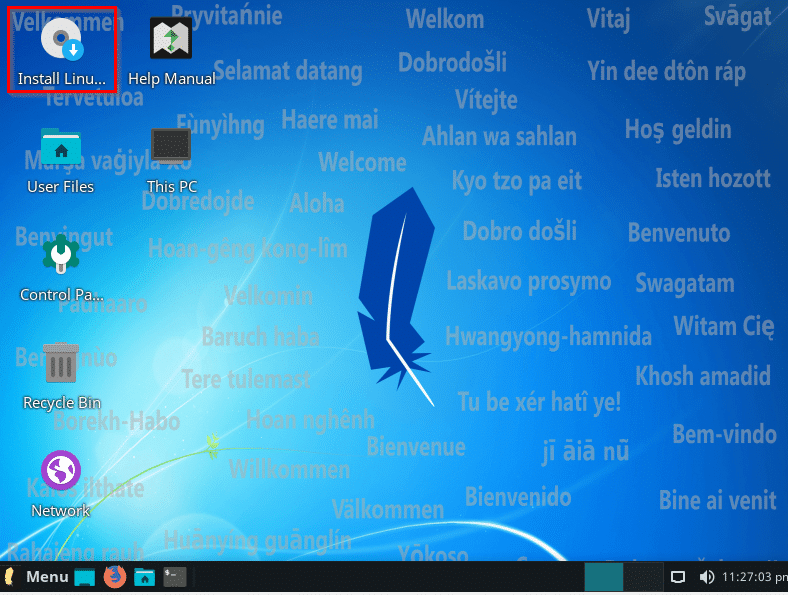
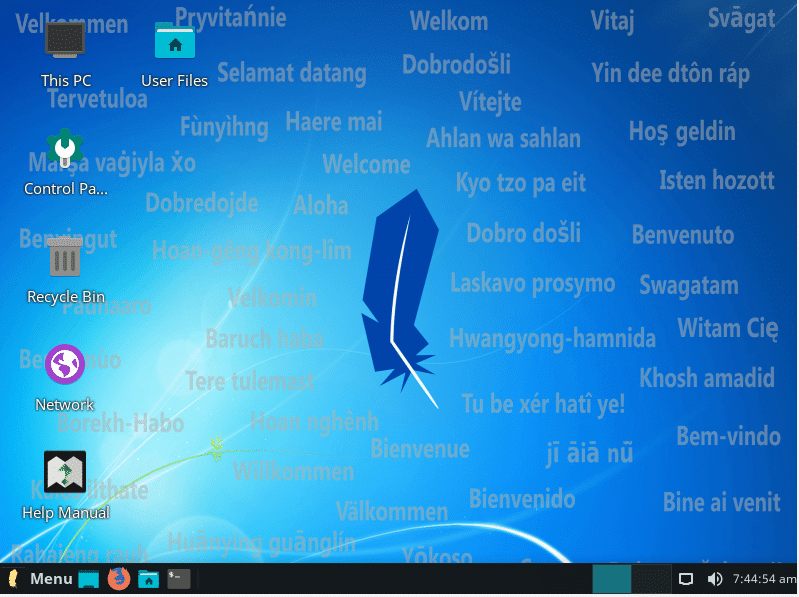
The live environment gives a good idea about how the interface is. You will see Welcome written in different languages as the default wallpaper. Click on the Install Linux Lite icon from the desktop to begin the installation process.
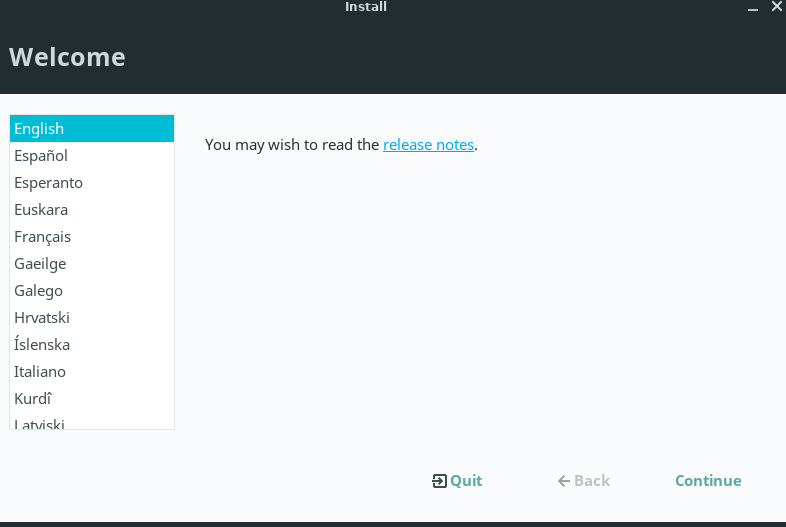
If you’ve installed other distros like Ubuntu, Debian, Linux Mint, etc, the setup will seem familiar.
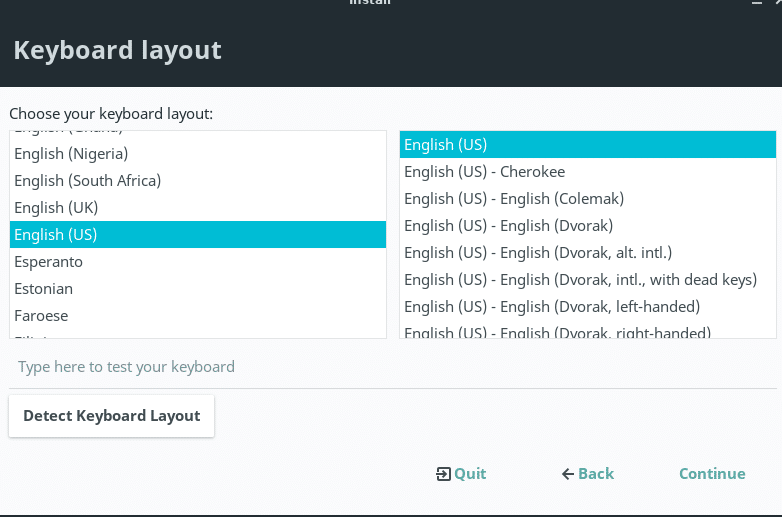
Select the keyboard layout, the system locale, time zone, and other options.
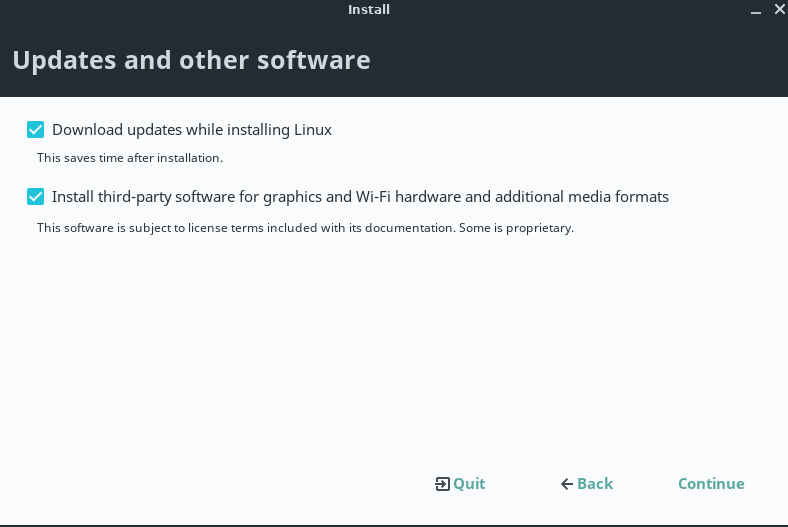
Select the option of downloading updates and third-party software during the installation. Click Continue. (If the setup screen locks up, use linux as the user name and no password to unlock and continue with the installation).
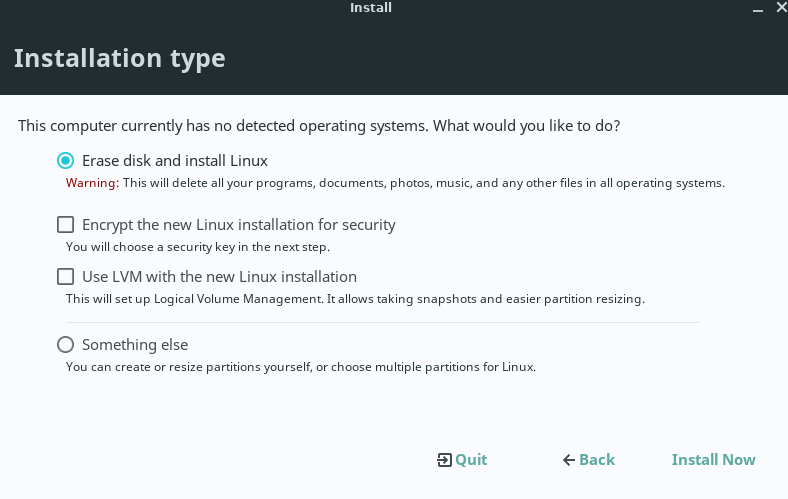
As this example uses the entire disk for Linux Lite, the option of Erase disk is used. You can also install it alongside Windows by clicking on Something Else and setting up custom partitions.
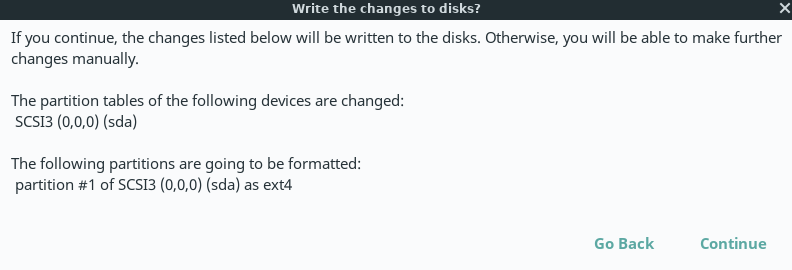
Click Continue to format and set up partitions for installation.
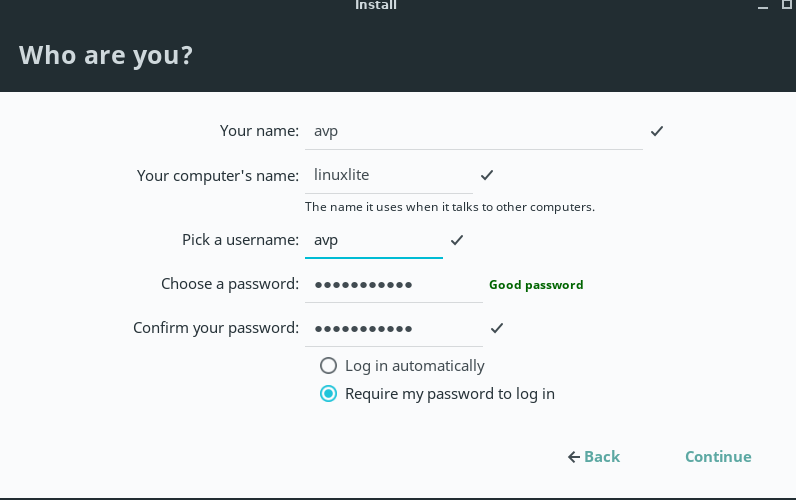
Enter the user name, system name, and password and click Continue.
Let the installation complete.
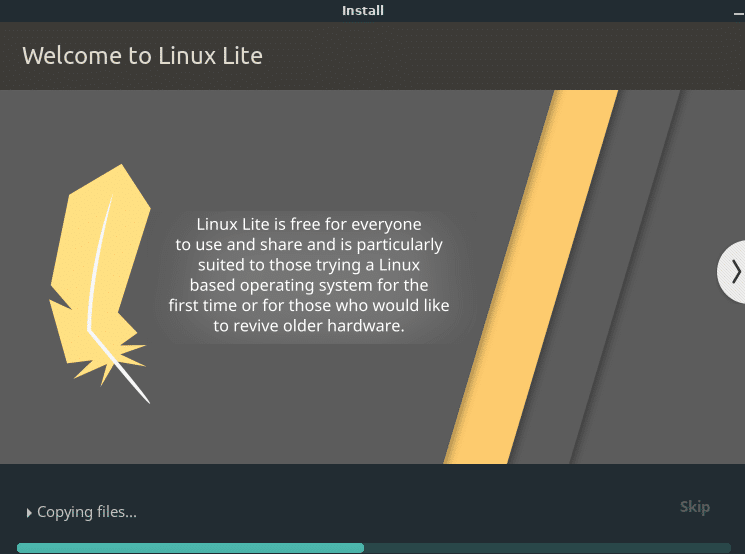
If all goes well, click on Restart Now to start using Linux Lite.

Using Linux Lite:
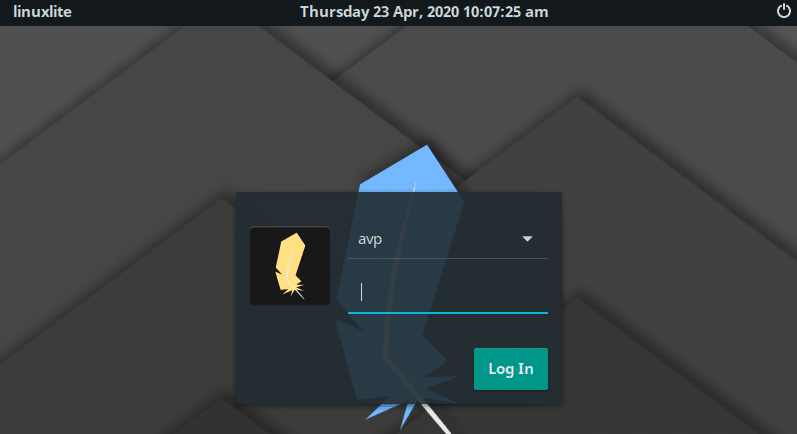
Login after the restart. The Xfce desktop environment will load.
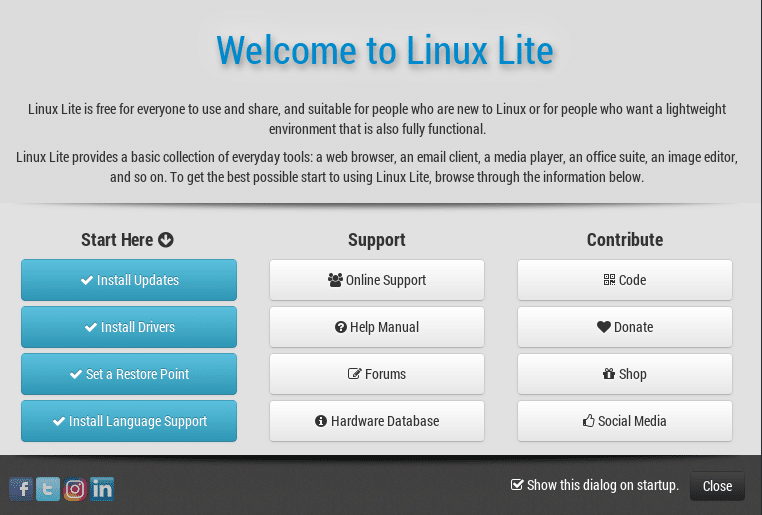
To make the first use experience easier, there will be a startup screen. Through this, you can install updates, install drivers, set up a restore point, and download language support. Also, you can access online support forums, check hardware compatibility, and more from here.
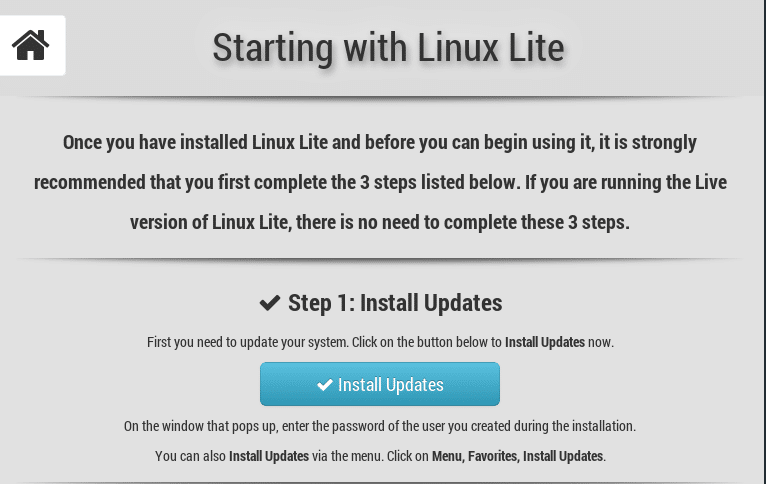
Click on Install Updates and follow the on-screen instructions. If updates are available, click on Update Now. Once they’re installed, you can view a log if required.
If you’re already familiar with the good old Terminal, you can directly update using the Linux command line by typing:
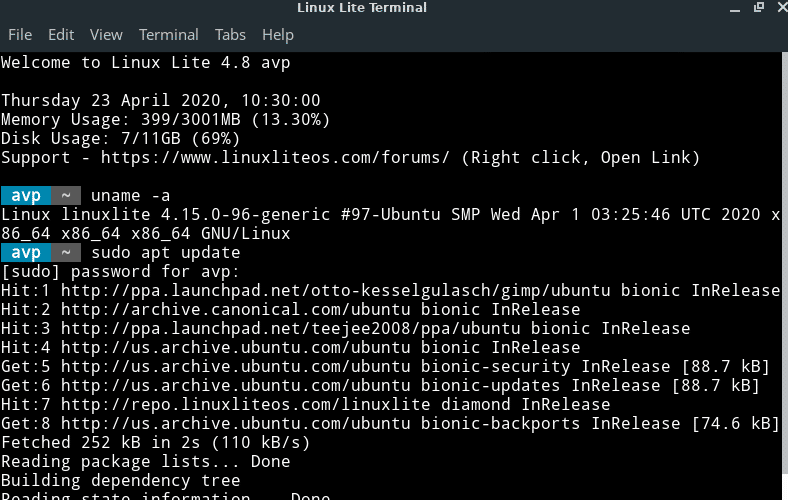
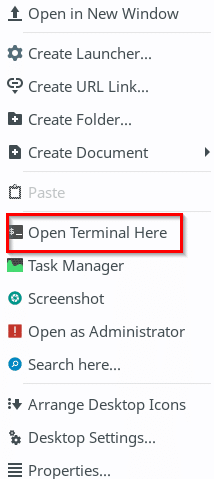
The Terminal can be directly accessed by right-clicking on the desktop or from the Menu > System.
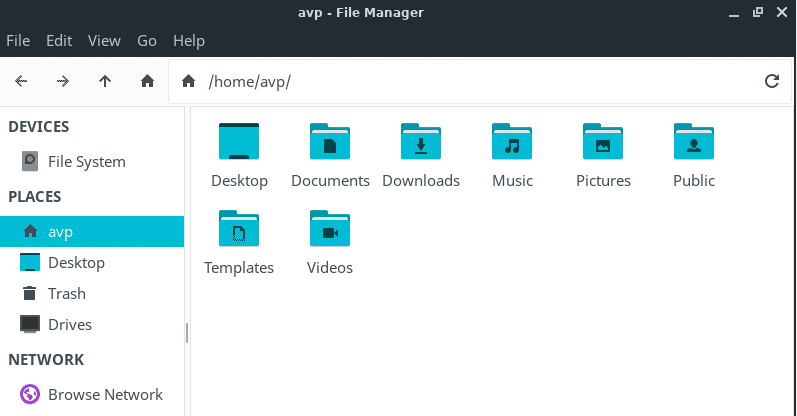
Thunar is the default file manager.
Linux Lite comes bundled with various utilities and apps for multimedia, office, and more.
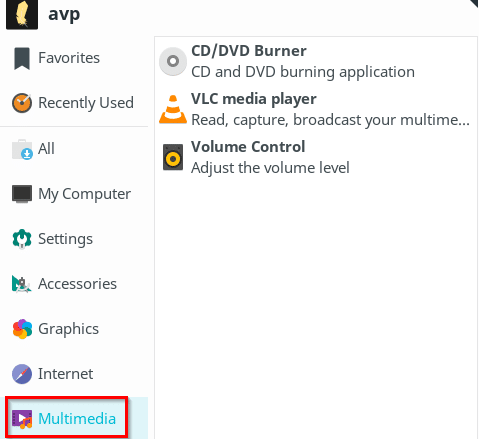
They are all accessible from the Menu.

Multimedia: VLC player is installed by default along with Xfburn for CD/DVD burning.
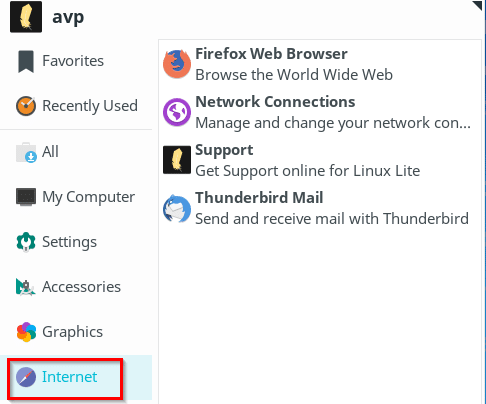
Internet: Firefox is the default browser and Thunderbird the default email client.
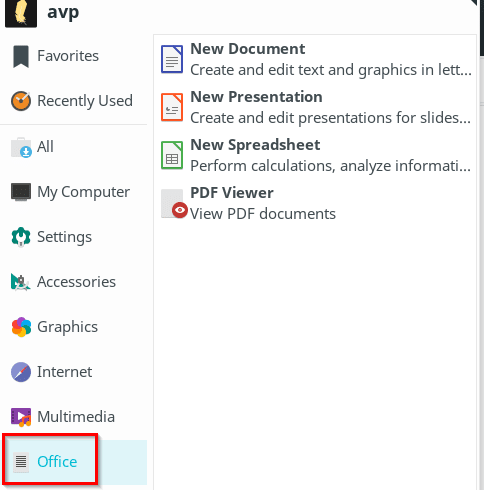
Office: Libre Office comes preinstalled and ready to use.
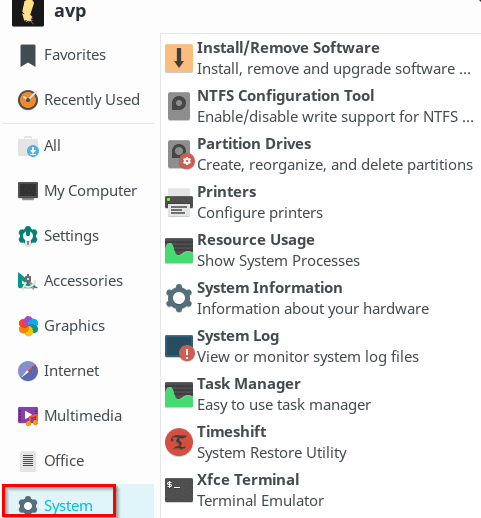
System: There are a bunch of useful utilities directly available for use like Timeshift, htop, GParted, and more.

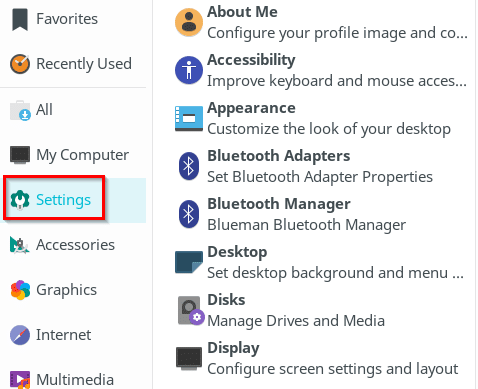
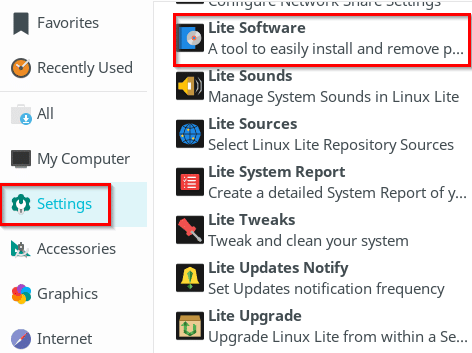
Settings: Linux Lite comes with its own set of system settings that make it easier to configure.
Example: To install new software, select Lite Software.
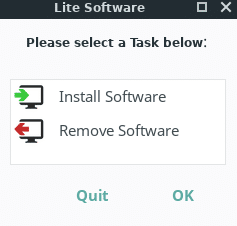
This will show two options: Install Software and Remove Software (similar to Add/Remove programs in Windows).
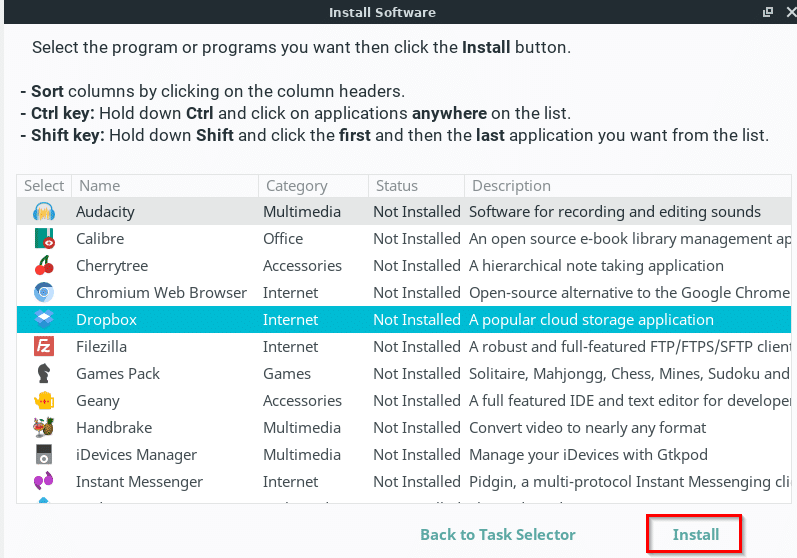
Select as needed. Installing new software is easy, a list of all the available software will be displayed. Simply select what’s needed and click Install. This is useful for first time Linux users who don’t want to use Terminal for performing system-related tasks.
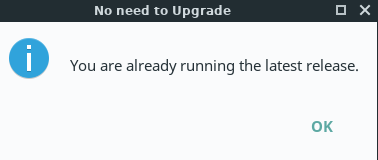
Similarly, you can use Lite Upgrade to upgrade the system without using the Terminal.
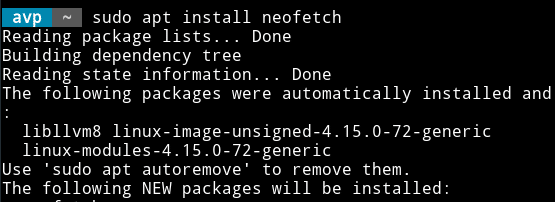
Otherwise, you can use the following command for installing various packages from the Terminal:
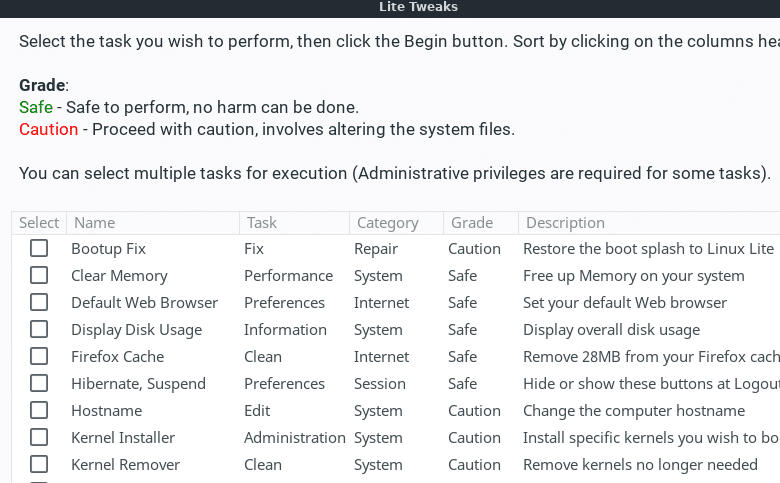
To perform system maintenance, use Lite Tweaks. You can then select particular system related tasks and tweak the system.
Overall this is an easy to use Linux distro for first time users who are making the switch from Windows. Most of the system tasks can directly be done with a few clicks using the Linux Lite system tools.
All done.