ProtonMail can be configured to auto-block senders based on their email addresses or depending on the message content and attachments.
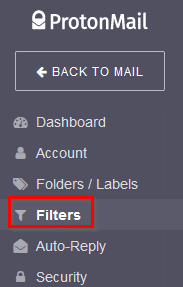
This can be done by using the Filters feature. To access it, click on SETTINGS.

Then select Filters.
Blocking based on just the sender’s email:
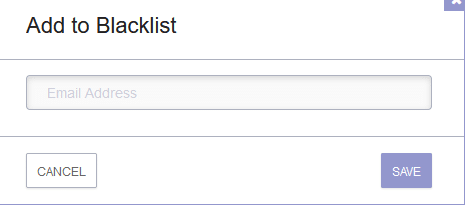
To directly block a specific sender, you can blacklist that specific email address. To do that, scroll down to the Spam Filters section and click on the ADD button next to Blacklist.

Then add the email address to be blocked.
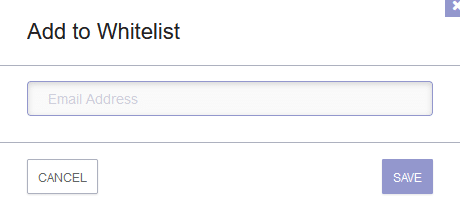
Similarly, you can whitelist senders from here if you find that their messages are being marked as spam. Click on the ADD button next to Whitelist and add the senders that are always allowed.
You can also interchange and swap between the allowed and blocked list by clicking on the double arrow and moving the email address between whitelist and blacklist.
![]()
Using custom filters:
This is a broader way to block spam and filter messages. You can fine-tune the sender’s email messages, attachments, content, and so on with this. You can also use it to label and move messages to different folders.
For the free version of ProtonMail, only one filter can be used and applied while the premium version has no such restrictions. Also, the filter once set will be active for only the new messages and not for the already received messages in the inbox.
To add a filter, click on ADD FILTER from the Custom Filters section.

Name the filter something relevant. There are two parts to setting up ProtonMail filters: CONDITIONS and ACTIONS.
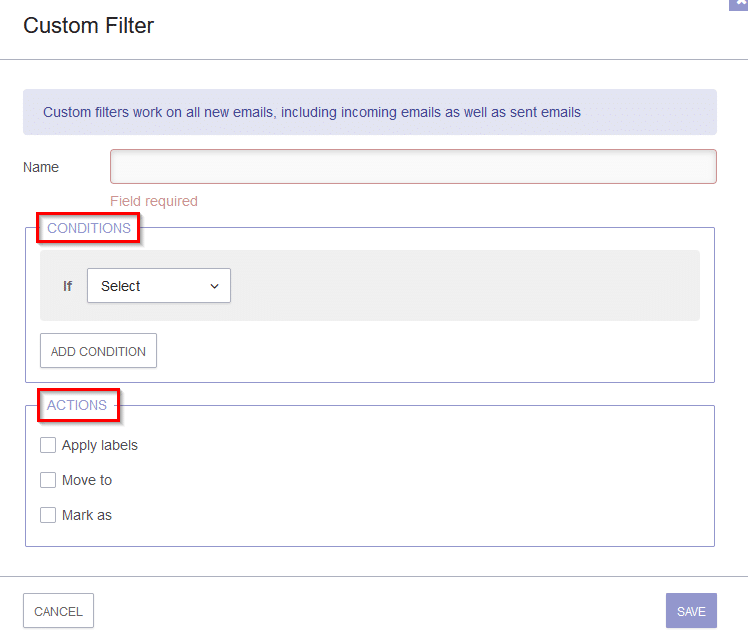
CONDITIONS: This is for defining a condition like a sender email address, email message content, etc. based on which the message needs to be filtered. Suppose to block all emails that have the subject text as Lottery and move them directly to the spam folder, you can set a condition for that from here.
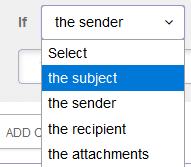
Only if this condition is detected, then an action will be taken.
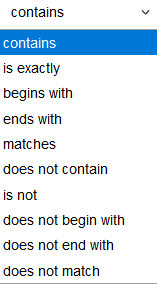
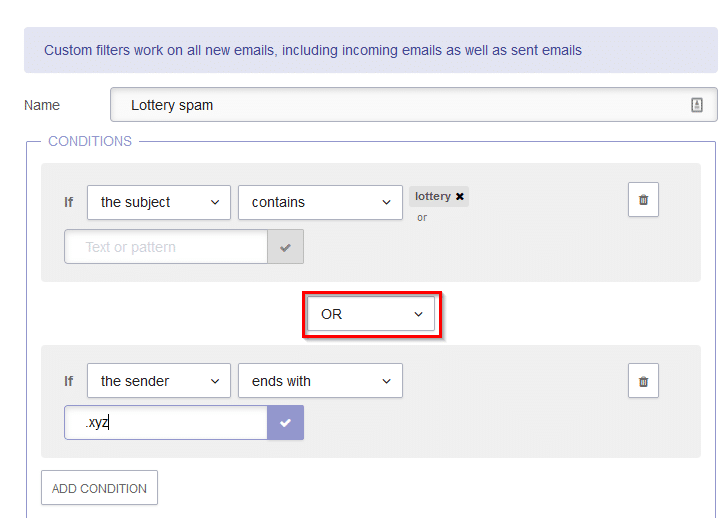
You can also add multiple conditions and choose if all of them or only of them need to be fulfilled to trigger the filter actions. This Is by using the attributes AND, OR.
AND is for specifying that all the conditions should be fulfilled for triggering actions while OR is for either one of them to be valid.
To use them, click on ADD CONDITION and select them.

This is useful when you need to filter out messages based on different attributes. Add the conditions and use OR to ensure that when any one of them is detected, then the message is filtered.
Example: to mark all incoming messages as spam that either has the message subject text as Lottery or has the sender’s domain ending with .xyz, a filter that uses OR attribute can be created.
ACTION: After a condition is set, choose what needs to be done to the message. There are various options available like directly moving the email to Inbox, Archive, Spam, Trash, or a custom folder. You can also add a label for the messages from here.
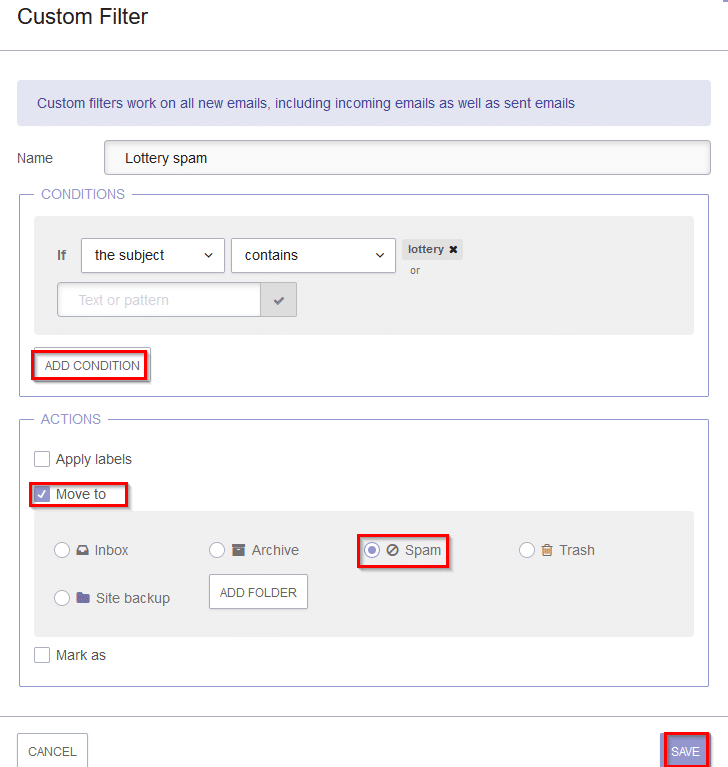
Also, if the Mark as option is selected, then the filtered message can be set as read or unread. Click on SAVE to save the filter.
The added filter can be edited or deleted when needed from the Custom Filters section.

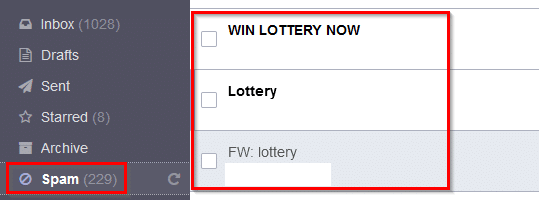
Once the messages that meet these filter criteria are detected, they will automatically be moved as per the configured ACTIONS. In this example, all such messages will be moved to the Spam folder.
All done. Happy filtering.