Microsoft To-Do app is useful for creating task lists and reminders. These created task lists can also be shared with other members by inviting them if needed. A Microsoft account would be needed though for the members who would like to access these To-Do lists.
Here is how to share and manage them in Windows 10.
Sharing lists:
As the list owner, open the Microsoft To-Do app and click on the People icon.

Click on the Create invitation link button.
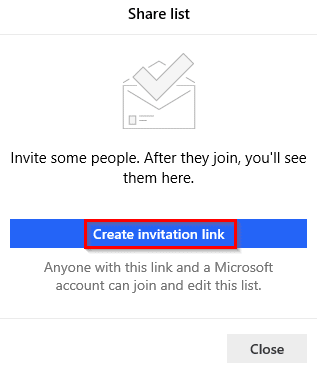
This will generate a shareable invitation link. It can then be copy-pasted or be emailed to the members.
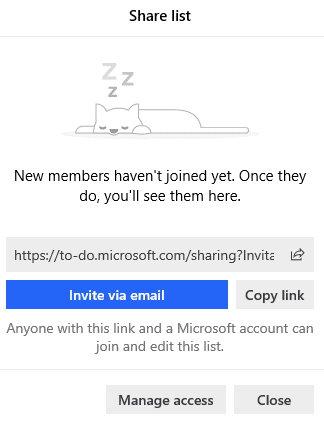
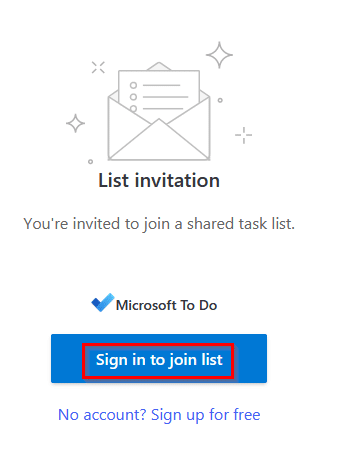
Once the link is accessed by the members, they’d need to sign-in to their Microsoft account to access it.
After a successful sign-in, the shared list can be accessed by clicking on the Join list button.
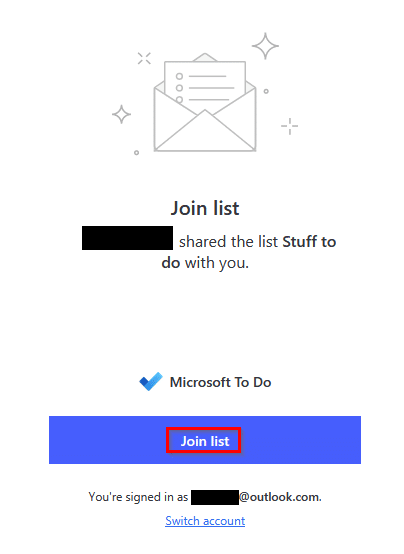
On joining the list, the shared task list can then be opened.
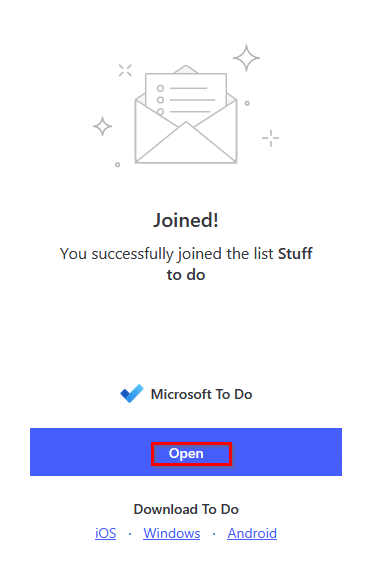
It will have the listed tasks as created by the owner of the To-Do list.

Managing access to the lists:
For list owners to manage access to the shared To-Do lists, click on the people icon. The number next to it will indicate the active members accessing the list.

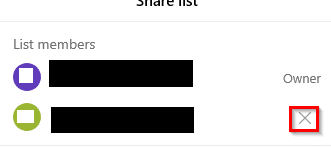
The members can then be individually removed by clicking on the Remove button next to them.
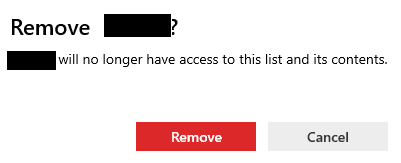
Choose Remove to confirm.
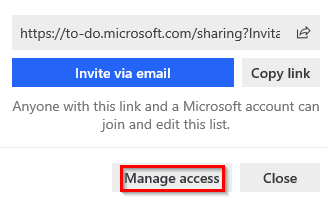
To change the access settings for the shared list, click on Manage access.
There would be two options for managing it: Restricting the shared list so that no new members can join and access it anymore or completely stop sharing it.
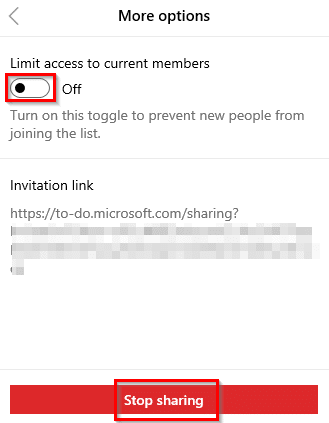
To use the first option, choose Limit access by toggling it on.

This will prevent any new members from joining the list and the invitation link also would no longer be accessible. Existing members however can still access the list contents.
The second option will completely purge the access so that no members can access it and the list will no longer be shared. For that, click on Stop sharing to continue.
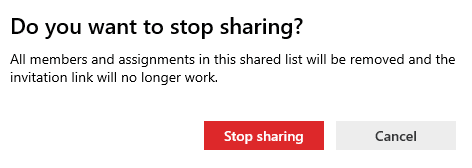
Confirm it to remove all the members and make the list private.
All done.