Gmail has the option of adding and using different signatures to emails. Here is how to manage these signature settings when using the web version:
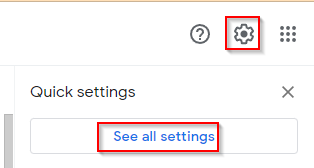
Login to Gmail and click on the gear icon. Choose See all settings.
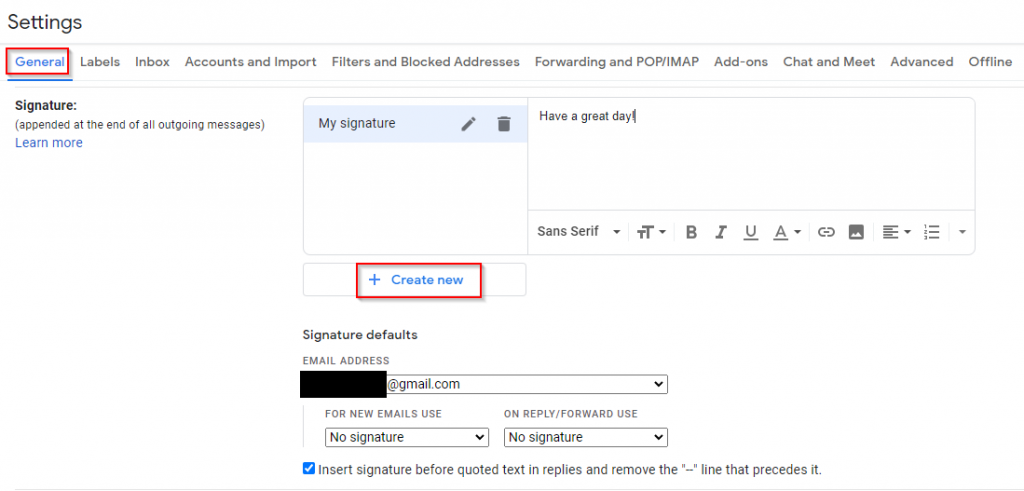
From the General tab, scroll down to the Signature section. To add a new signature, click on the Create new button.
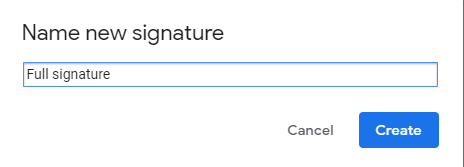
Once added, click on the Create button to name and save it.
There are default actions associated with the signature.

So, if you have different signatures added, you can use them separately when sending new emails and for replying or forwarding receiving emails.
Signature for new emails:
To do that, click on the drop-down under FOR NEW EMAILS USE.

Choose the signature from the list if there is more than one available to use or opt-out with the No signature option.
Signature for replying and forwarding:
For using a different signature only when replying to or forwarding emails, click on the drop-down under ON REPLY/FORWARD USE.

Choose the signature for this if needed or select No signature.
After the signature settings are changed for new emails and for replying and forwarding them, click on the Save changes button from the bottom of the page.

Also, when there are multiple signatures added, during the message compose window, there will be a notification indicating that.
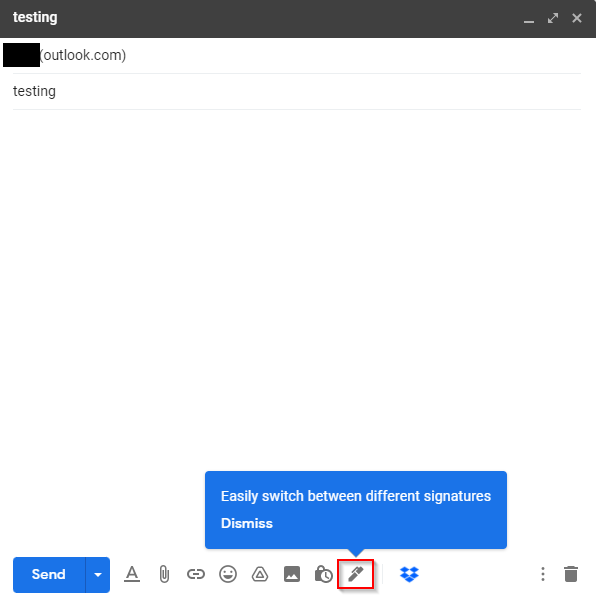
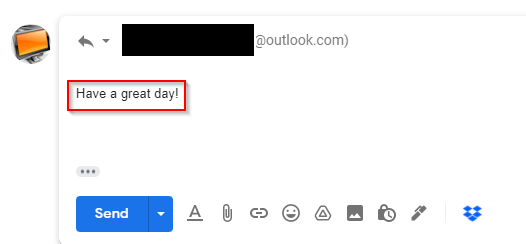
So you can then click on the signature icon to manually select and insert a signature in the email or let the settings do it when replying, forwarding, or composing new emails.
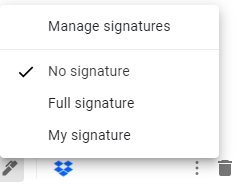
This is a useful option when you would like to send new emails with a complete and formal signature, and later during the replying or forwarding emails want to switch to a somewhat shorter and casual one.
Do try it out.
Happy emailing.