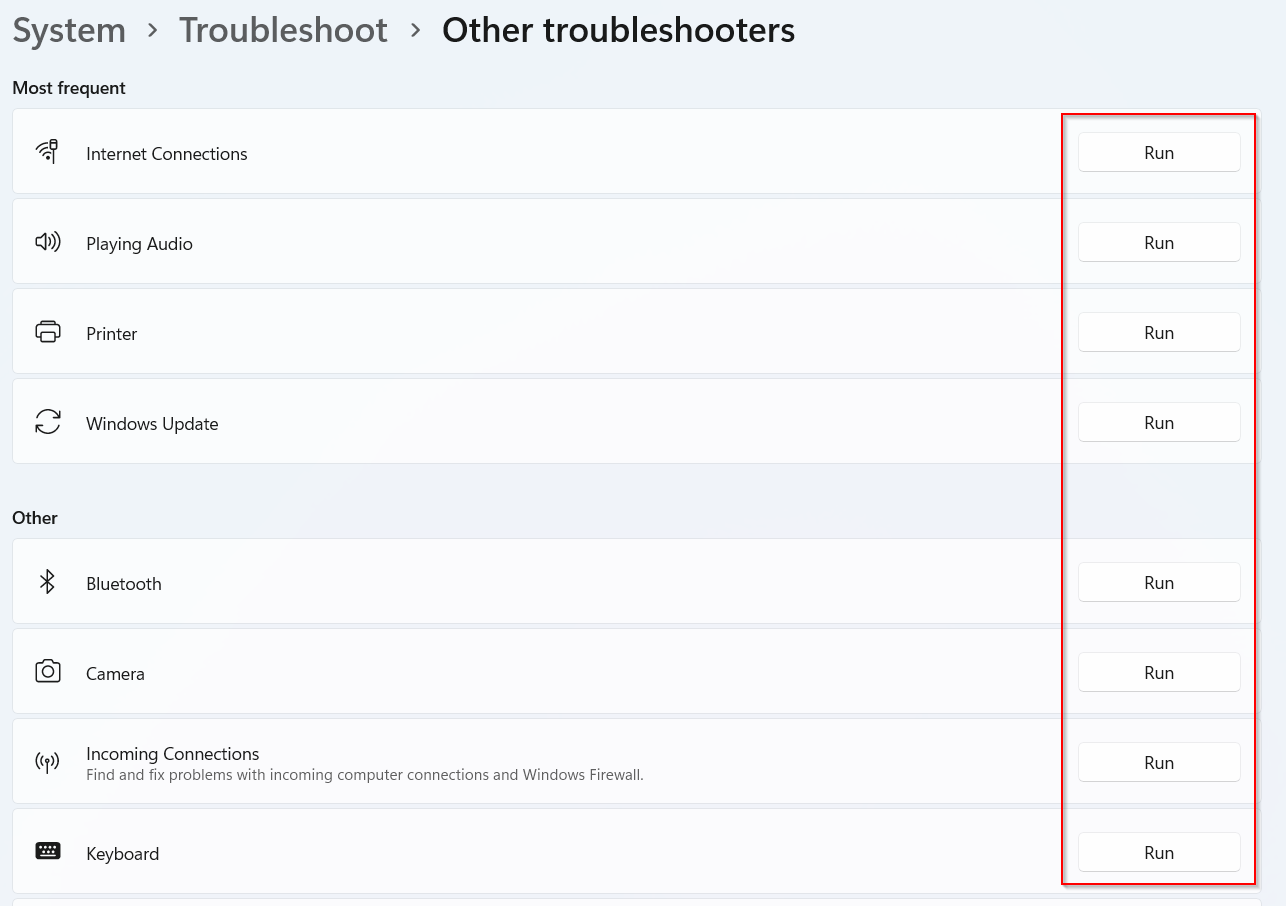
Troubleshooters in Windows are essentially small programs that can check and offer recommendations for fixing different system-related issues.
So, as with Windows 10, Windows 11 too comes with a list of different troubleshooters. These can be run manually for diagnosing and fixing.
To access them, open System Settings (Win key + I) and choose Troubleshoot.
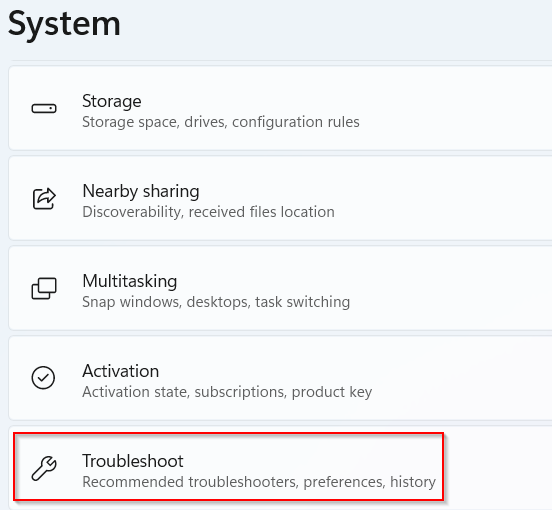
It will open the Troubleshoot menu.
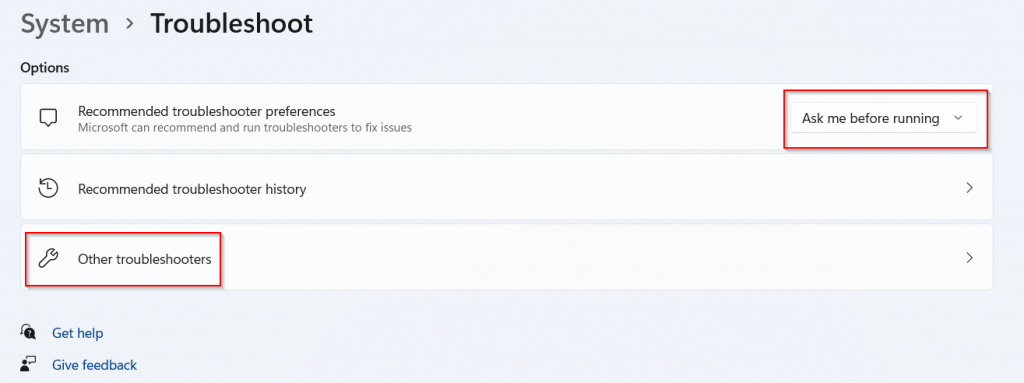
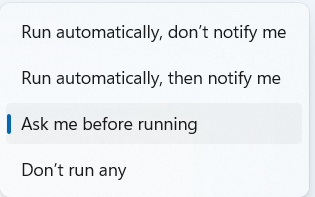
You can change preferences for how these troubleshooters are run. The default action is to ask before running but that can be changed to others like running automatically with or without notifying or not running at all.
Also, if run before, they can be viewed by clicking on the Recommended troubleshooter history.
To view the different available troubleshooters, click on the Other troubleshooters option. The Windows 11 troubleshooters list will be grouped based on how frequently they are used.
These are available for different system-specific issues like Internet Connections, Playing Audio, Printer, Bluetooth, Camera, and more.
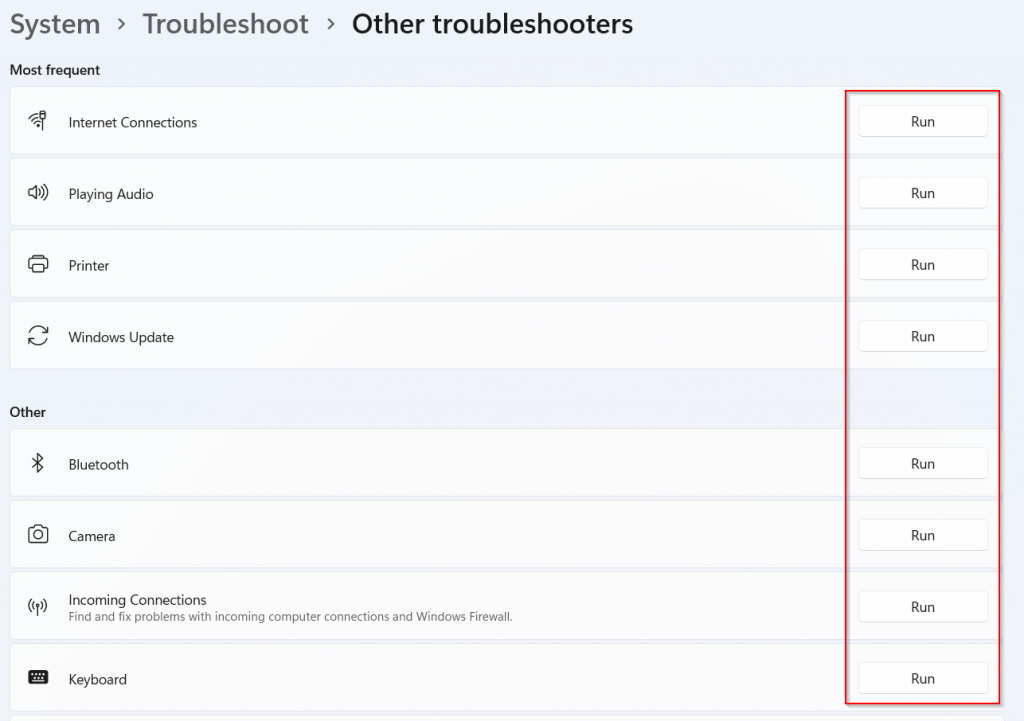
Choose which ones to run based on what needs to be diagnosed and fixed and click on the Run button next to them.
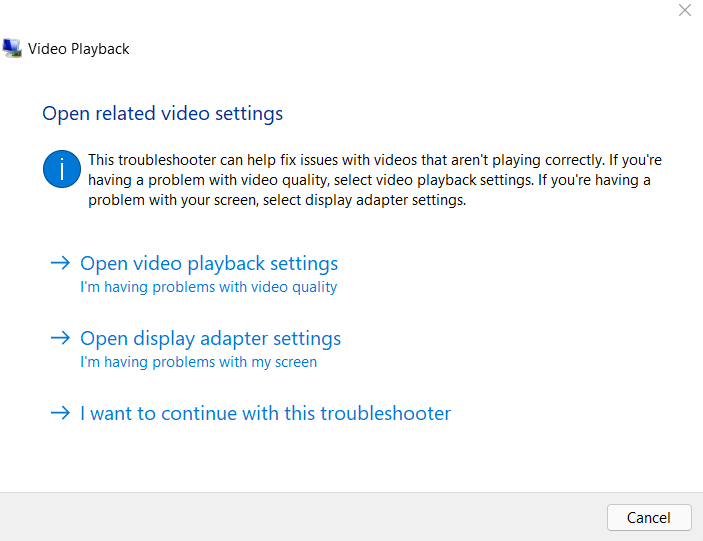
All done.
