Google Docs has some pretty useful features. Along with those, it also has the option of adding a watermark to your Google documents.
Here is how to do that:
Open the document in Google Docs in which the watermark is to be inserted.
Choose Insert > Watermark.
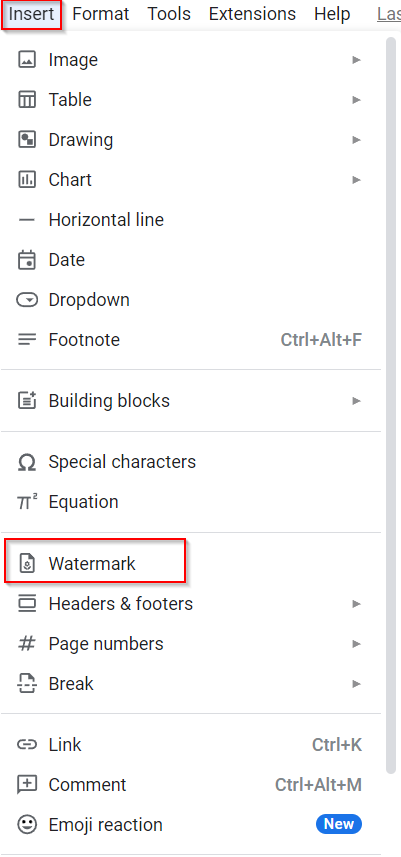
This will open the watermark editor. Two types of watermarks: Image and Text can be added. This example shows a local image that is uploaded as an image watermark.

To choose an existing watermark (e.g: an image watermark), click on the Select Image button. By default, the Faded option is enabled, which means that the watermark will be faded or light against the background. You can remove this option to have it displayed prominently in the document if needed.
The watermark in Google Docs to be added can be uploaded from the local folder, through Google Drive, through a URL, through camera and photos, and even using a Google Image search.

Click on the BROWSE button to upload the required watermark.
After it is uploaded, if it is an image watermark, then you can further tweak the settings by clicking on More image options.

The position of the image watermark, size, orientation, color, and adjustments can all be changed before adding it.

Click on Done to add the watermark. It will now be visible on all the pages of the Google document.


All done.