Microsoft PowerToys is a set of free utilities which makes it easier to customize Windows. One of the tools it has is the Image Resizer. This tool can batch resize images with just a few clicks. What’s more is that it seamlessly integrates with the File Explorer.
Microsoft PowerToys can be downloaded from GitHub or through the Microsoft Store.

After installing, launch it. The left column will display a list of the available PowerToys. As this example covers Image Resizer, click on it.
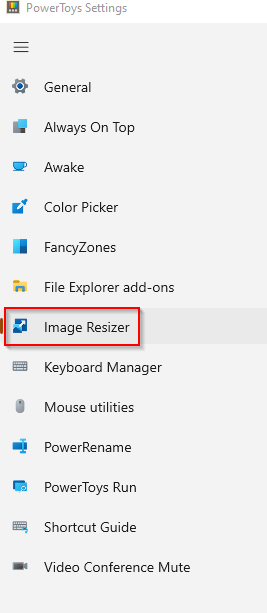
Understanding Image Resizer settings:
Image Resizer is enabled by default. You can toggle it on/off from the settings on the right pane. Also, it comes with a list of presets.
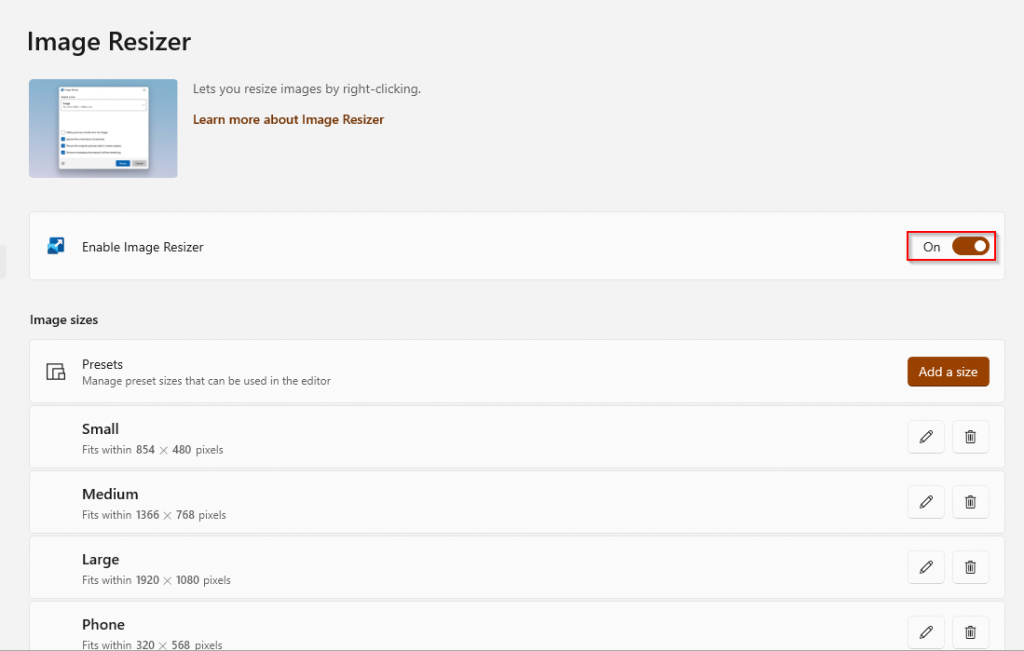
These are default dimensions that can be used for resizing images to fit the small screens, large screens, phones, and so on.
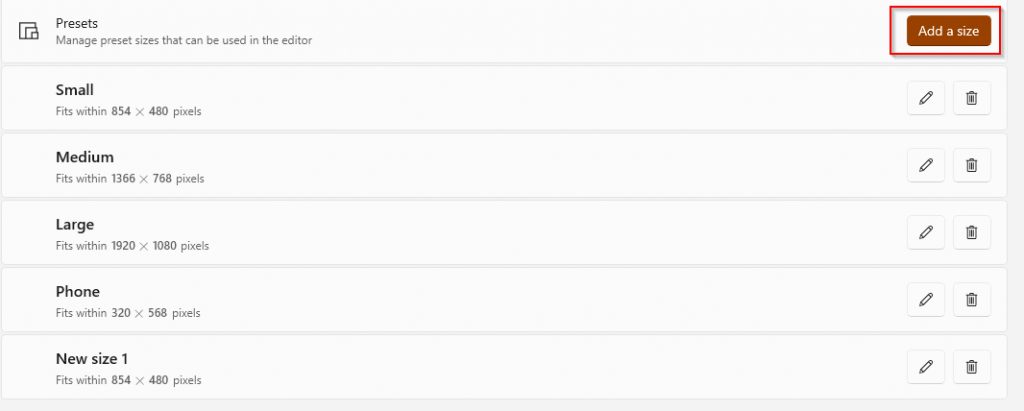
You can also add your own preset by clicking on the Add a size button.
Name the preset and set the custom dimensions from the Width and Height menu. You can change the fit as well as the size unit for the images from here.
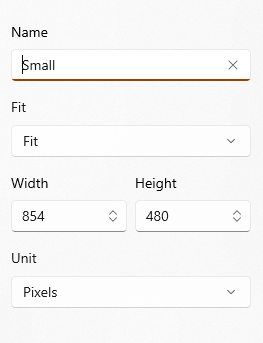
So, each of the presets can have different settings as needed. Also, you can edit the default ones by clicking on the edit button next to them.
Other settings for Image Resizer include Fallback Encoder, image quality levels, image naming format, and so on. The Fallback Encoder is used when the conversion fails and the file can’t be saved in the original format.
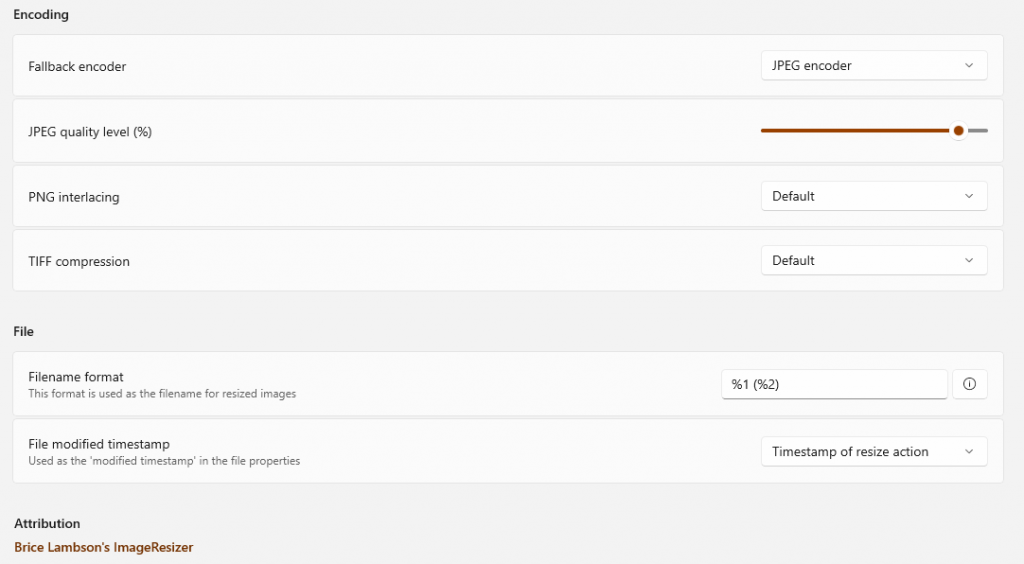
So, this option is for saving files that are of unsupported formats.
The default settings for these are fine as they are. Also, the %1(%2) option in the Filename format means that the original image name and the size name are used. The values for these settings are as follows:
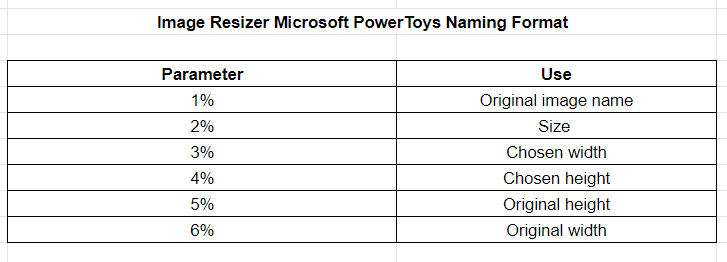
Using Image Resizer:
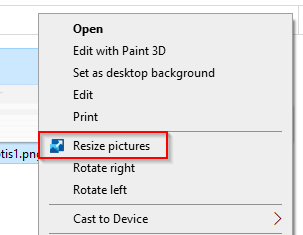
Image Resizer automatically integrates with File Explorer. So, to resize images, all you need to do is select and right-click on them and then choose the Resize pictures option.
It will show the Image Resizer pop-up with the default preset selected. Change it from the drop-down menu to choose the dimensions as needed.
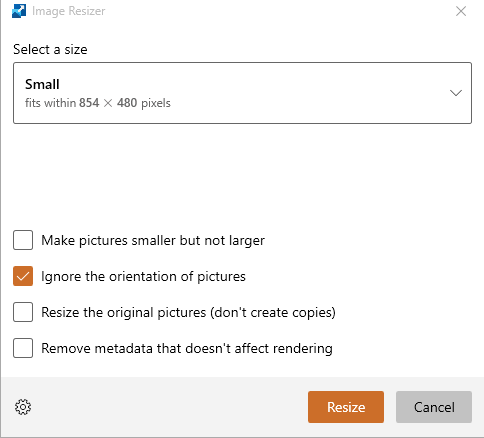
By default, a resized copy of the original image will be created. If you would want to overwrite the original image, then enable the option of Resize the original pictures. Click on Resize to process the images.
The resized images will be saved in the same path as the original one but with a different name. This example shows the default naming format which is combining the name of the original image and the size.
So, Image Resizer from Microsoft PowerToys is a pretty useful tool if you would want to batch resize images according to different dimensions. Simply select the source images, right-click and resize them.
All done.