Outlook Web offers a feature called Conditional Formatting that allows you to automatically color-code incoming emails based on specific criteria. This can help you quickly identify important messages or organize your inbox visually.
Why Use Conditional Formatting?
- To quickly identify important emails.
- To organize your inbox visually.
- To prioritize messages effortlessly.
Setting Up Conditional Formatting
Follow these simple steps to create your own color-coding rules:
Navigate to Conditional formatting:
Log in to Outlook Web and click the gear icon in the top-right corner.

Go to Mail > Conditional formatting. Click on Create a new conditional formatting rule.

Create a New Rule:
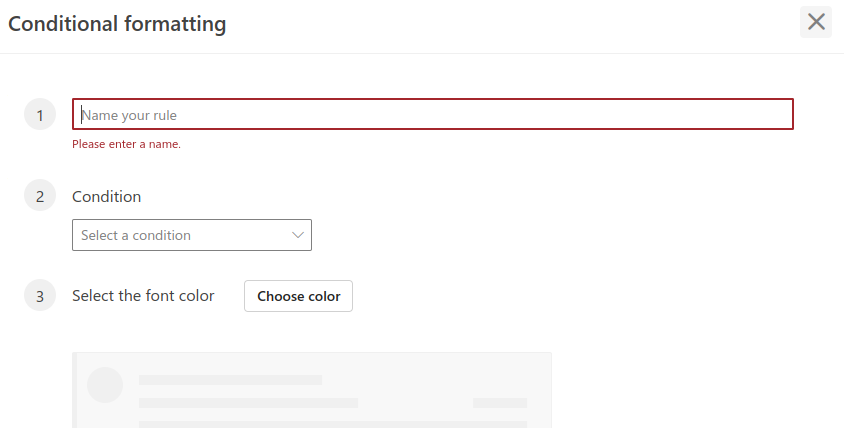
Give your rule a name.

Choose conditions from the drop-down menu.

Examples include:
- Emails from specific senders
- Messages where you’re included/excluded in the To or Cc list
- Emails with particular subject lines
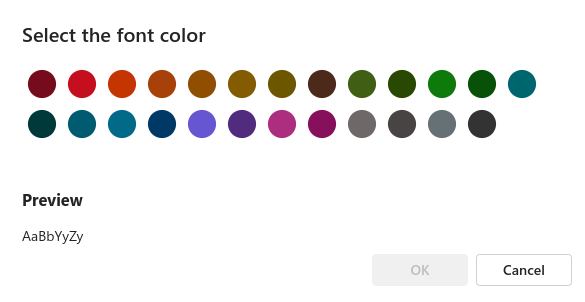
Select a color for matching messages.

Save Your Rule:
Click the Save button in the bottom-right corner

Managing Your Rules
All your rules will be listed under the Conditional Formatting section.

You can edit or delete these rules at any time.
See It in Action
Once your rule is active, incoming messages that match your conditions will automatically appear color-coded in your inbox.

So, Conditional formatting is an easy-to-use feature that can significantly improve your email management in Outlook Web.
Give it a try and see how it can streamline your inbox experience!
Happy emailing.