Document Scanner in Linux Mint is a handy built-in utility that lets you scan documents from a connected scanner as and when needed.
It provides a straightforward interface for connecting to your scanner, configuring scan settings (like resolution and color mode), and saving your scanned documents in various formats, most commonly as PDFs or JPEGs. It aims to make the process of digitizing documents simple and efficient for Linux Mint users right out of the box.
By default, it has specific preferences that you can change based on the type of documents that you need to scan and customize how they appear.
Here is how to do that:
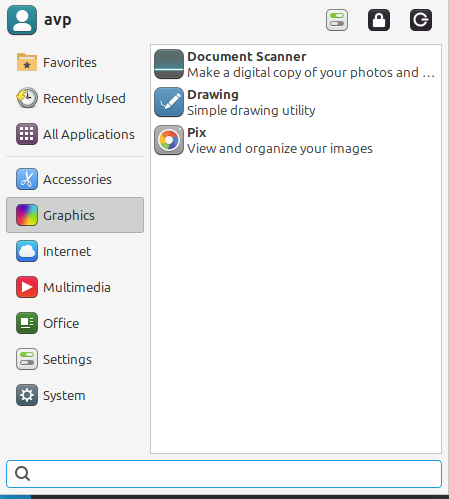
Open the Document Scanner utility from the Mint menu (it would be under the Graphics section).
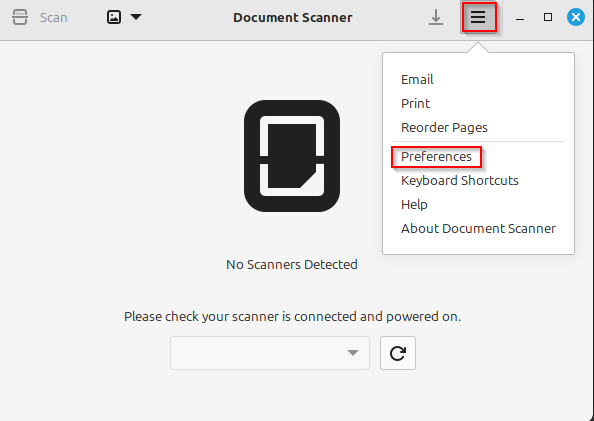
Next, click on the burger icon and select Preferences.
By default, both sides of the page are enabled for scanning. You can change this to just the front or the back through the Scan Sides settings. To set the default page size for scanning, from the Scanning section click on the drop-down menu next to Page Size.
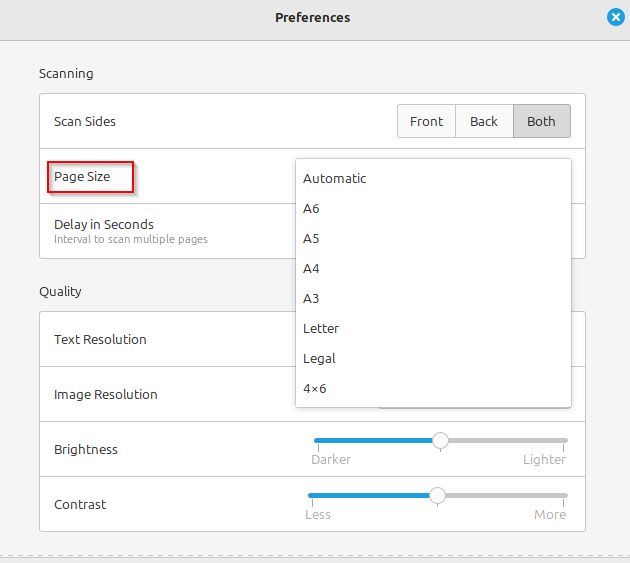
A list of options will appear. So, if you are going to scan letters, choose the required option. For other documents, choose accordingly.
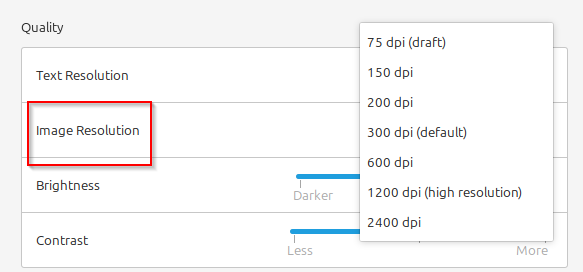
Also, you can set the scan quality from the Quality section here. There is a default dpi setting which you can change to higher or lower values depending on the documents to be scanned.
Use the drop-down menu next to Text Resolution to do this.
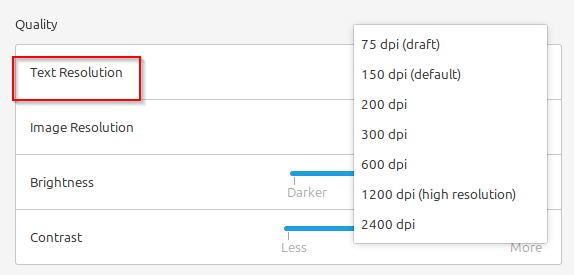
Similarly, set the image quality of the documents to be scanned from the drop-down menu next to Image Resolution.
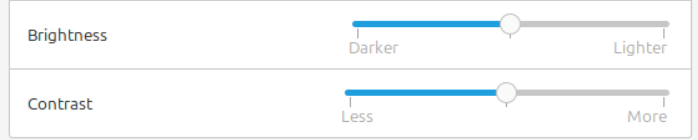
You can also adjust brightness and contrast using the sliders.
All done.
Happy scanning.