Tired of navigating through a labyrinth of folders in your Google Drive to find that one crucial file? Do you wish you could have quick access to frequently used documents without duplicating them? Well, you’re in luck! Google Drive offers a handy feature called shortcuts that can significantly boost your productivity and keep your digital workspace organized.
Think of shortcuts as virtual pointers. They allow you to create a link to a file or folder and place that link in a more convenient location without actually moving the original item. This means the original file stays exactly where it is, maintaining its sharing permissions and version history, while you enjoy instant access from multiple spots.
Here’s a simple, step-by-step guide to creating and using Google Drive shortcuts:
Step 1: Locate the File You Want to Create a Shortcut For
First things first, navigate to the file or folder within your Google Drive that you want to create a shortcut for.
Step 2: Summon the Shortcut Options
There are two easy ways to bring up the shortcut menu:
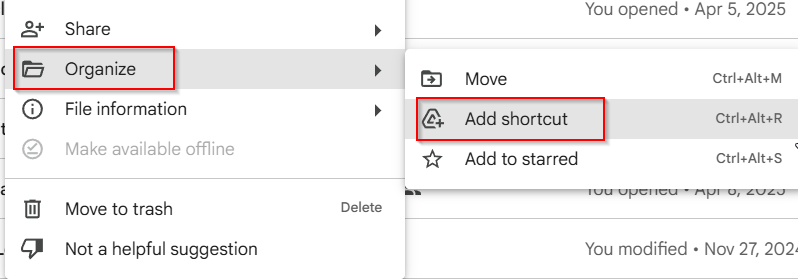
Right-Click Method: Simply right-click on the desired file or folder. A context menu will appear. Hover your mouse over Organize, and then click on Add shortcut.
Keyboard Shortcut (Efficiency Boost!): Select the file or folder by clicking on it once. Then, press the magic key combination: Ctrl + Alt + R (on Windows/ChromeOS) or Cmd + Option + R (on macOS).
Step 3: Choose Your Shortcut’s New Home
Once you’ve initiated the shortcut creation, a dialog box will pop up, presenting you with several options for where you’d like to place your new shortcut:
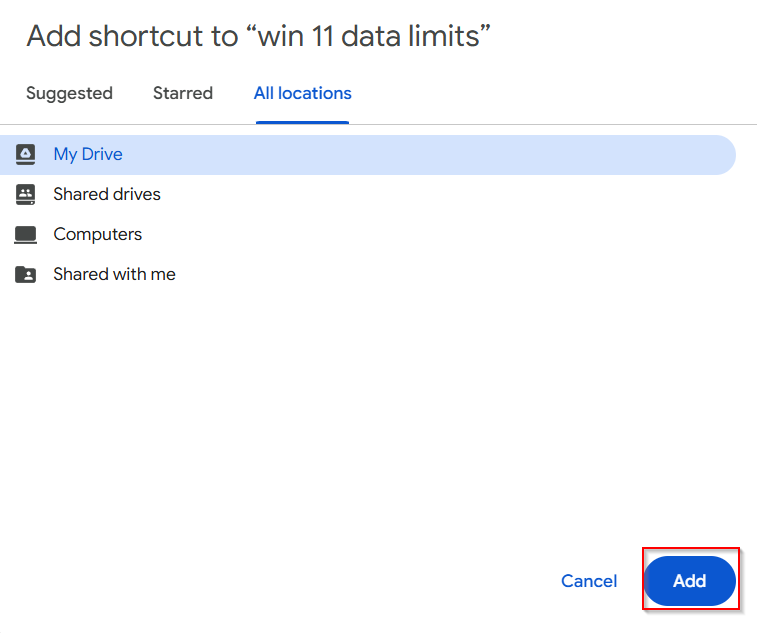
- Suggested: Google Drive will often suggest locations based on your recent activity and folder structure. This can be a quick and convenient option.
- Starred: If you frequently access this file, adding the shortcut to your Starred list provides immediate visibility in the left-hand sidebar of your Google Drive.
- All locations: This option allows you to manually browse your entire Google Drive folder structure and select the precise location where you want the shortcut to reside.
Step 4: Select the Destination
Navigate through the desired location until you find the folder where you want to place the shortcut.
Once you’ve selected the destination folder, simply click the Add button.
Step 5: Spotting Your New Shortcut
Congratulations! You’ve successfully created a shortcut.
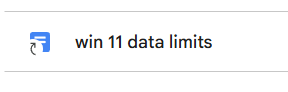
You’ll now see the file or folder in your chosen location, easily identifiable by the small arrow icon (the shortcut symbol) overlaid on its regular icon.
Benefits of Using Google Drive Shortcuts:
- Organization: Keep frequently accessed files within easy reach without disrupting your main folder structure.
- Collaboration: Share a single file with multiple teams or projects by placing shortcuts in their respective shared folders, without creating duplicates.
- Efficiency: Quickly jump to important documents, saving valuable time searching through numerous folders.
So, there you have it! Mastering Google Drive shortcuts is a simple yet powerful way to enhance your digital organization and streamline your workflow. Start implementing these steps today and experience a more efficient and less cluttered Google Drive.
Happy organizing!