The popular backup tool luckyBackup which is available in distros like MX Linux and antiX can be installed and used in Linux Mint too. This tool makes it easy to take backups locally as well as to remote systems without having to remember Linux commands. It does that by using rsync and rsync over ssh for local and remote backups.
To install it, open Terminal and type in:
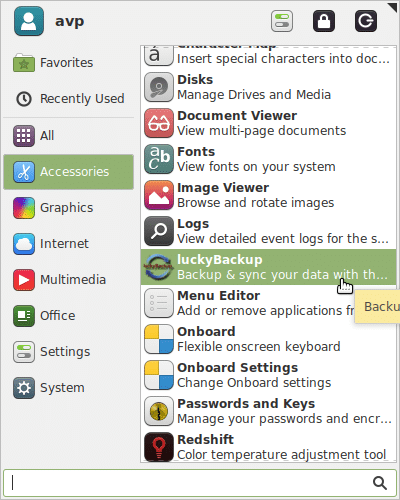
After it is installed, it can be launched from Accessories.
Once launched, the default profile is loaded in luckyBackup. New backup tasks are added by default to this profile by clicking on add.
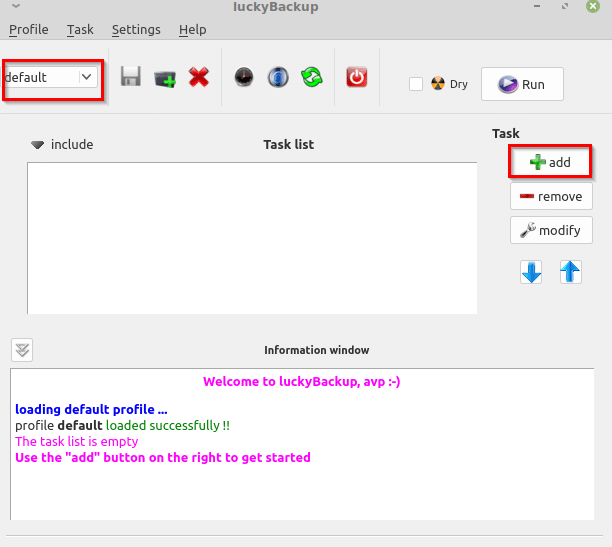
You can even have different backup profiles with each profile having a different backup job added.
In this example, the home directory will be backed up locally as well as to the remote server/system.
Local backup:
Click on add to begin. Name the backup task.
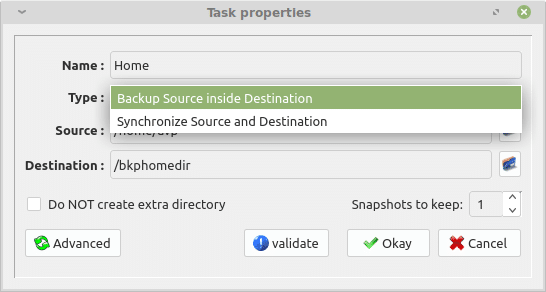
If the default backup type is chosen (Backup Source inside Destination), then every time the backup is performed, it will back up the source data as new copies inside the destination folder (full backup). The other option is Synchronize Source and Destination which will only backup the changes made to the source (incremental).
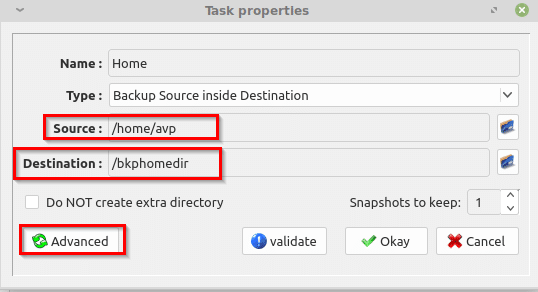
Next, specify the backup source as well as the destination. It is recommended to backup files and folders to a different drive or partition rather than it being on the same drive as that of source, preferably external and removable drives.
You can also check if the parameters are correct by clicking on Validate.
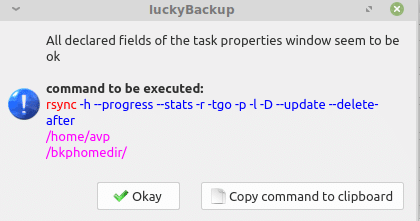
To further configure backup options, click on Advanced. Over here, you can exclude certain directories and files and also manually include other folders and files using the Exclude and Include tabs.
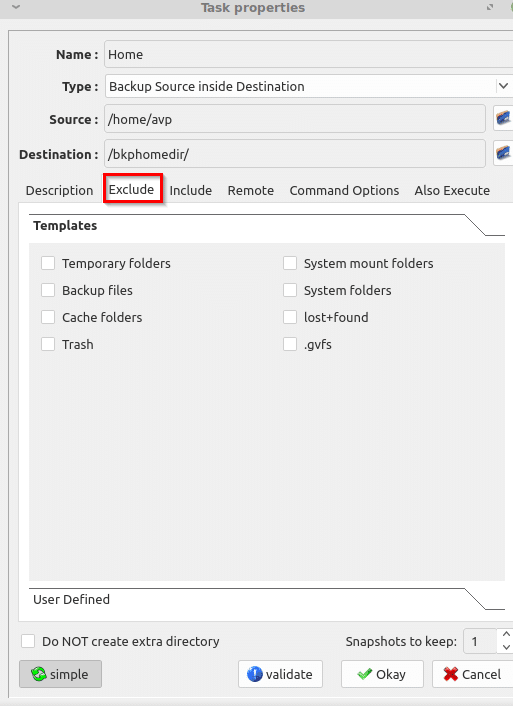
Click Okay to finish.
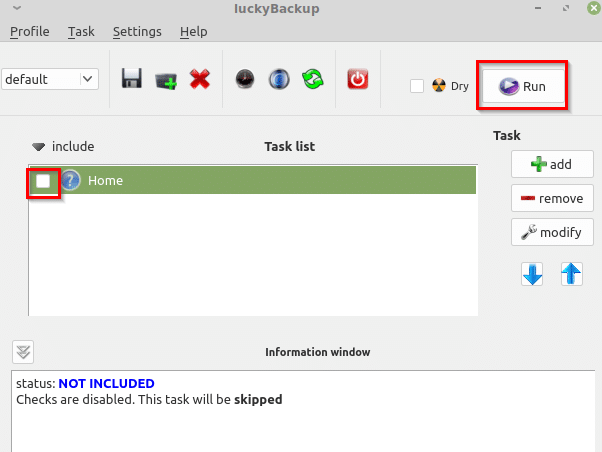
Now, from the main window, you can first do a dry run as a simulation before running it. If everything seems ok, click on Run after selecting the backup name.
Wait for the backup task to finish. Errors if any will be displayed in the progress window. If all goes well, the backup will complete without any errors.
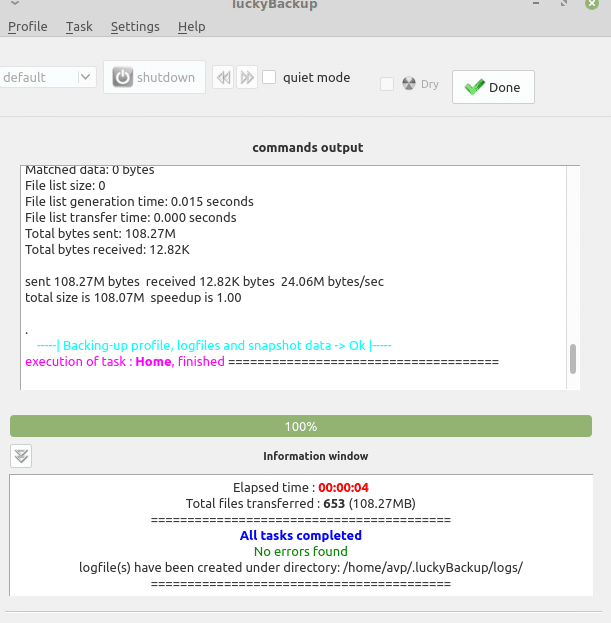
Click on Done.
Backing up to the remote server:
To configure the remote backups, simply edit the backup task by clicking on Advanced and select Remote tab. Then, enable the option of Use remote host.
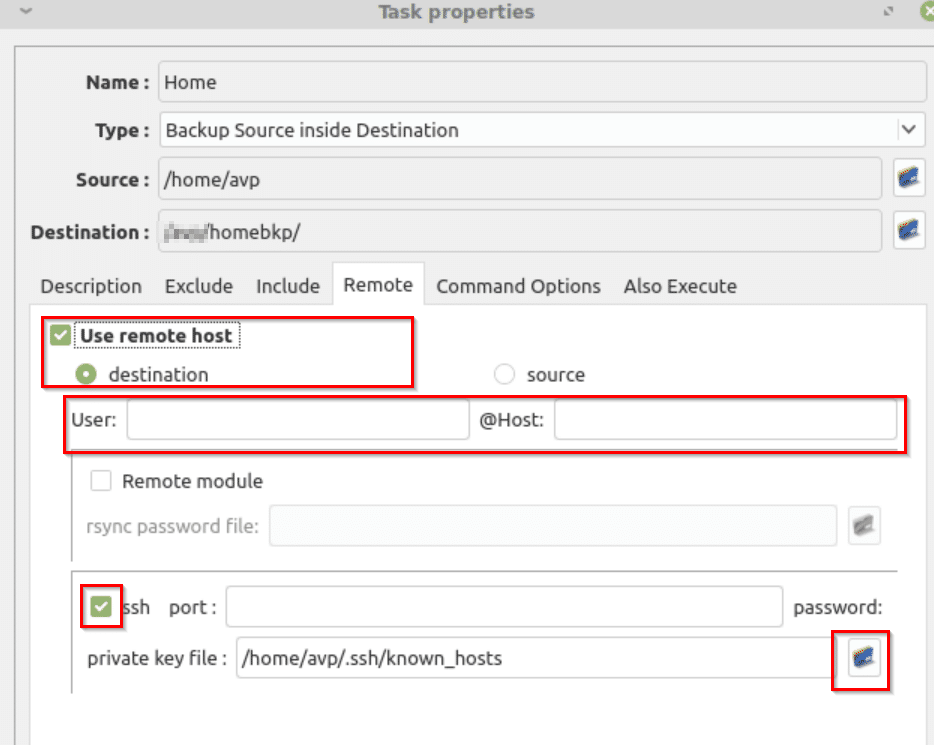
If you are backing to a remote server or system, select destination. Enter the login credentials to access the remote system through SSH.
Enable the option of ssh and if the remote server accepts incoming SSH connections on a different port other than the standard port 22, specify it in the port field. You can use the password too as luckyBackup will prompt for it when connecting remotely during backups but it is better to use private and public key-based authentication as it is unattended and can be scheduled to run automatically. Select the private key location and click Okay. (To know how to set up key-based SSH authentication, refer to the earlier article here. )
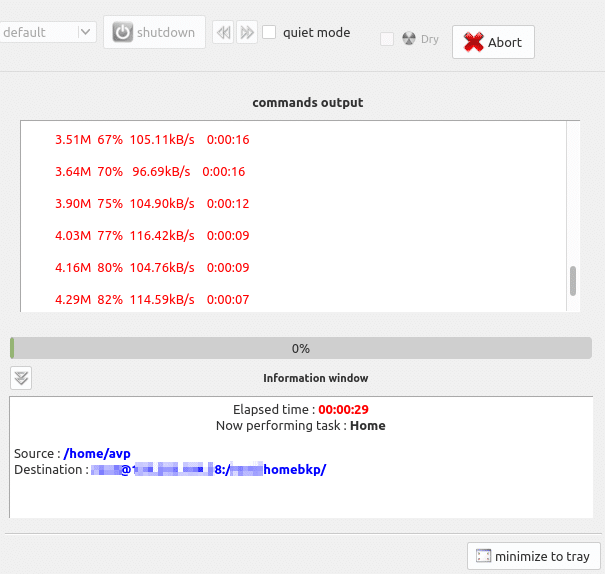
Once the configuration is setup, click on Run. luckyBackup will automatically connect via SSH and backup the source folders remotely.
Scheduling backups:
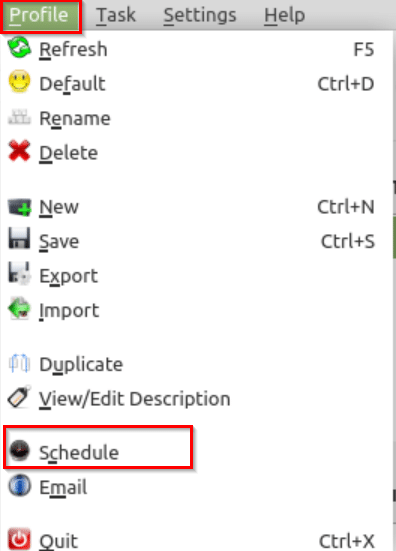
To setup backup jobs, luckyBackup makes it easy to add them using cron. Go to Profile > Schedule.
Then click on add. Load the backup profile for which backups need to be scheduled automatically.
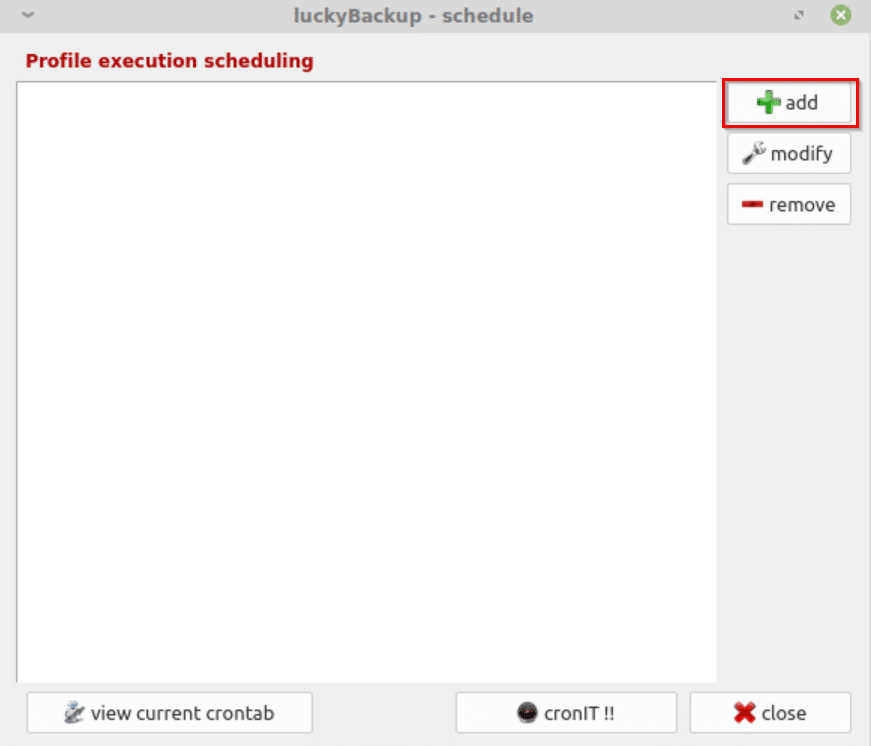
Select the run time, day, month and day.
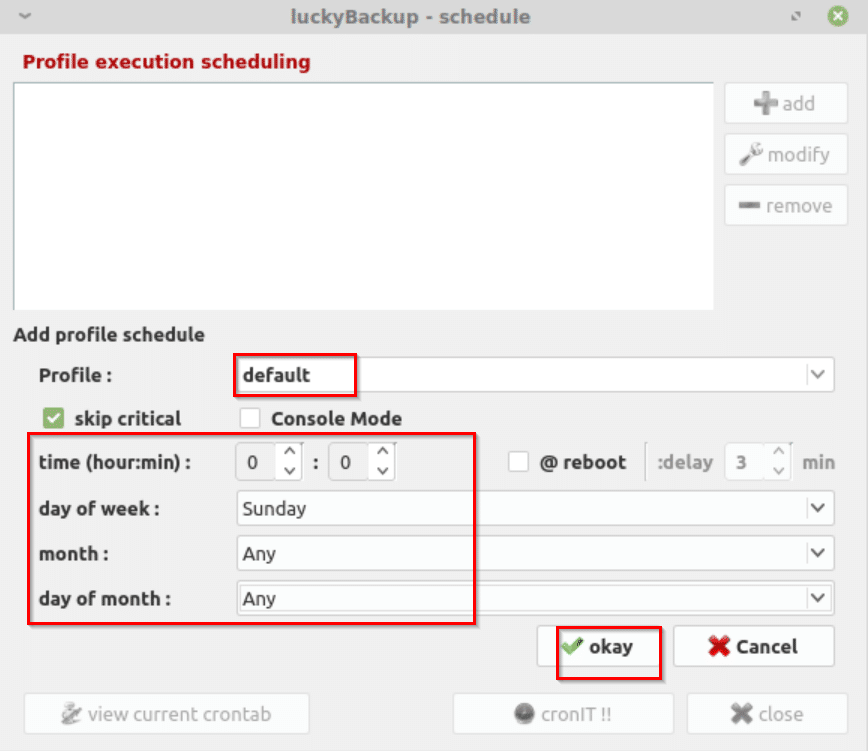
Click okay.
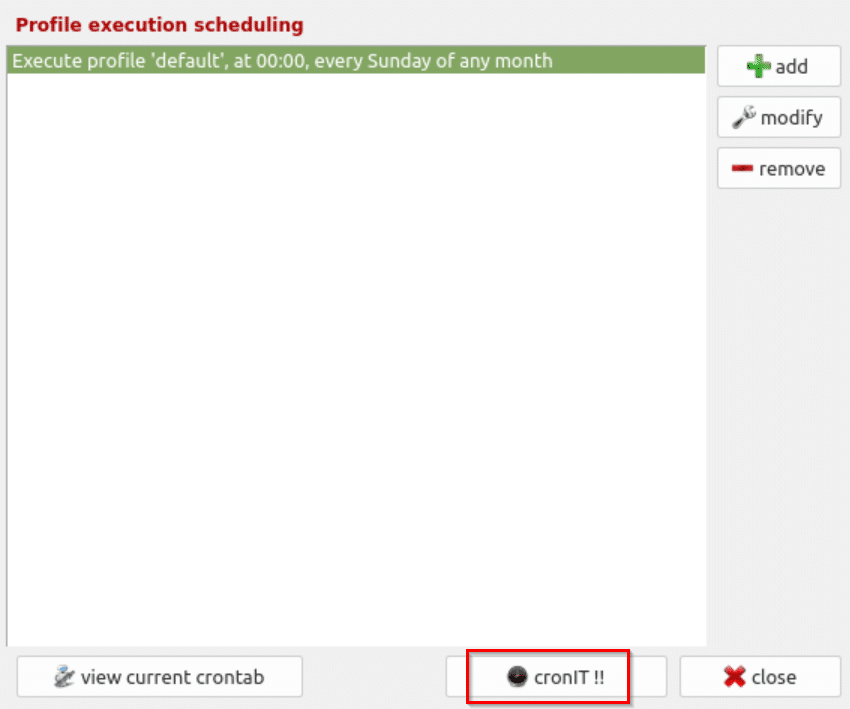
luckyBackup will then execute this backup job silently as per the schedule. You can also view the current crontab by clicking view current crontab or give the command crontab -l from the Terminal.
Finally, click cronIT !! to schedule the backup job at the set date and time.
This is an easy to use backup tool which can perform backups with a few clicks.
All done.