ProtonMail has the option of viewing active login sessions and checking authentication logs. These help in knowing the number of active sessions, the dates and times of sign-ins, which login attempts were successful, and which were not. Similar features are available in Gmail and Outlook too.
Here is how to access and configure these in ProtonMail:
Login to ProtonMail and click on the Settings option. Then select Go to settings.
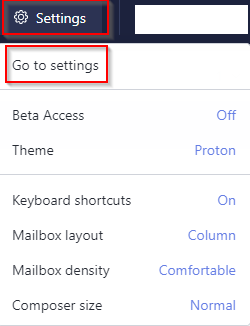
From the ACCOUNT menu, choose Security.
 Session management:
The Session management section will show all the active ProtonMail sessions with timestamps.
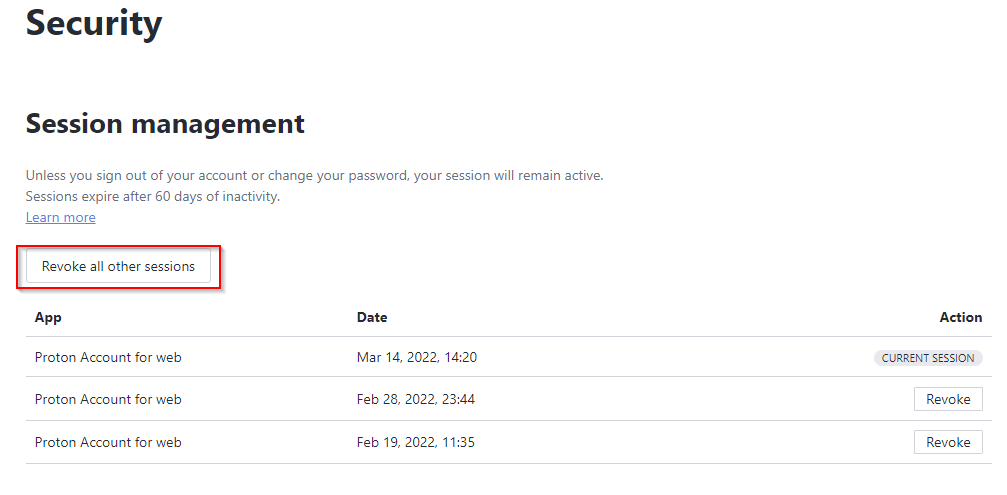
So, if you are using different devices for sign-on or not logging out after each session, they will be considered active sessions. To end all the sessions except the one currently in use, click on the Revoke all other sessions button. It will sign you out of all sessions except the one in use right now.

ProtonMail logs:
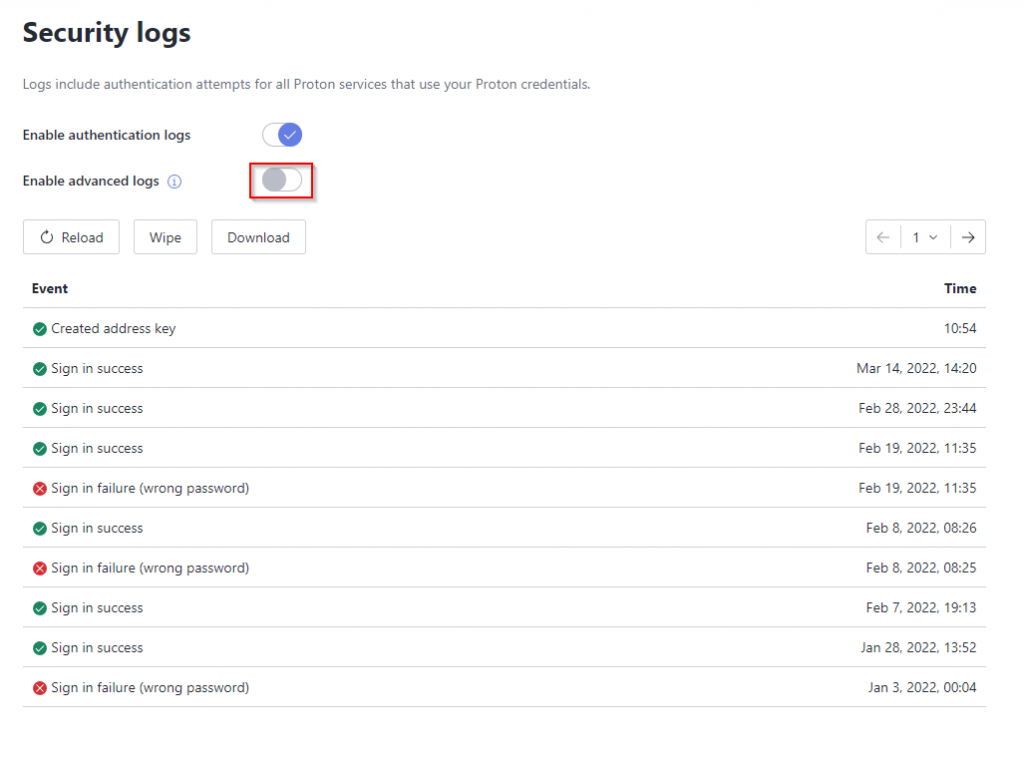
There is also the Security logs section below Session management. By default, authentication logs are enabled, while the advanced logs are disabled. The authentication logs will show the timestamps for each sign-in attempt, whether successful or failed. It can be even more useful to enable advanced logs as it will log the IP addresses too for all the sign-in attempts. So, turn it on from the Enable advanced logs feature.
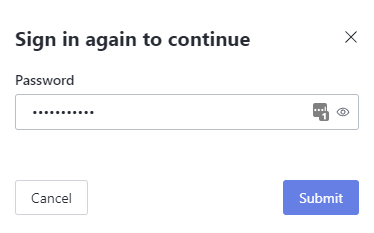
You will need to enter the password to authenticate and enable this feature.
After this feature is enabled, the authentication logs from before will now have an additional column – IP.
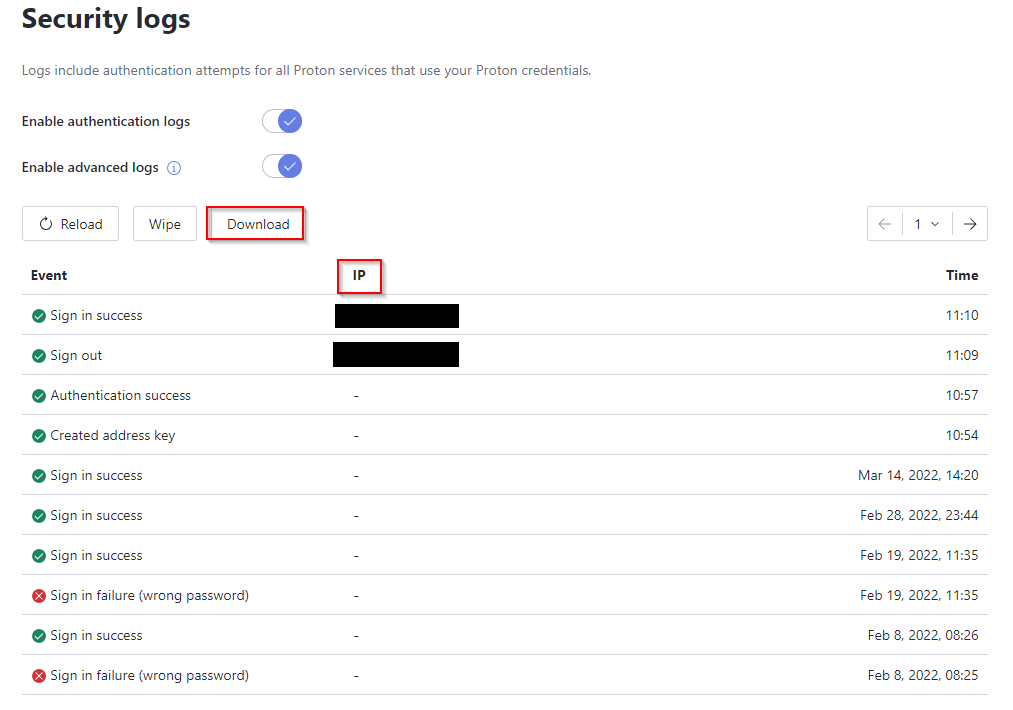
You can check if the IP addresses for sign-in attempts are getting logged by logging out and then back in. The logs should now show them.
Besides viewing the logs online, you can also download them using the Download button. A CSV file will be downloaded for offline use.

To purge the logs, click on the Wipe button, and to refresh, use the Reload button.
This is a useful feature to turn on in ProtonMail for much better email security along with the two-password mode.
Happy emailing.