The Snipping Tool in Windows 11 has become better with the feature to record videos. So, now you can record areas of the screen besides the usual nipping and taking screenshots.Â
Here is how to do this:
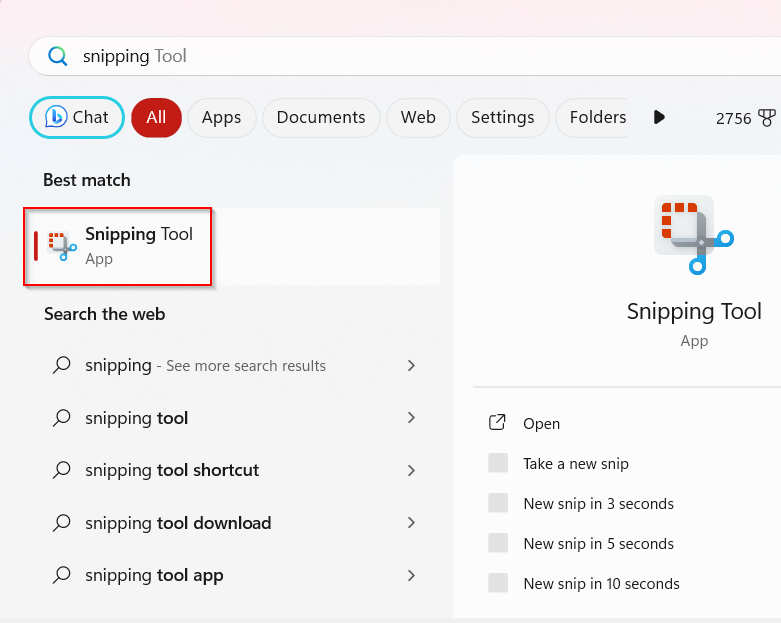
Search for the Snipping Tool from the search box and open it.
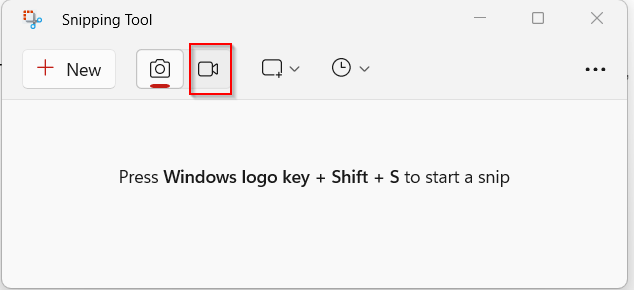
The default selection will be that of taking a screenshot. Click on the video icon to change it to the recording screen.
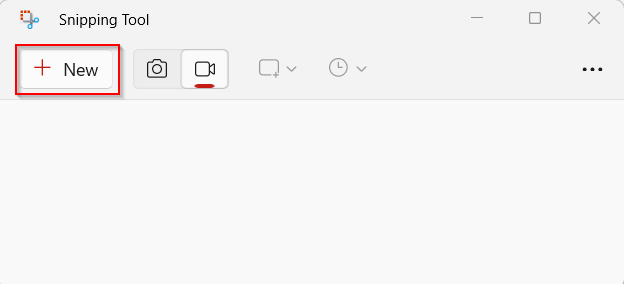
Then, click on the New button to begin a new recording.
You will see a border that you can adjust to fit the screen area for recording as per your choice.

Once done, click on the Start button at the top of the screen.

After a countdown timer, the recording will start.
System audio and mic both are muted by default, but you can unmute them if needed. Click on the stop or pause buttons to stop or pause the recording.
You can also start over by deleting the existing recording by clicking the trash icon.
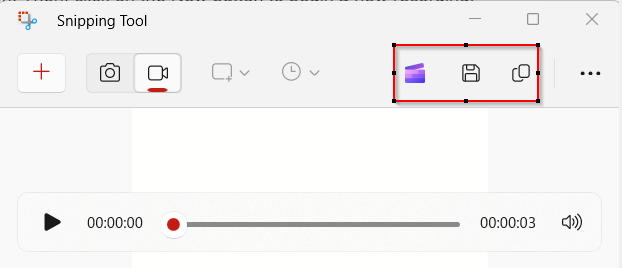
After the recording is complete, you can edit it in Clipchamp.
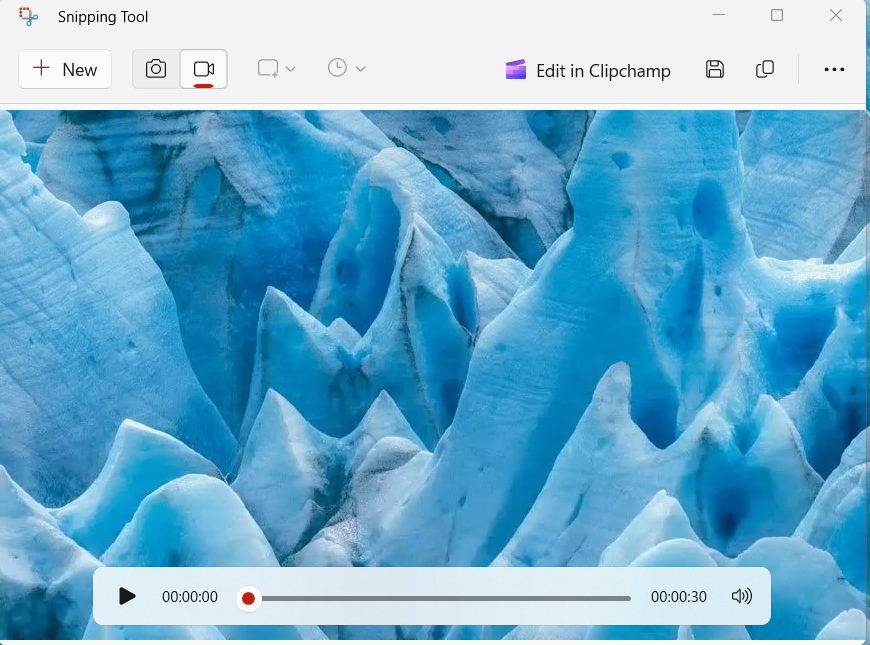
To save the recording, click the save icon. To copy the recorded clip to another location, click the copy icon and paste it to a different path as needed.
You can also choose to share the recording by email.
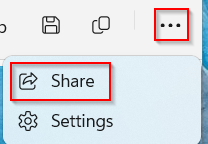
Click on the dots button and select Share to do that.
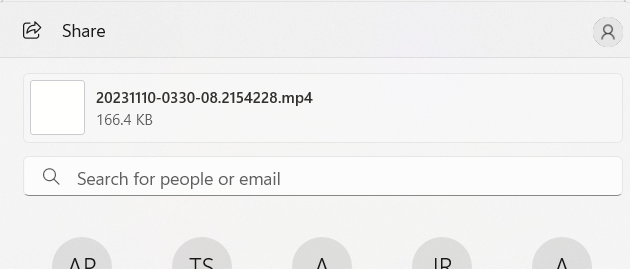
So, you can now directly create screencasts and share them with the default Snipping Tool app in Windows 11 without using third-party software.
All done.