Here’s how to install Ubuntu restricted extras in Ubuntu 11.10 Oneiric Ocelot:
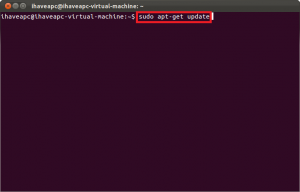
1. Issue the following command at the terminal –
sudo apt-get update
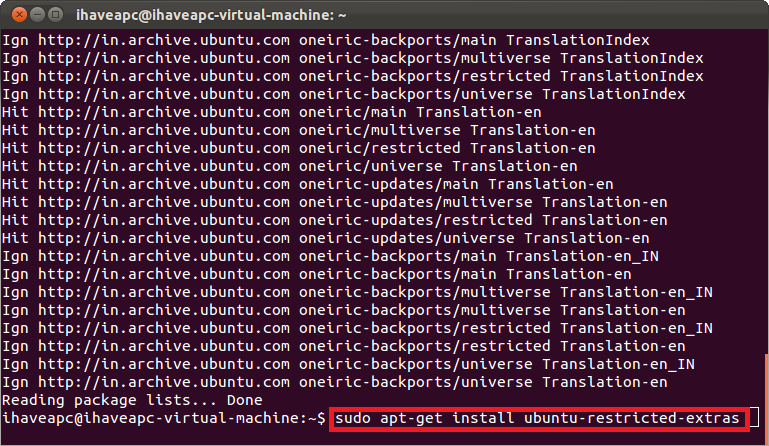
2. Now, issue the following command at the terminal –
sudo apt-get install ubuntu-restricted-extras
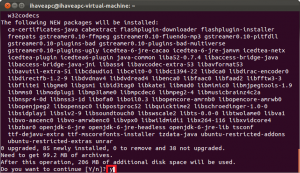
3. Enter ‘y’ when prompted.
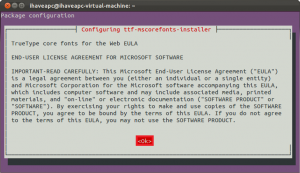
4. When prompted, read the ‘TrueType core fonts for the Web EULA’ and then select ‘<Ok>’.
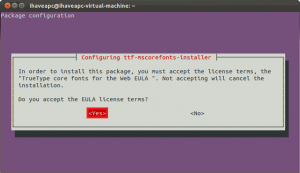
5. When prompted, select ‘<Yes>’ to accept the ‘TrueType core fonts for the Web EULA’.
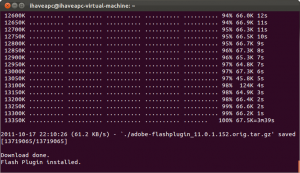
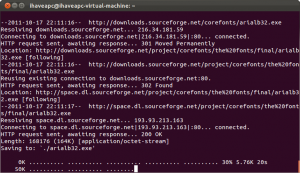
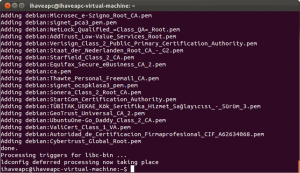
6. Now sit back and relax as the restricted extras like flash player, jre, TrueType fonts, codecs etc. get installed on your system.
without this site i would have been trying to figure this out all year thanks so much
Thanks for the guide! When accepting the EULA Agreeement, the OK didn’t highlight or was not clickable until I hit my right and left arrow keys and they highlighted orange. Then I was able to click .