Windows 10 April 2018 Update now has a Timeline feature. This is basically a history of activities grouped by days which can then be accessed at any later point in time.
So, when working with documents, websites or apps that are frequently accessed, Timeline can make it quicker to return to using them.
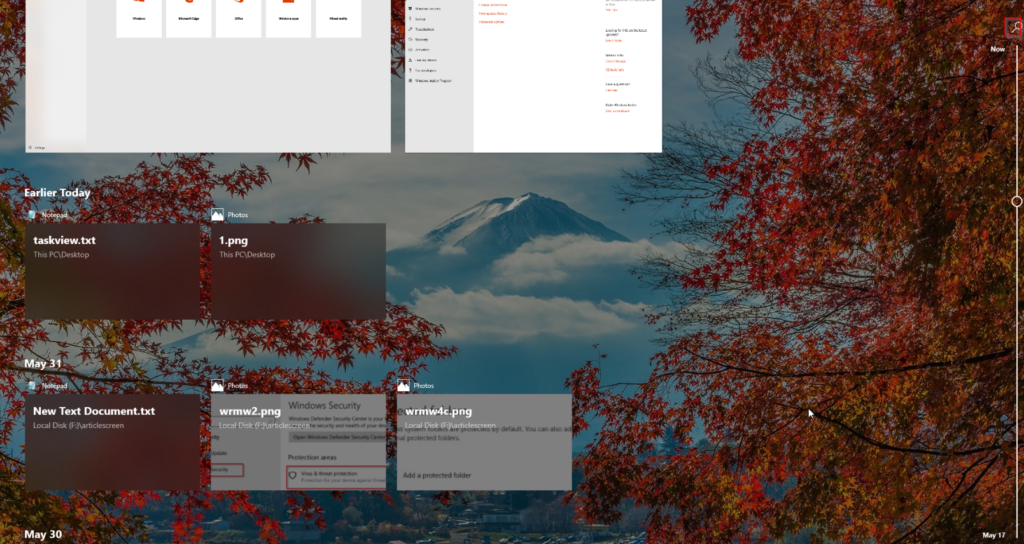
To access it, click the rectangular pane icon in task bar or use Windows key + Tab.
![]()
Timeline basically combines recently accessed apps, websites and documents into groups by date and lists them. It can also be searched for specific file types, keywords and more by using the search icon on top right.
It will then display specific results on a per day basis.

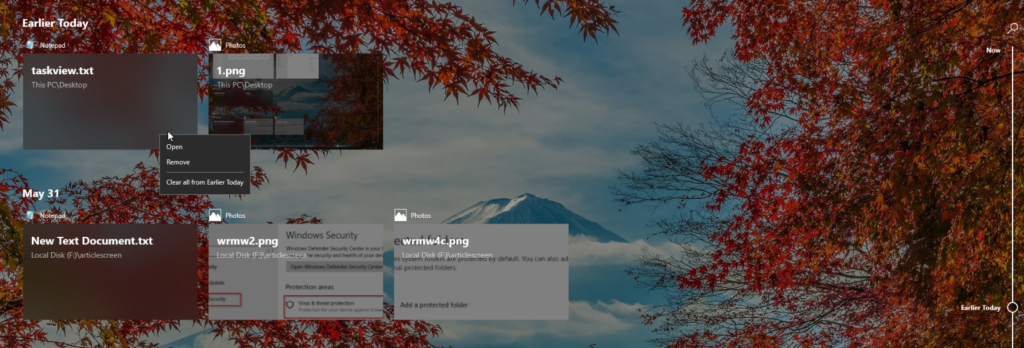
To remove particular entries listed in Timeline, right click on them and choose Remove.
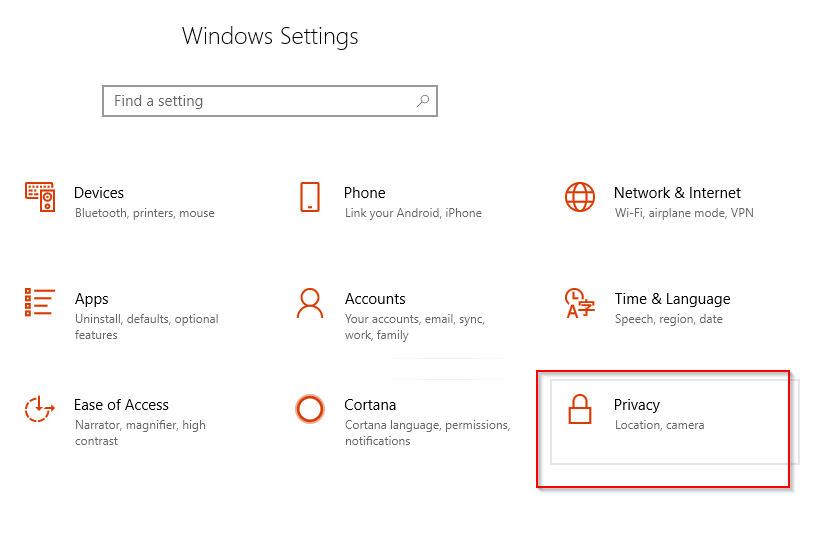
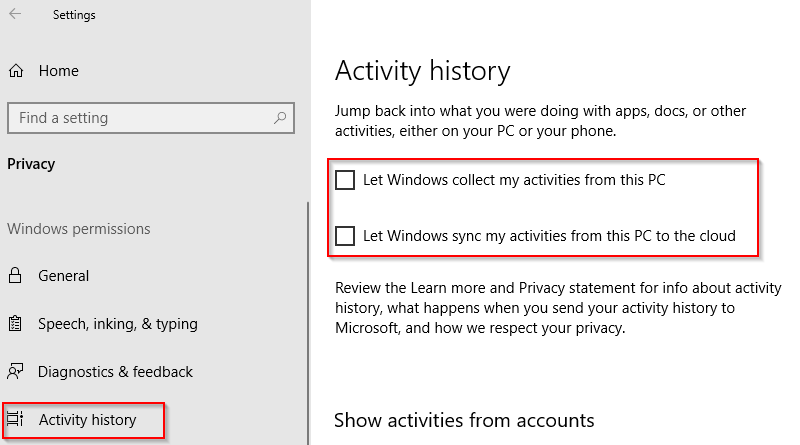
By default, Timeline is enabled. However, if you want to disable it, go to Settings (Windows key + I) > Privacy and then Activity history.
There, disable the options of Windows collecting activities from PC and syncing it to cloud respectively.
All done.

Great post, thanks for sharing this specific guide. I’m looking for it