The default note taking program in Linux Mint -TomBoy Notes can be configured to sync and backup notes with remote systems/servers that use SSH server.
All you’d need on the remote end is a system that has SSH server installed which can accept incoming SSH connections. (An earlier article on how to configure and harden SSH server in Ubuntu can be found here. )
On the source PC from which TomBoy Notes need to be synced or backed up, there are a couple of things that need to be done.
Setup keys based SSH auto login to remote server :
As Tomboy Notes are to be synced through SSH, a public and private key pair based login from that to the remote server needs to be enabled. (A detailed explanation on doing that can be found here too.)
To do this, first generate the key pair from Terminal with the following command :
ssh-keygen
Keep the default options as they are and let the keys be generated.
Next, copy the public key to the remote server via SSH using the command :
ssh-copy-id -i ~/.ssh/id_rsa.pub username@remotemachineaddress
During this time, you’d need to manually enter the username and password when logging into the remote server. But once the key is copied, the subsequent logins will be automatic.
You can then simply use ssh username@remoteserver, no password will be needed.
Install SSHFS :
Tomboy Notes SSH syncing require a remote file system daemon and an active SSH daemon running in the background to backup and sync the notes to remote server.
So, the second step is to install SSHFS (SSH File System). From Terminal, install it :
sudo apt install sshfs

Once installed, reboot the PC.
Now the fun part of actually configuring Tomboy Notes. 🙂
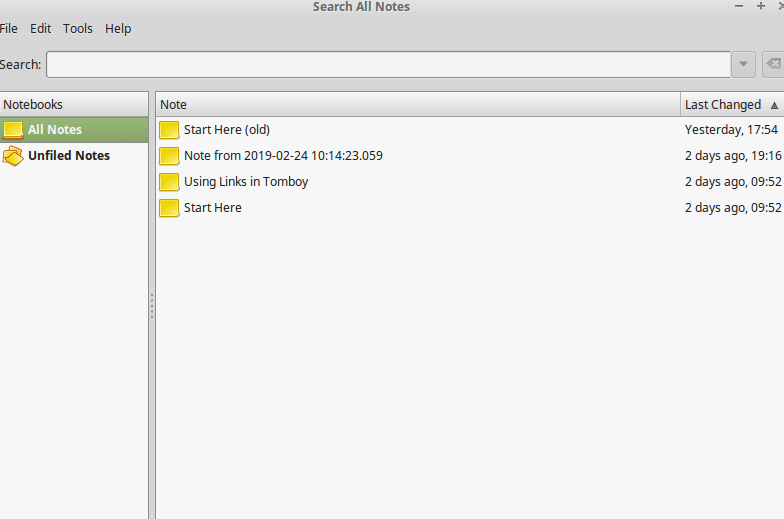
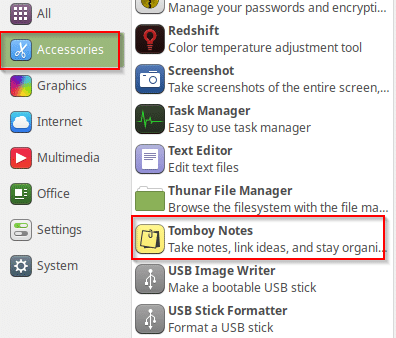
Open Tomboy Notes.
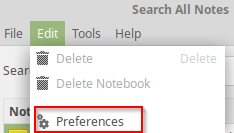
Then go to Edit > Preferences.
Click on Add-ins and select Synchronization > SSH Sync Service Add-in. Then choose Enable.
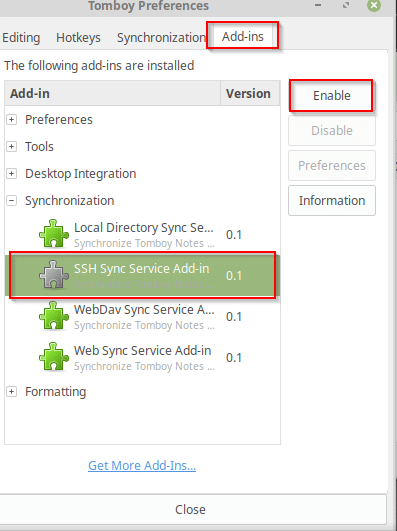
This now will allow SSH backup configuration for Tomboy Notes.
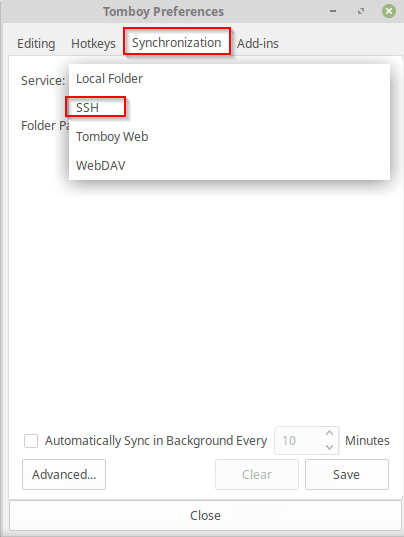
Now, go to Synchronization > SSH.
Over there, enter the remote server name and username.
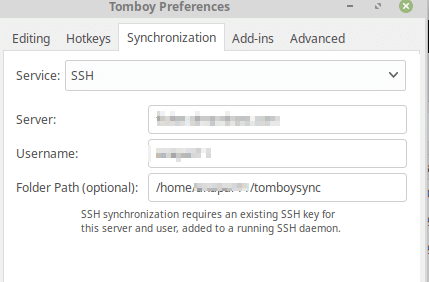
The login credentials are the same as what were used to login remotely when setting up the keys authentication before. No password is needed as SSH keys are already setup.
Folder Path is optional but it is better to have a separate folder for Tomboy Notes on remote server, enter that path here.
Also enable Automatically Sync from there, the default time interval being 10 minutes.

Finally hit Save.
If all goes well, after sometime there will be a notification of connection being successful.
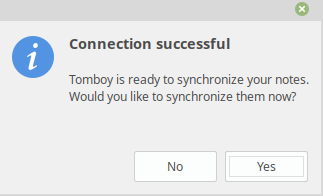
Click Yes to sync all the existing notes to remote server through SSH.
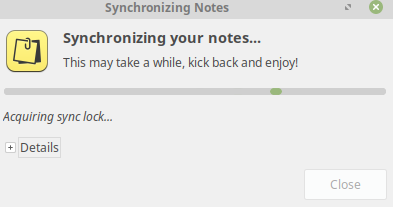
You can click on Details menu to see what is happening, there will be a list of Tomboy Notes that will be uploaded to remote server.
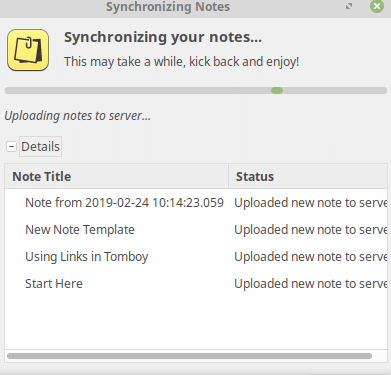
You can also manually sync the notes at any point of time if needed through Tools > Synchronize Notes.

On the remote server, an XML file named manifest.xml will now be available in the Tomboy Notes backup folder.
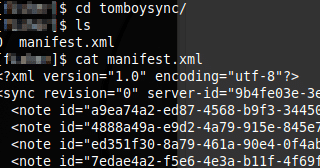
This has all the synced and backed up notes from the Linux Mint PC.
To disable syncing, simply remove the SSH sync service add-in that was enabled before.
All done.
Your instructions were clear and easy to follow up to the line
Over there, enter the remote server name and username.
where you greyed out the text boxes (understandably so) but you failed to provide examples to help the reader how to enter the information for
server
username
So I do not know if anything worked as I could not finalize the sync.
The server name and user credentials are the same as the ones you’d use when using SSH to connect to that server if it supports it.
If you use a webhost, you can get that info from cPanel or the user dashboard.