If you are looking to try out an Arch Linux based distribution, then EndeavourOS can be a good choice. It is a lightweight, rolling release distribution that makes it easy for users that are new to Arch Linux based environment.
Installing EndeavourOS:
Download the EndeavourOS ISO image from here. Then, create a bootable USB drive and boot up from it. You can directly use the dd command to do that in Linux. In Windows, use Rufus or Balena Etcher to do so.
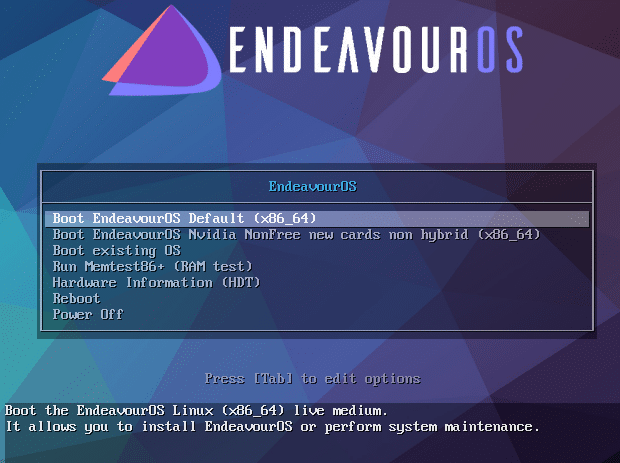
On first boot-up, choose the default setting to look at the live environment.
There will be a welcome screen with different choices. To install it, click on Start the Installer.
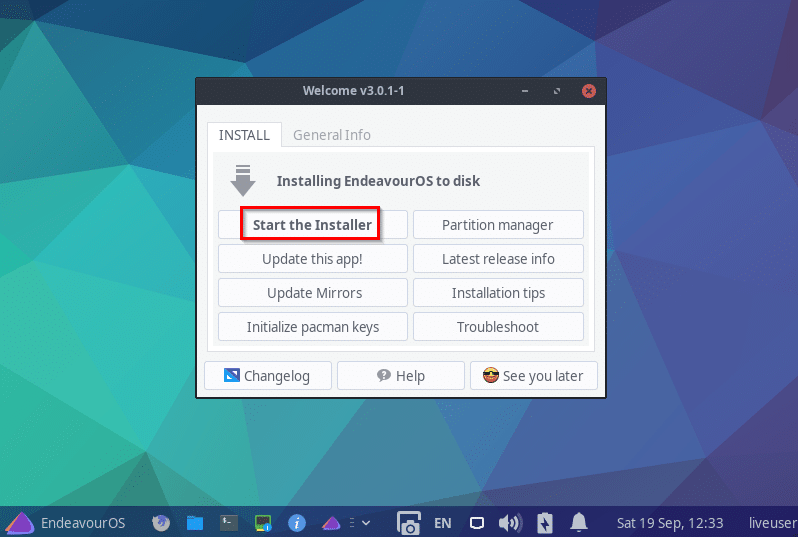
EndeavourOS uses Calamares for installation. This is a popular installer usually found in Arch Linux based distributions. Compared to Arch Linux, the installation of EndeavourOS is a lot easier as it is fully graphical.
Types of installation methods:
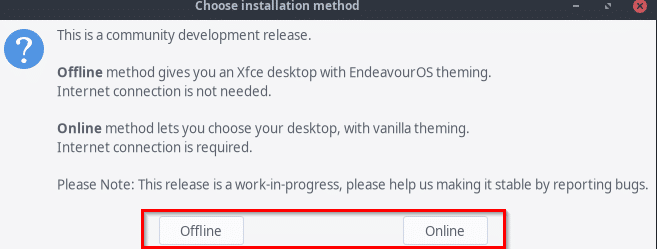
Before the installation begins, there will be two ways to go about it:
- Offline: If you want to run the setup without getting online, then choose the Offline mode. This will install a complete Xfce based environment.
- Online: To connect to the Internet and install using other desktop environments, you would need to choose the Online mode.
Nine different environments are available to choose from Xfce, Budgie, KDE Plasma, MATE, LXQt, Deepin, GNOME, Cinnamon, and i3. (This article uses the Online mode of installation with Xfce as the desktop environment.)
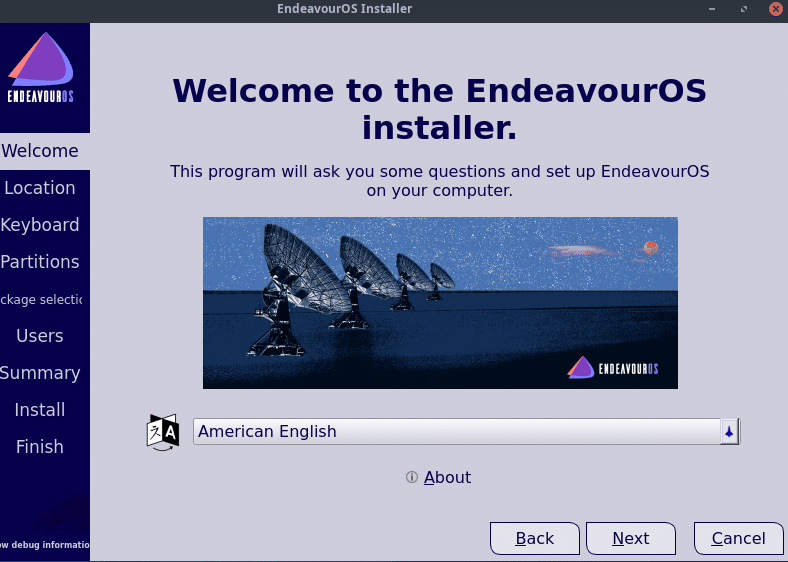
The installation screens will be familiar if you have installed other distros like Ubuntu, Linux Mint, and so on. Choose the language to begin the installation.
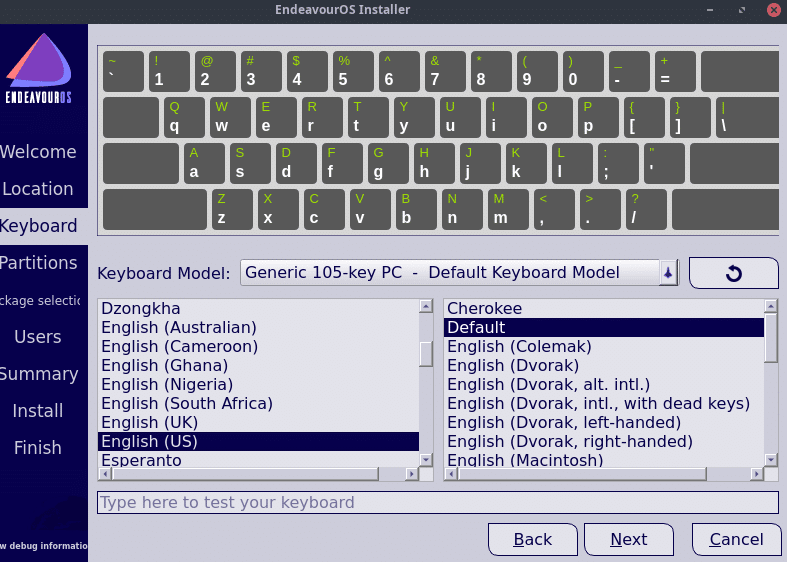
Then, choose the keyboard layout and the time zone.
For disk partitioning, EndeavourOS offers options like erasing the full disk or manually setting up the partitions.
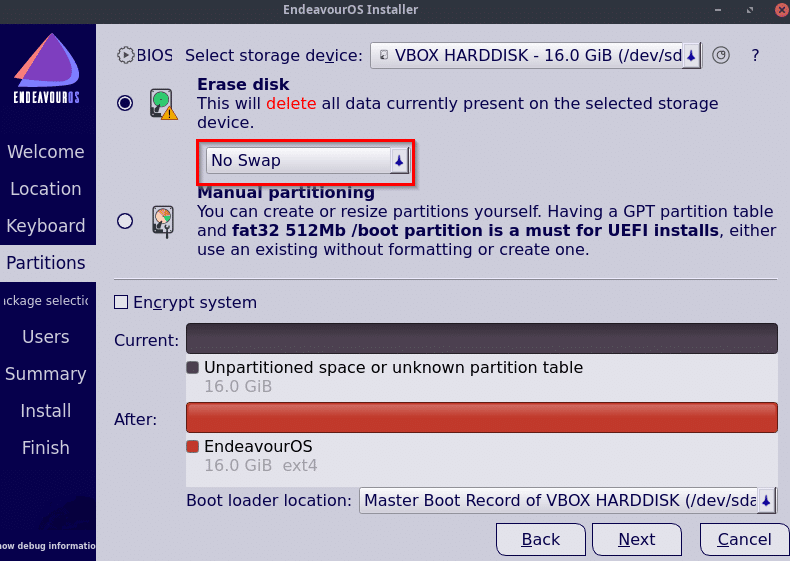
If the full disk option is chosen, you can choose to either have swap space enabled with or without hibernation or disable it.

You can also enable encryption while setting up the disk partitions from here. Click Next to continue.
A list of available desktop environments and other system packages will be listed to select and install.
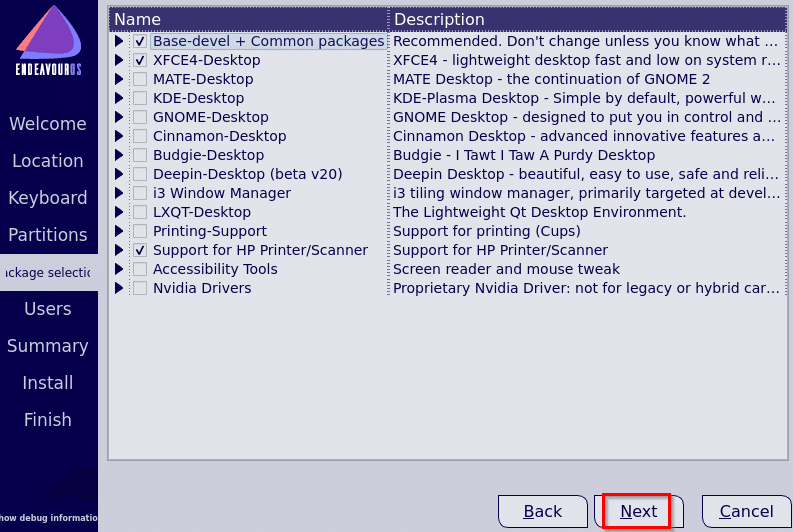
This only happens in the Online mode which is what was selected. Choose as needed and click on Next.
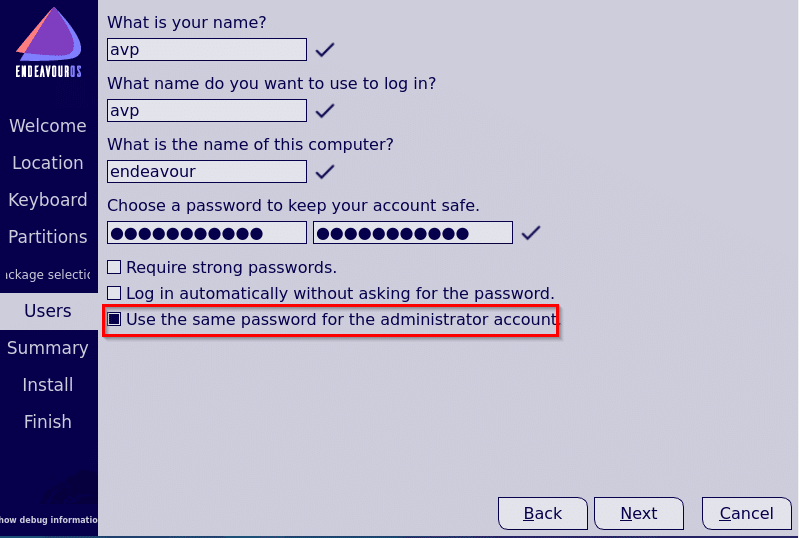
Then, enter the user details on the next screen. You can also assign the same password for administrator rights from here.
Review and finalize installation choices:
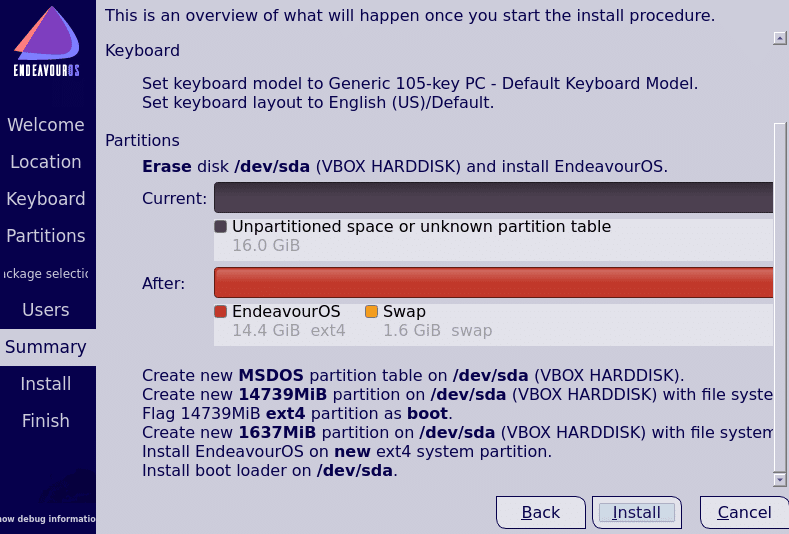
A final confirmation screen will be displayed listing the various system choices before the installation starts. You can go back and change settings if needed. If all is as needed, click on Install.
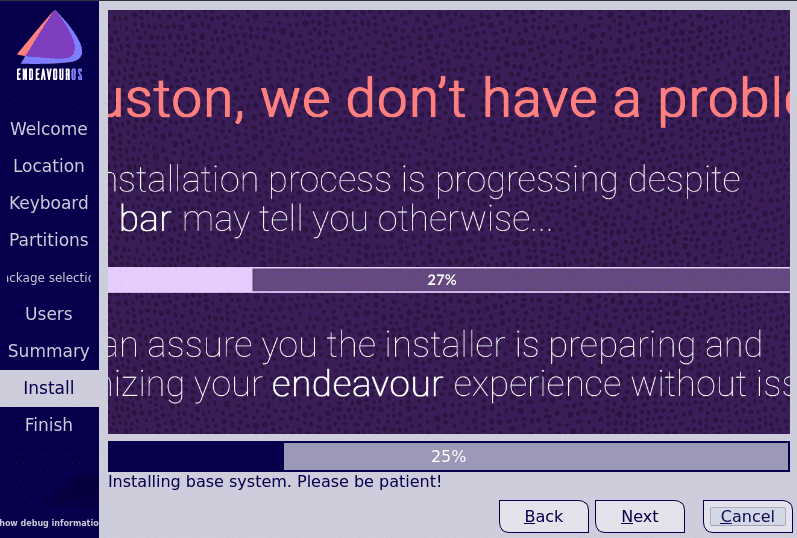
The installation of EndeavourOS will take a while. Wait for it to complete.
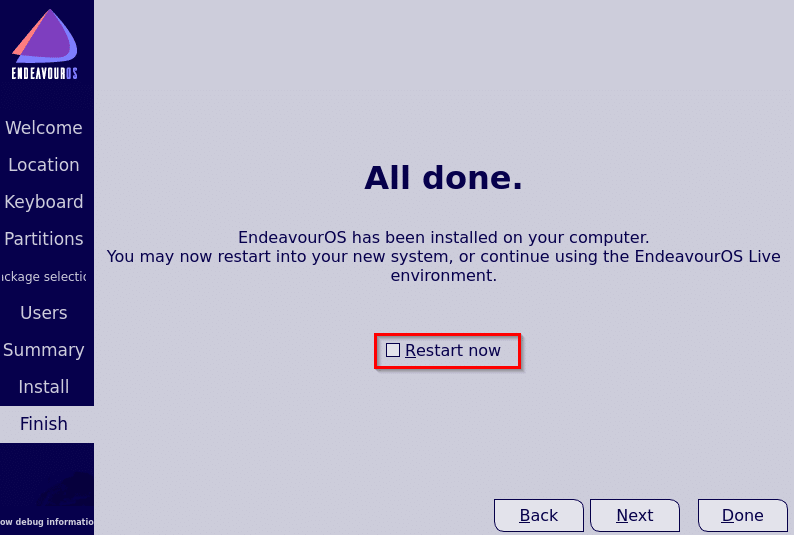
If all goes well, the installation completed screen will be displayed. Select Restart now and click on Done.
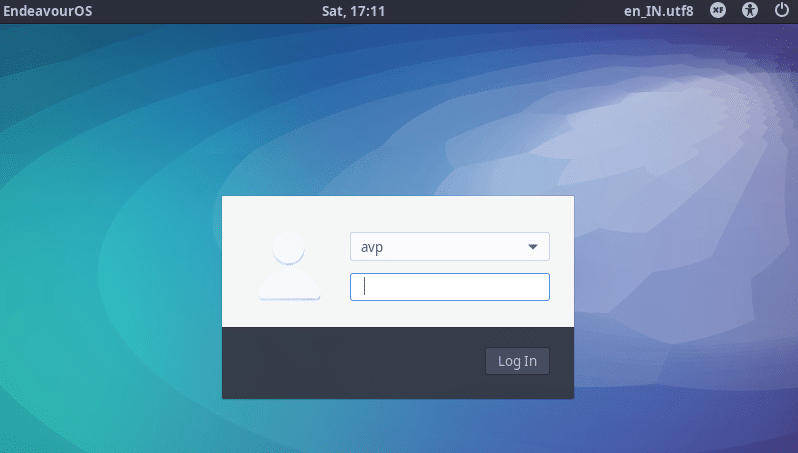
After a restart, you can now login to the shiny new install of EndeavourOS.
Using EndeavourOS:
Once logged in, the desktop layout will be that of the desktop environment that was selected. This example uses the Xfce layout.
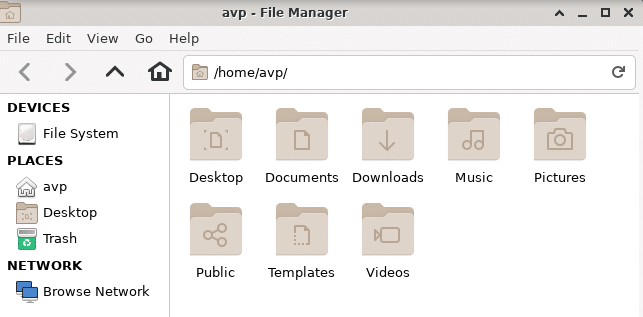
Thunar is the default file manager.
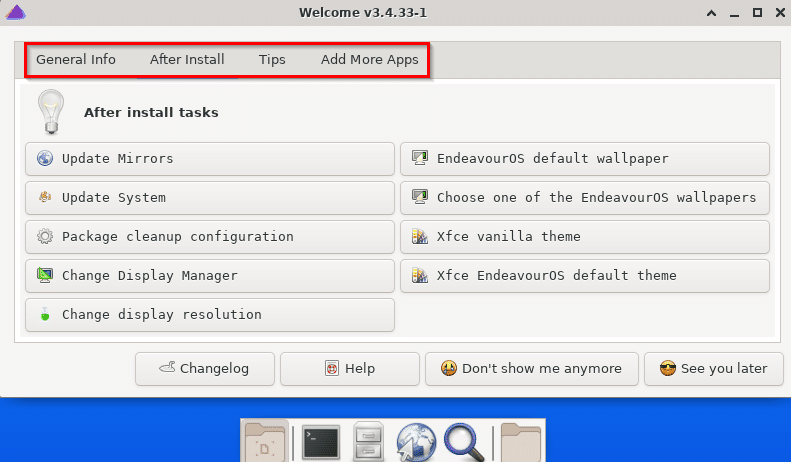
Also, on logging in, to make the first use easier there will be a Welcome menu. This consists of different options like General Info which will launch EndeavourOS support forums and other webpages. The Tips section is for getting to know how to use EndeavourOS better. The After Install section is for updating the system, updating mirrors, and configuring various display settings.
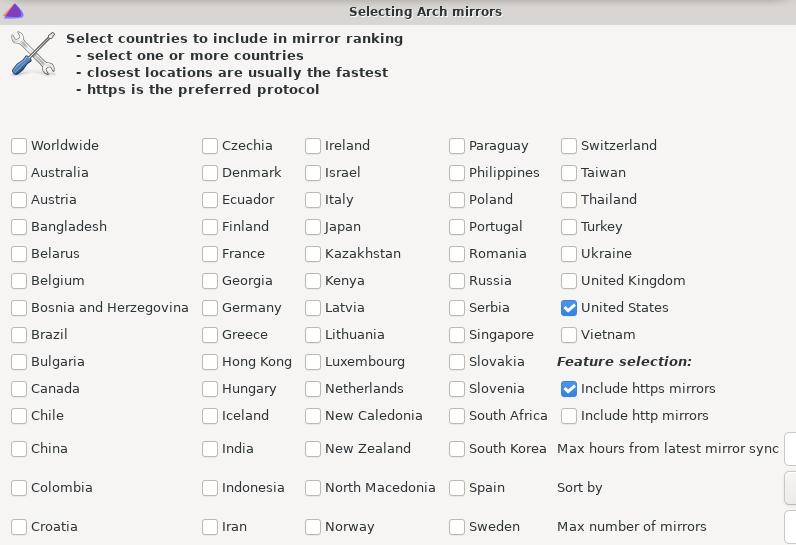
EndeavourOS also comes with its own mirror manager Reflector Simple which can be accessed from the System menu.

Through this, you can change the mirror location, change the maximum number of mirrors, and so on.
Default apps:
EndeavourOS comes with a bunch of useful apps already installed. This again will depend on the desktop environment that was selected, Xfce in this example.
Accessories: Lightweight text editors like Leafpad and Mousepad are installed by default.
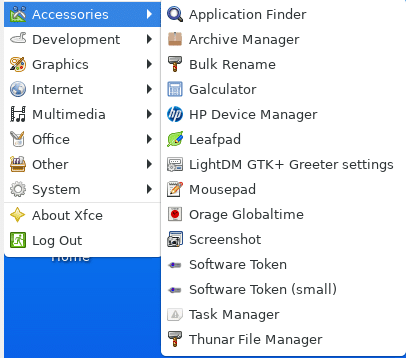
Internet: Firefox is the default browser. You can install other browsers either from the Welcome screen or from the Terminal.
Graphics: Ristretto Image Viewer is the default image viewing tool along with XSane for scanning.

Multimedia: Parole Media Player is the default multimedia player.

Office: Orage Calendar, Orage Globaltime, and ePDF Viewer are the default installed apps.

Ways to install other apps:
The Add More Apps in the Welcome screen is to install other commonly used programs that are not installed by default. These include LibreOffice, Chromium browser, Firewall, and so on.
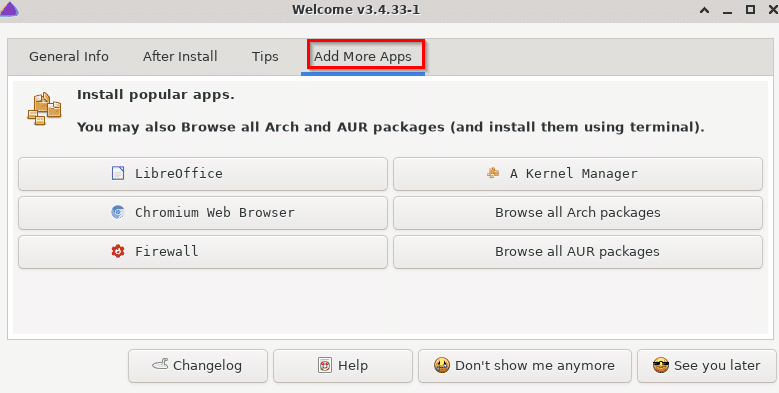
Also, you can browse AUR (Arch Linux User Repository) and search for packages before installing them. AUR has many packages that aren’t officially supported by Arch Linux but you can still download and install them.
So EndeavourOS comes with its package manager – yay for that. It is in addition to pacman which is what Arch Linux based distros use to install and manage packages from the Terminal.
Using pacman and yay to install apps:
Pacman:
To install packages directly from the Terminal using pacman, use the -S parameter and the package name:
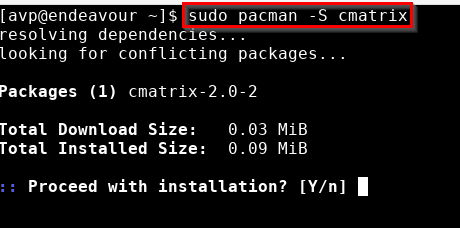
You can also directly update the system with the -Syu parameters through pacman.
yay:
Its syntax is similar to pacman. To install a package, use the -S parameter followed by the package name:
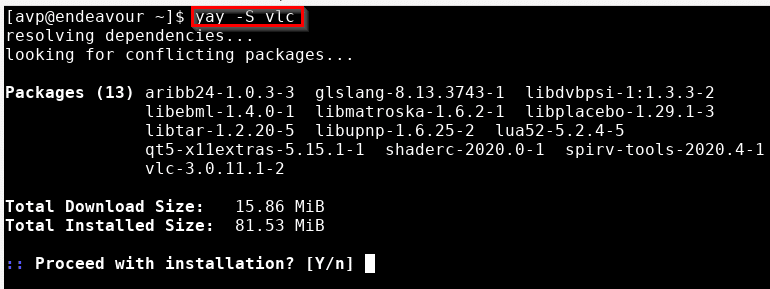
To search for a package before installing it:

To know more information about a package, use the -Si parameters:

This is a lightweight Arch Linux based distro with a variety of desktop environments to choose from.
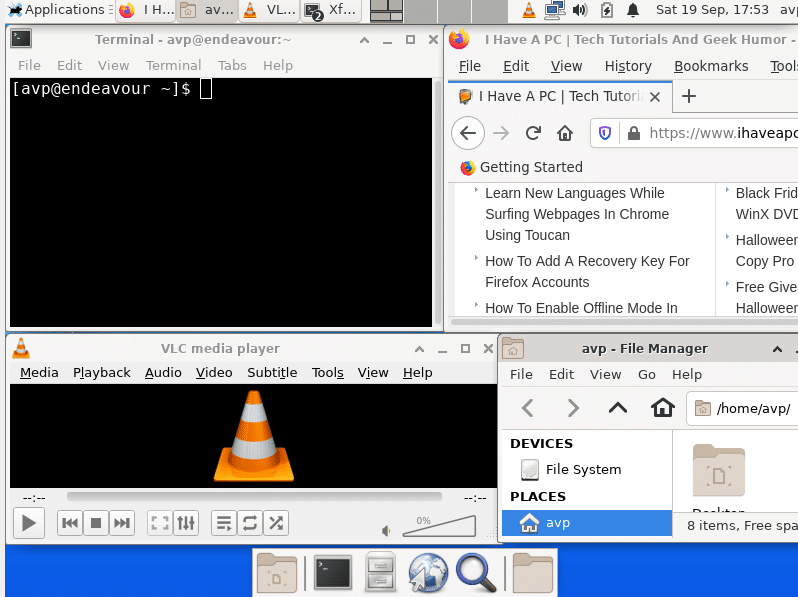
If you want to try an Arch Linux distro for the first time, then EndeavourOS as a lightweight distro can be useful. Even better if you have used some earlier such distros and have familiarity with the Arch Linux environment.
All done.
