In the dynamic world of gaming, every victory, every epic moment, and every heart-pounding encounter is worth remembering. Thanks to Windows 10 settings, preserving these moments has never been easier.
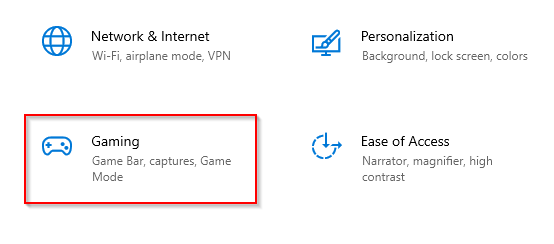
This built-in feature offers a plethora of tools and options to capture, record, and share your gaming adventures effortlessly. To access these settings, Open Windows settings and click on Gaming.
Then click on the Captures section from the left sidebar to configure different gameplay capture settings.
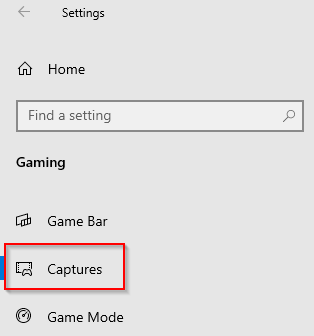
Four such settings that can be configured:
Captures:
The default location for storing screen captures when gaming is under the Users > username > Video > Captures folder.
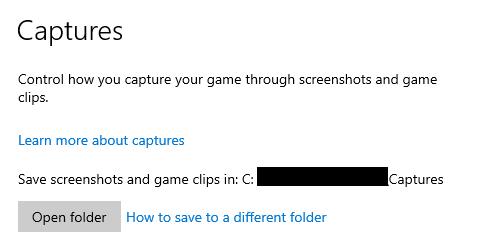
You can choose a different path to save these captures by moving the Captures folder to that path. Here is how to change the Captures location for Windows 10/11.
Recorded audio:
Change the audio quality settings and select sources for recording game audio from here.
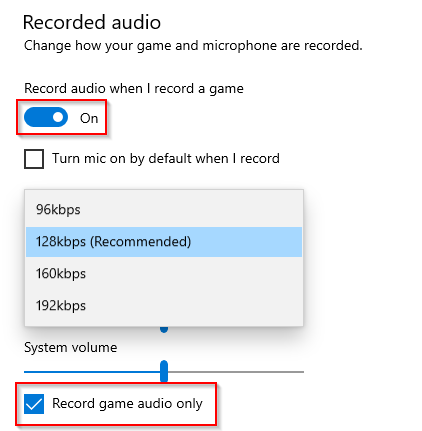
You can also opt to record only game audio if needed.
Backgrounding recording:
When enabled, it will begin recording gameplay in the background while gaming is in progress. This is ideal for creating in-game streaming and narration. The duration of background recording can be set from 30 mins to a maximum of 4 hours.
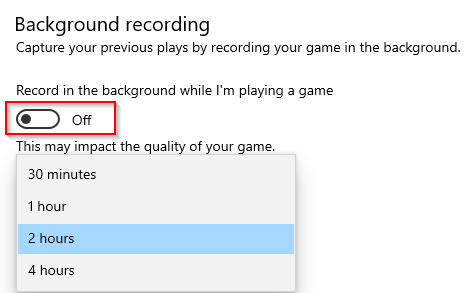
Depending on the length of the recording, system performance may be impacted, so there is a trade-off.
Recorded video:
Change the video playback quality settings from this section. You can choose between 30/60 fps when recording gameplay and toggle between standard and high-quality video capture.
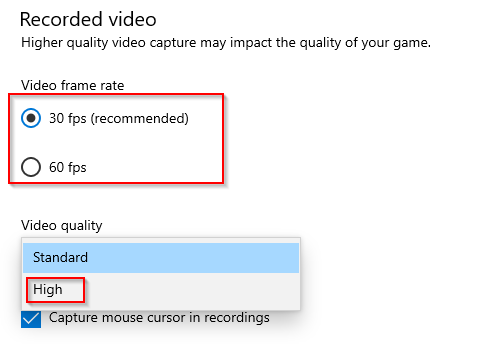
You can also choose to include or skip mouse pointer capture when doing so.
Happy gaming.