Linux Mint is famous for its stability, ease of use, and sensible defaults. But if you prefer keeping your system patched without having to manually open a terminal or click through the GUI Update Manager, automating the process via command line is a great option.
This article walks you through setting up a lightweight Bash script and scheduling it with cron—Linux’s built-in task scheduler to run it fully unattended every 3 hours.
Why Not Use Standard sudo apt upgrade?
If you try to run sudo apt update && sudo apt upgrade in a background schedule, it will fail for two main reasons:
- Cron runs without an interactive terminal (TTY): It can’t prompt you to type a sudo password.
- Apt requires confirmation: It will pause forever waiting for you to press Y to confirm package installations.
To bypass these hurdles, we will run our script under the root user’s crontab and use non-interactive flags.
Step 1: Create the Update Script
First, we need to create a simple script that tells Linux Mint to refresh package indexes and apply available upgrades automatically.
Open your terminal and create a new script file in /usr/local/bin/
sudo nano /usr/local/bin/mint-autoupdate.sh
Paste the following script into the editor:
#!/bin/bash

# Explicitly set PATH environment variables for cron
export PATH=/usr/local/sbin:/usr/local/bin:/usr/sbin:/usr/bin:/sbin:/bin

# Refresh repositories quietly and apply upgrades automatically
apt-get update -qq && apt-get dist-upgrade -y -qq
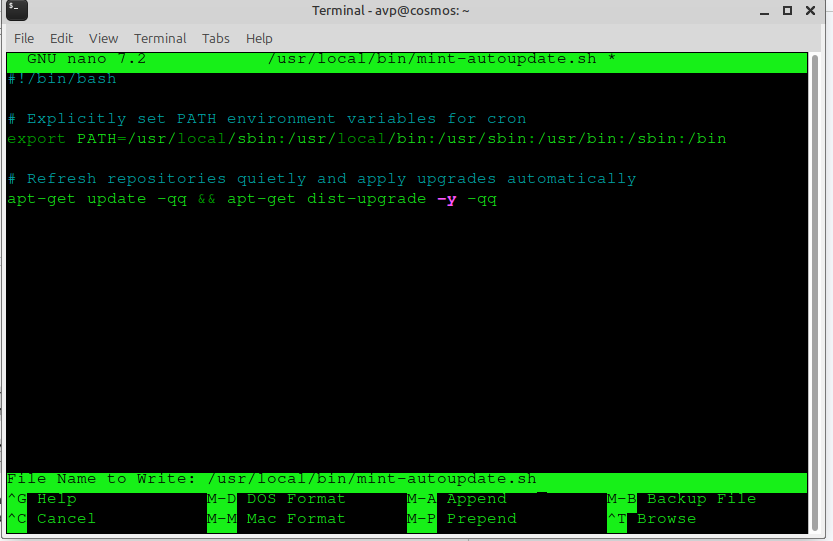
Save the file (Ctrl + O, then press Enter) and exit Nano (Ctrl + X).
Quick Note: We use apt-get instead of apt here because apt-get is optimized for script integration and won’t throw warnings about unstable CLI interfaces.
Make the script executable by running:
sudo chmod +x /usr/local/bin/mint-autoupdate.sh

Step 2: Schedule the Script Every 3 Hours using Cron
Now that our script works headlessly, we can configure cron to run it automatically every 3 hours.
Open the root user’s crontab (this gives the script administrative rights without needing a password):
sudo crontab -e
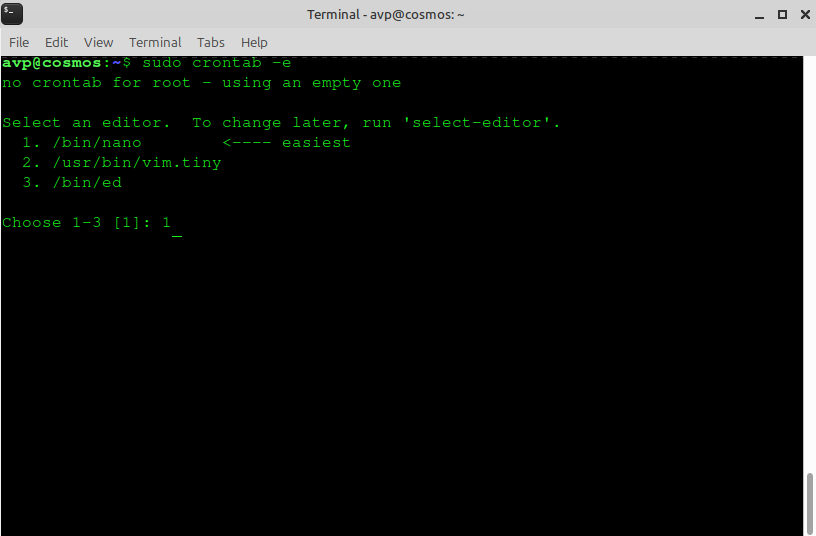
(If prompted to select an editor, choose nano by pressing its corresponding number).
Scroll to the bottom of the file and paste this line:
0 */3 * * * /usr/local/bin/mint-autoupdate.sh >> /var/log/mint-autoupdate.log 2>&1
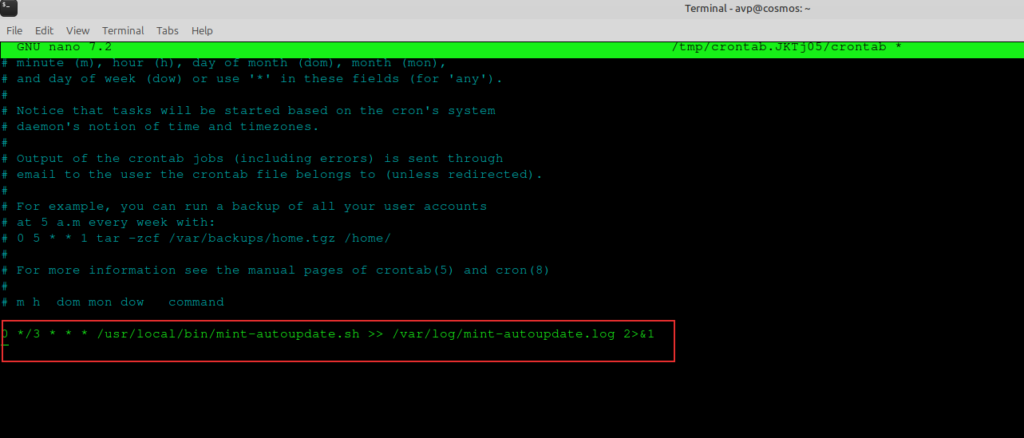
Understanding the Cron Syntax
Here is a quick infographic to help you with understanding cron.
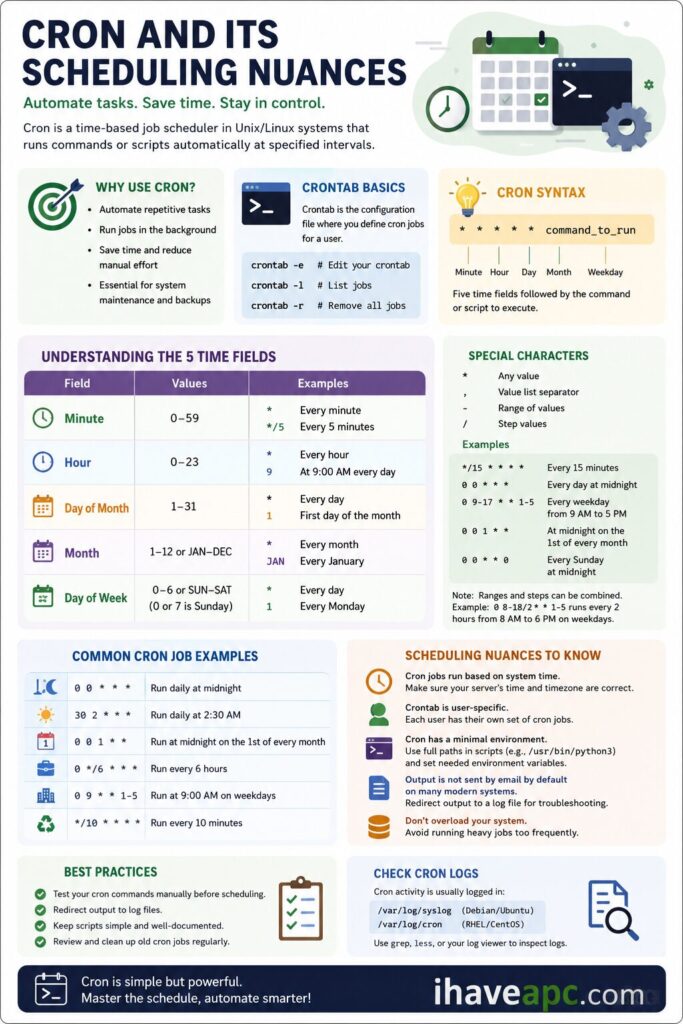
By the way, there are useful online tools like Crontab Generator by which you can quickly generate cron scheduling.
In our example, the cron scheduling works as follows:
- 0 */3 * * * — Tells cron to fire at minute 0 of every 3rd hour (e.g., 12:00, 3:00, 6:00, 9:00).
- /usr/local/bin/mint-autoupdate.sh — The path to your bash script.
- >> /var/log/mint-autoupdate.log 2>&1 — Redirects both standard output and error messages into a log file so you can check update history later.
Save and exit the file (Ctrl + O, Enter, Ctrl + X).
Step 3: Verify and Monitor
To verify that your cron job was saved properly, list the active root scheduled tasks:
sudo crontab -l
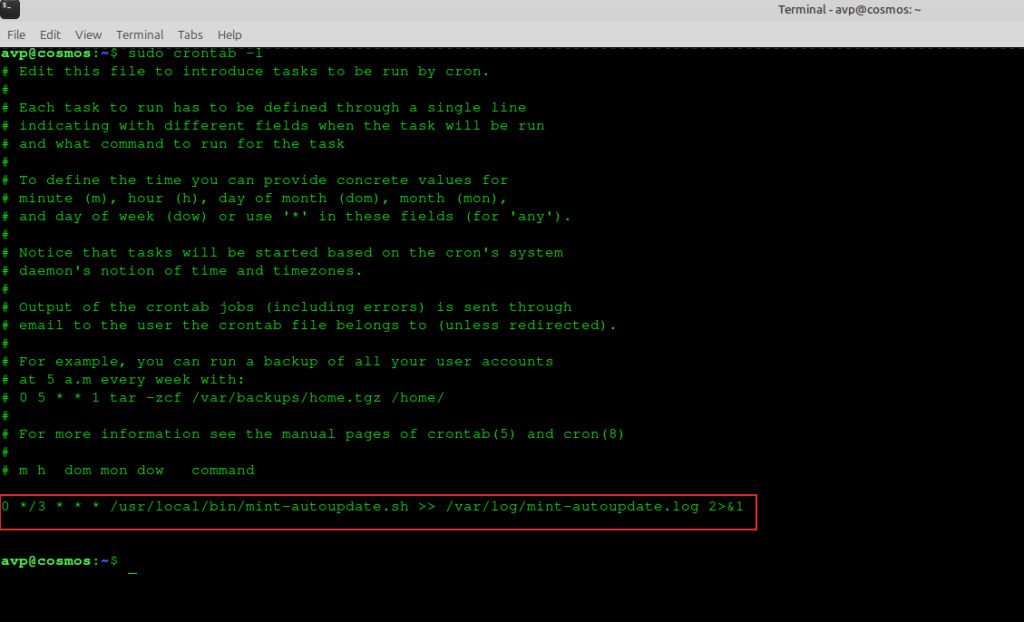
To check if your automated updates are running successfully over time, view the log file by running:
sudo cat /var/log/mint-autoupdate.log
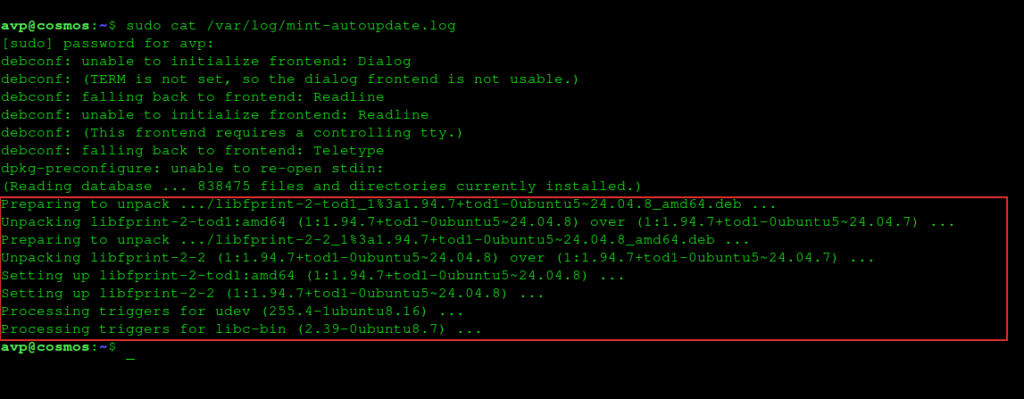
Or watch the logs in real time during a scheduled run:
sudo tail -f /var/log/mint-autoupdate.log
Prefer GUI Automation? Native Linux Mint Alternative:
If you ever want to switch from command-line cron automation back to Linux Mint’s native updater engine, Linux Mint includes built-in automation preferences directly in the Update Manager interface (Edit > Preferences > Automation).

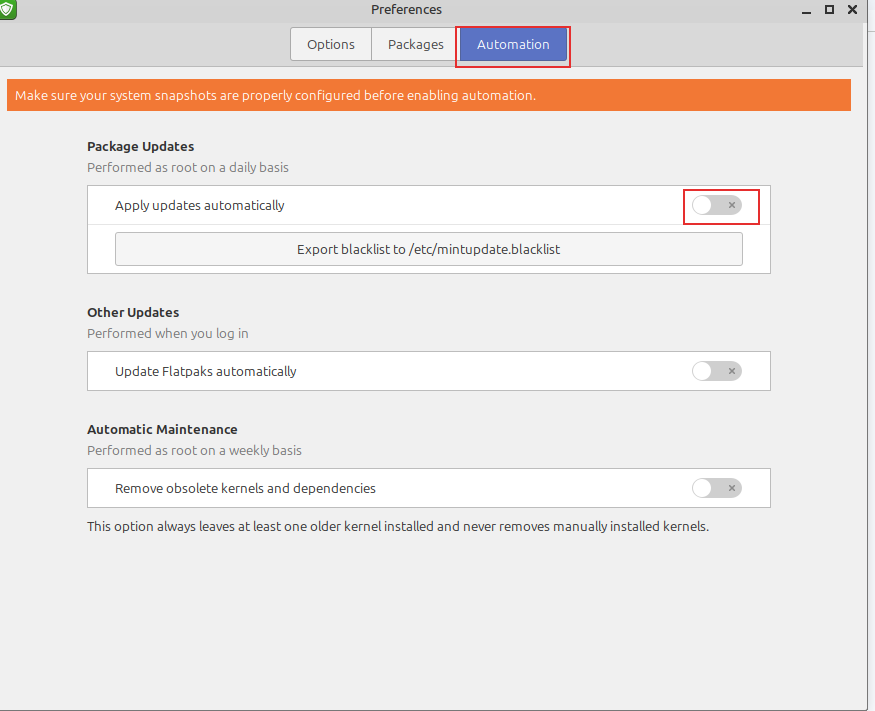
From there, you can enable automatic updates and also other options like automatic refreshing, and automatic cleanup of outdated kernels while respecting Mint’s safety level flags.
Summary Checklist
[✓] Create executable script at /usr/local/bin/mint-autoupdate.sh
[✓] Configure export PATH and non-interactive apt-get dist-upgrade -y -qq
[✓] Add 0 */3 * * * cron entry in root crontab (sudo crontab -e)
[✓] Verify logging output at /var/log/mint-autoupdate.log
Wrap Up
That’s all there is to it! Your Linux Mint system will now fetch and apply package updates quietly in the background (every 3 hours in this example ) without requiring any manual intervention. You can change it to any other interval as needed.
Happy exploring.