Locking Google Docs and Sheets is the ultimate way to pause collaboration chaos. Whether you need a file to be completely read-only or just want to protect specific cell ranges in a spreadsheet, applying these restrictions ensures your data stays exactly how you left it.
Here is a clear, step-by-step breakdown of how to lock your files and what happens once you do.
How to Lock a Google Docs/Sheets File (Read-Only Mode)
Locking a file in Google Drive takes just a few clicks:
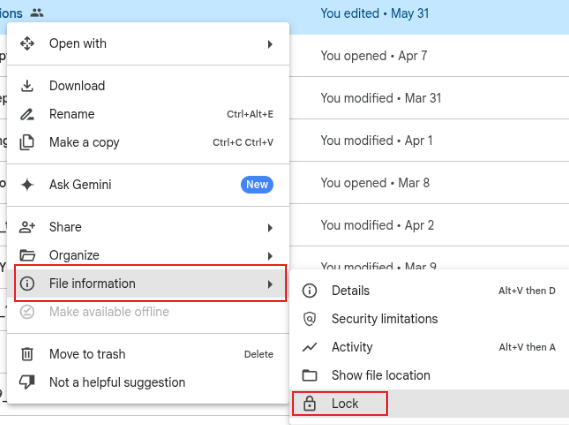
In Google Drive, right-click on the Doc or Sheet you want to restrict. Hover over File information and select Lock.
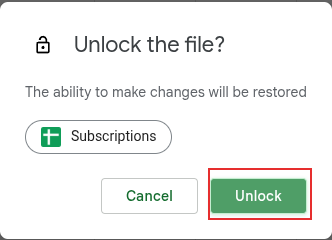
A pop-up box will appear asking for confirmation.
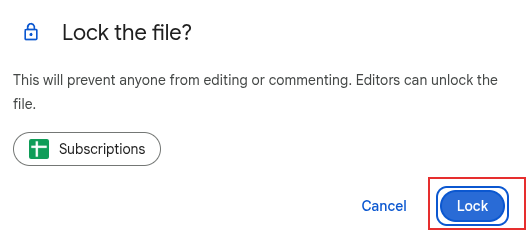
Click the blue Lock button to proceed.
What Happens After a File is Locked?
Once you trigger the lock, Google Drive immediately updates the file’s status across the board:
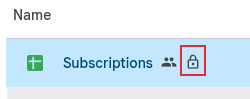
A lock icon will now appear right next to the file name at the top of the screen, serving as a clear visual cue to anyone viewing it that the document is currently frozen.
Any active typing or editing capabilities are immediately revoked.

If other users currently have the file open, their access will instantly shift to Locked.
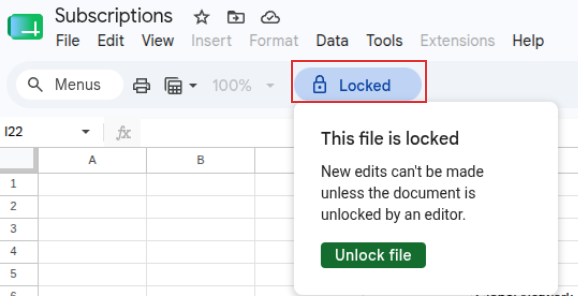
Once locked, the document cannot be edited or unlocked by anyone except the editor, keeping you in total control of the final version.